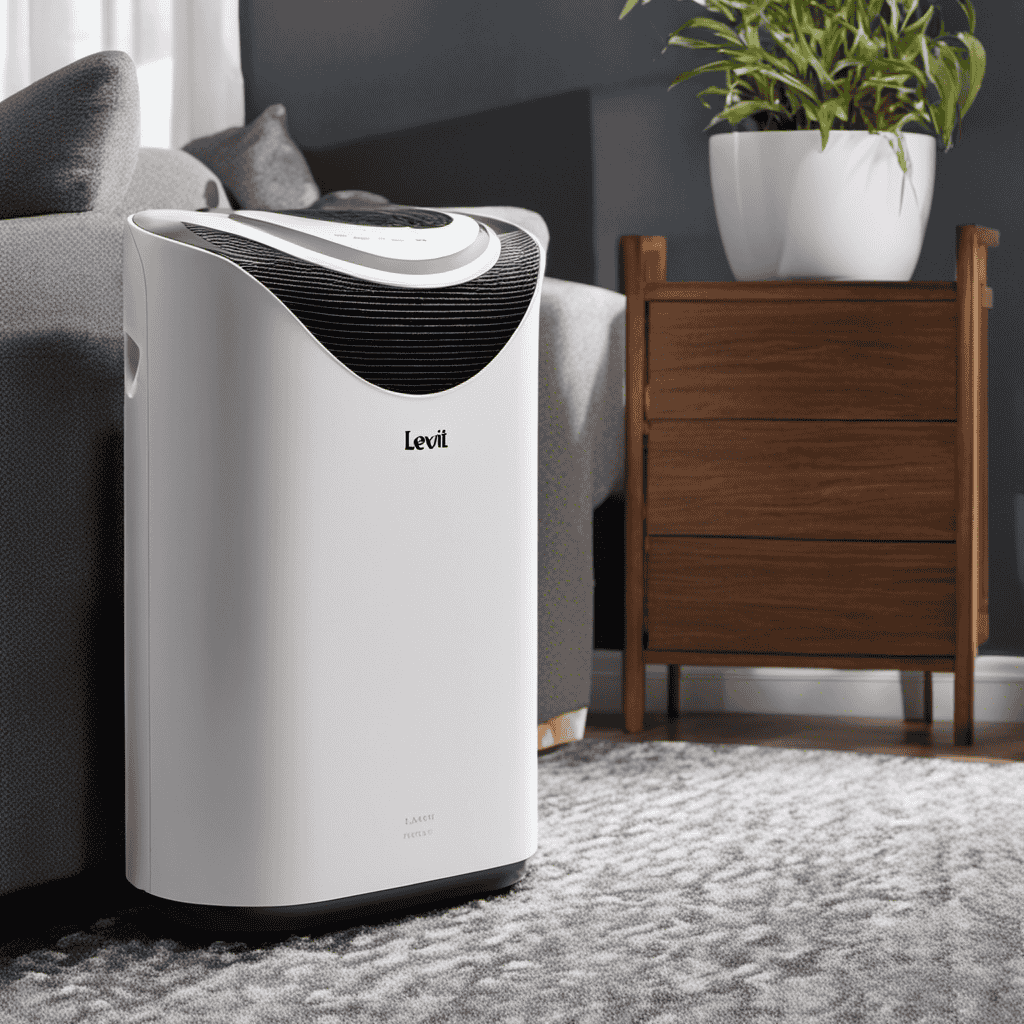
As I sit here in my home, surrounded by the crisp, clean air that my Oreck Air Purifier provides, I can’t help but marvel at the difference it has made in my life.
But, just like any machine, it requires regular maintenance to keep it running at its best.
In this article, I’ll guide you through the step-by-step process of cleaning your Oreck Air Purifier, ensuring that you continue to enjoy the benefits of fresh, purified air in your own space.
Key Takeaways
- Familiarize yourself with the control panel and filter compartment
- Gather necessary cleaning supplies such as a soft cloth, mild detergent, and a small brush or vacuum cleaner
- Regularly clean the pre-filter and HEPA filter to maintain efficiency and prevent clogging
- Carefully clean and maintain the ozone plate according to the manufacturer’s instructions

DEWALT Drill Bit Set, 3-Flats Shank,14-Piece, 135 Degree Split Point, for Plastic, Wood and Metal (DWA1184)
135 Degree Split point tip design to help reduce walking
As an affiliate, we earn on qualifying purchases.
Understanding the Parts of Your Oreck Air Purifier
To understand the parts of your Oreck air purifier, you’ll need to familiarize yourself with the control panel and filter compartment.
The control panel is where you can adjust the settings of the air purifier, such as the fan speed and timer. It also displays important information like the current air quality and filter status.
The filter compartment is where you can access and replace the filters. Regular Oreck air purifier maintenance includes cleaning or replacing the filters as needed.
Troubleshooting Oreck air purifier issues can often be done by checking the control panel for error codes or unusual behavior.

DEWALT 20V MAX Cordless Drill Driver Set, Electric Drill, Brushless 1/2 In 2 Speed, 2.0 Ah Battery and Charger Included, LED Light (DCD777D1)
DEWALT Power drill brushless motor delivers more run time over brushed
As an affiliate, we earn on qualifying purchases.
Gathering the Necessary Cleaning Supplies
Before beginning, ensure you have all the necessary supplies for cleaning your Oreck air purifier. Choosing the right cleaning products is essential to maintain the efficiency and longevity of your device.
Start by gathering a soft, lint-free cloth, a mild detergent or Oreck-approved cleaner, and a small brush or vacuum cleaner. These items will help you effectively remove dust, dirt, and debris from your air purifier.
When it comes to cleaning techniques, it is important to follow the manufacturer’s instructions. Use the cloth and cleaner to wipe down the exterior of the purifier, making sure to remove any stubborn stains or residues. Pay close attention to the control panel and buttons, as they can accumulate dirt over time.
Now that you have gathered your supplies and know the essential cleaning techniques, let’s move on to the next step: removing and cleaning the pre-filter.

Honeywell Fresh Air Ventilation Control
Mexico
As an affiliate, we earn on qualifying purchases.
Removing and Cleaning the Pre-Filter
First, make sure you have all the necessary supplies for removing and cleaning the pre-filter of your Oreck air purifier. To properly clean the pre-filter, follow these steps:
- Turn off and unplug the air purifier to ensure safety during the cleaning process.
- Locate the pre-filter panel on the air purifier and remove it by unlatching or unscrewing the panel.
- Carefully take out the pre-filter from its compartment. Inspect it for any visible dirt, dust, or debris.
- If the pre-filter is dirty, gently brush off the loose particles or use a vacuum cleaner with a brush attachment to remove the accumulated debris.
Proper cleaning techniques for the pre-filter are essential to maintain the efficiency of your Oreck air purifier. By regularly cleaning the pre-filter, you can prevent clogging and ensure optimal performance.
Now, let’s move on to cleaning the HEPA filter.

VENTS-US Frigate ERV 80 R - Whole House Energy Recovery Ventilation System, Up to 100 CFM - Continuous Supply of Fresh Air While Exhausting Equal Amounts of Stale Air
Whole-Home Ventilation: Brings in fresh air and exhausts stale air at up to 100 CFM, maintaining healthy indoor...
As an affiliate, we earn on qualifying purchases.
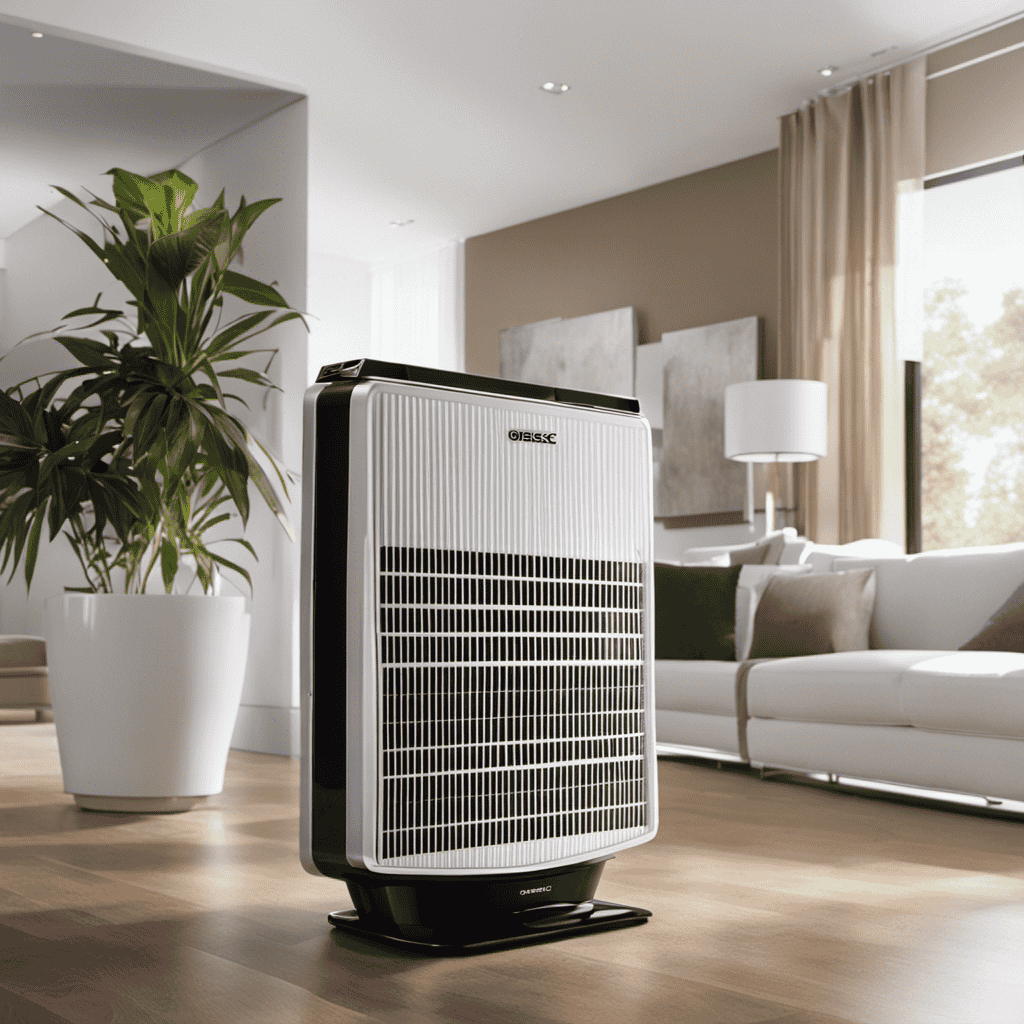
Cleaning the HEPA Filter
Now, let’s see how we can properly maintain and clean the HEPA filter of your Oreck air purifier.
The HEPA filter is an essential component of your air purifier, as it helps remove airborne particles and allergens from your indoor environment. By regularly cleaning and maintaining the HEPA filter, you can prolong its lifespan and ensure optimal performance.
Here are some key steps to follow:
-
Check the manufacturer’s instructions: Consult the user manual provided by Oreck to understand the specific maintenance requirements for your air purifier model.
-
Remove and inspect the filter: Turn off the air purifier and unplug it from the power source. Locate the HEPA filter compartment and carefully remove the filter.
-
Clean the filter: Gently vacuum the filter to remove any dust or debris. Alternatively, you can rinse the filter with water, but make sure to let it dry completely before reinstalling.
By following these steps, you can ensure that your HEPA filter remains clean and effective, thereby prolonging its lifespan.
Now, let’s move on to cleaning and maintaining the ozone plate.
Cleaning and Maintaining the Ozone Plate
To keep your ozone plate in good condition, it’s important to regularly remove and inspect it for any buildup or damage. Here are four steps to properly clean and maintain your ozone plate:
-
Turn off and unplug the air purifier: Before removing the ozone plate, make sure the unit is powered off and unplugged to prevent any accidents.
-
Remove the ozone plate: Locate the ozone plate, which is usually located inside the air purifier. Carefully remove the plate according to the manufacturer’s instructions.
-
Clean the ozone plate: Gently wipe the ozone plate with a soft, damp cloth to remove any dust or debris. For stubborn stains, you can use a mild soap or detergent. Avoid using abrasive cleaners that can damage the plate.
-
Inspect for damage: While cleaning, inspect the ozone plate for any signs of damage, such as cracks or broken wires. If you notice any issues, contact the manufacturer for further assistance.
Frequently Asked Questions
Can I Use Any Type of Cleaning Solution to Clean the Pre-Filter and HEPA Filter of My Oreck Air Purifier?
I recommend using specific cleaning products that are designed for air purifiers. Using any type of cleaning solution may damage the pre-filter and HEPA filter of your Oreck air purifier. Follow the manufacturer’s cleaning tips for best results.
How Often Should I Clean the Ozone Plate in My Oreck Air Purifier?
Cleaning the ozone plate in my Oreck air purifier is crucial to maintain its efficiency. It is necessary to clean it regularly, but be cautious not to overdo it as it may damage the plate.
Can I Wash the Pre-Filter and HEPA Filter in a Dishwasher?
No, it is not recommended to wash the pre-filter and HEPA filter in a dishwasher. The dishwasher’s high temperature and water pressure can damage the filters. It is best to follow the manufacturer’s instructions for proper cleaning methods.
What Should I Do if the Ozone Plate in My Oreck Air Purifier Is Damaged?
If the ozone plate in my Oreck air purifier is damaged, I should first attempt to repair it. If that is not possible, I should replace the ozone plate with a new one.
Can I Use Compressed Air to Clean the Pre-Filter and HEPA Filter of My Oreck Air Purifier?
Yes, compressed air can be used to clean the pre-filter and HEPA filter of my Oreck air purifier. However, hand cleaning methods are more effective in removing dirt and debris from the filters.
Conclusion
In conclusion, cleaning your Oreck air purifier is a simple yet essential task that ensures its optimal performance.
By understanding the different parts of the purifier and gathering the necessary cleaning supplies, you can efficiently remove and clean the pre-filter, HEPA filter, and ozone plate.
Regular maintenance of your air purifier is crucial for maintaining clean and fresh indoor air.
So, don’t neglect this important task and keep your Oreck air purifier in top-notch condition for a healthier living environment.