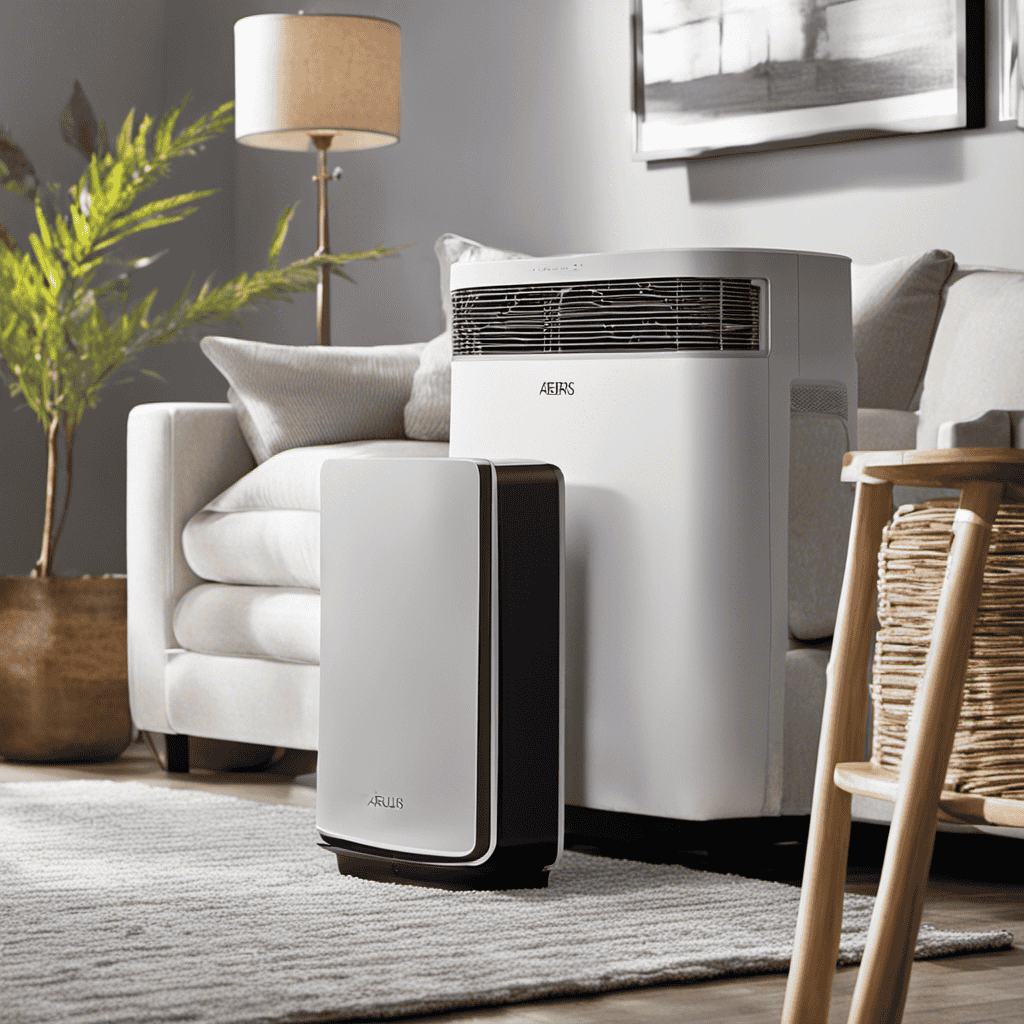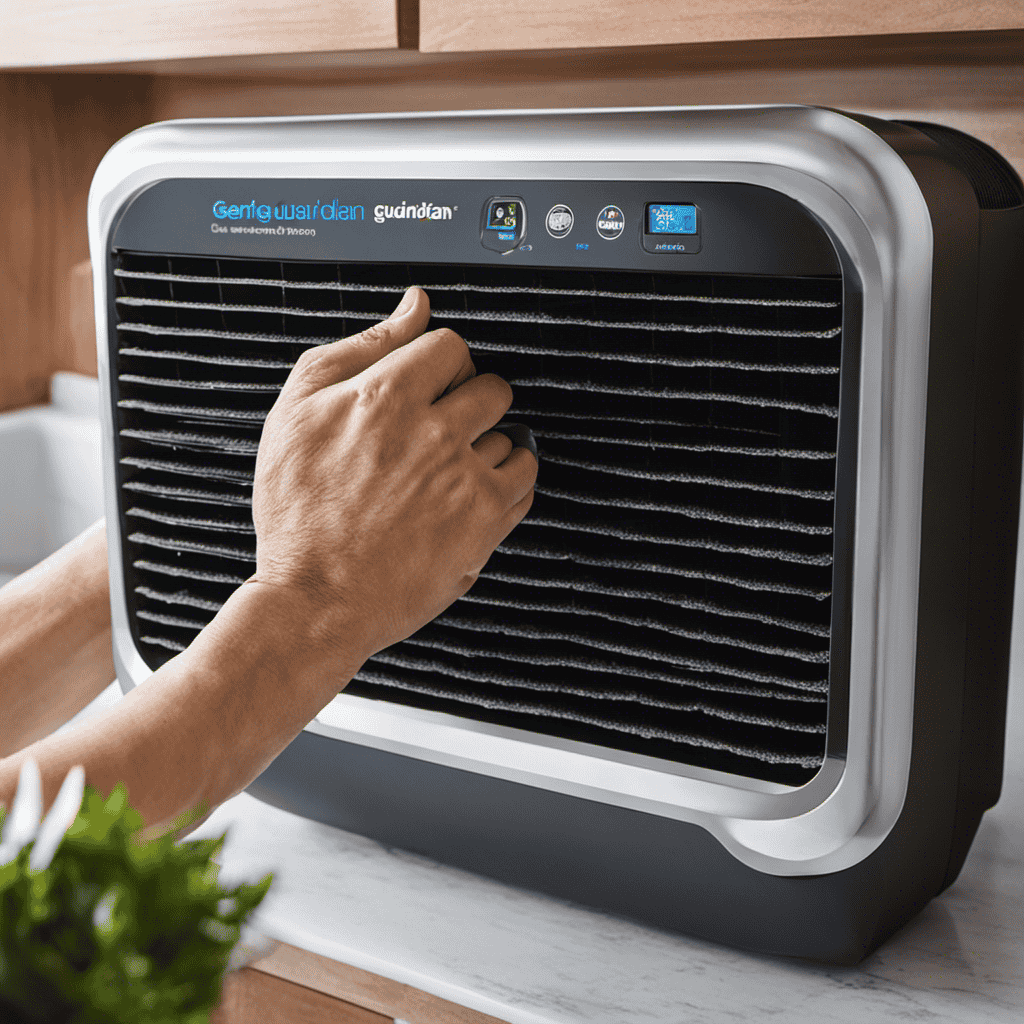
I have found a straightforward but important method to maintain cleanliness and health in my home: regularly cleaning the filter on my Germ Guardian air purifier.
By taking the time to properly clean and maintain this crucial component, I can ensure that my air purifier continues to work efficiently and effectively.
In this article, I’ll guide you through the step-by-step process of cleaning your Germ Guardian air purifier filter, providing you with the necessary tools and techniques to extend its lifespan and improve the air quality in your home.
Get ready to breathe in fresh, purified air like never before.
Key Takeaways
- Regular filter maintenance is important for maintaining effectiveness and efficiency of the Germ Guardian air purifier.
- Cleaning the filter prevents the build-up of contaminants and removes harmful germs and bacteria.
- Regularly replacing the filter is essential for optimal performance and improving air quality in the home.
- Maintaining a clean environment around the air purifier and changing the pre-filter regularly helps protect the main filter and extends its lifespan.
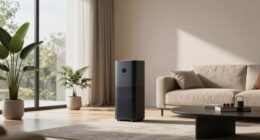
Understanding the Importance of Cleaning Your Air Purifier Filter
Understanding the importance of cleaning your air purifier filter is crucial to ensure optimal performance. Regular filter maintenance plays a significant role in maintaining the effectiveness of your germ guardian air purifier.
The filter is the heart of the purifier, responsible for trapping airborne particles and pollutants, such as dust, pollen, pet dander, and mold spores. Over time, these particles accumulate on the filter, reducing its efficiency and airflow.
By regularly cleaning the filter, you can prevent the build-up of these contaminants and maintain the purifier’s ability to effectively purify the air in your space. Additionally, a clean filter ensures that the purifier continues to remove harmful germs and bacteria from the air, providing you with cleaner, fresher air to breathe.
Gathering the Necessary Tools and Materials for Cleaning
To get started, you’ll need to gather all the tools and materials needed to clean the filter of your Germ Guardian air purifier.
Here are three essential items you will need for effective cleaning techniques:
-
A soft-bristle brush: This will be used to gently brush away any dust or debris that may have accumulated on the surface of the filter. Make sure the brush is clean and free from any other contaminants.
-
Mild detergent or vinegar solution: You will need a cleaning solution to remove any stubborn dirt or grime from the filter. A mild detergent or vinegar solution can be effective in breaking down and removing these impurities.
-
Clean, lint-free cloth: After cleaning the filter, you will need a cloth to dry it thoroughly. A lint-free cloth is ideal to avoid leaving any fibers or particles behind.
Gathering these tools and materials will ensure that you have everything necessary to clean your Germ Guardian air purifier filter effectively.
Now, let’s move on to the step-by-step guide to removing the filter from your Germ Guardian air purifier.
Step-By-Step Guide to Removing the Filter From Your Germ Guardian Air Purifier
When it comes to maintaining the efficiency and longevity of your Germ Guardian Air Purifier, proper filter removal is a crucial step.
In this discussion, we will delve into the various cleaning techniques for filters, ensuring that you have all the necessary information to keep your purifier running smoothly.
Additionally, we will provide you with essential maintenance tips to optimize the performance of your filters and enhance the overall air quality in your living space.
Proper Filter Removal
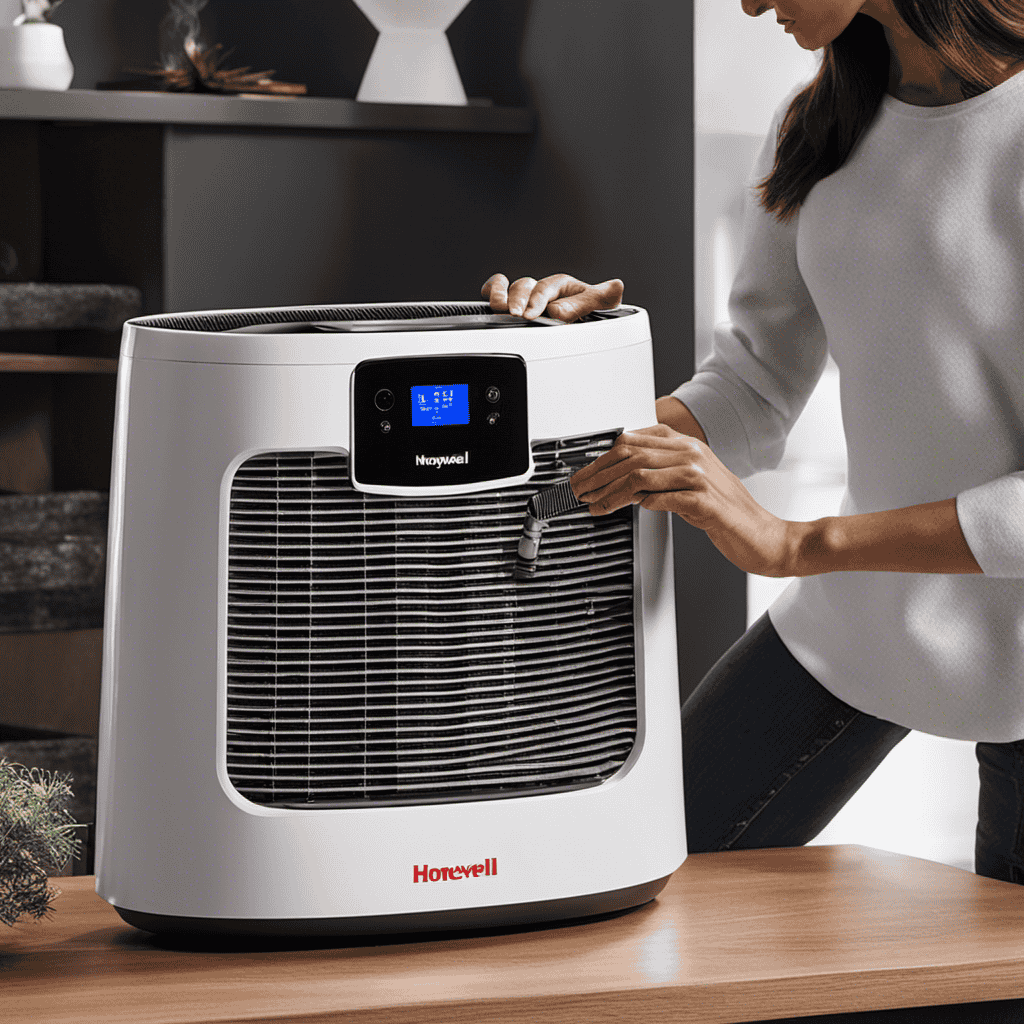
First, make sure you’ve unplugged the Germ Guardian air purifier before attempting to remove the filter. Filter cleaning and replacement are important maintenance tasks that help ensure the effectiveness of your air purifier.
Here are three key steps to properly remove the filter:
-
Locate the filter compartment: The filter compartment is typically located at the back or side of the air purifier. Consult your user manual for specific instructions.
-
Open the compartment: Most Germ Guardian air purifiers have a latch or button that allows you to open the filter compartment. Gently press or slide the latch to unlock and open the compartment.
-
Remove the filter: Carefully pull out the filter from the compartment. Be mindful not to damage the filter or any surrounding components.
Regularly cleaning or replacing your air purifier filter is essential for maintaining clean and fresh indoor air quality.
Cleaning Techniques for Filters
Regularly maintaining your air purifier helps to ensure that it continues to effectively clean the air in your home.
When it comes to cleaning your air purifier filters, the frequency will depend on usage and the manufacturer’s recommendations. However, it is generally recommended to clean the filters every 3-6 months.
To clean the filters, start by removing them from the air purifier. Gently tap the filters to remove any loose debris or dust. Then, fill a sink or basin with warm water and a mild cleaning solution, such as dish soap. Submerge the filters in the solution and gently scrub them with a soft brush or sponge.
Rinse the filters thoroughly with clean water and allow them to air dry completely before reinstalling them.
Maintenance Tips for Filters
To maintain the effectiveness of your filters, it’s important to follow these maintenance tips.
-
Regular Cleaning: Clean your germ guardian air purifier filters at least once every three months to remove accumulated dust and particles. This will ensure optimal airflow and improve the overall performance of your purifier.
-
Filter Replacement: It is crucial to replace your filters as recommended by the manufacturer. Most filters need to be replaced every 6 to 12 months. Over time, filters become saturated with pollutants and lose their efficiency. Regularly replacing them will maintain the air purifier’s effectiveness in capturing airborne contaminants.
-
Monitor Air Quality: Keep an eye on your air purifier’s indicator lights or sensors. They will alert you when it’s time to clean or replace the filters. Additionally, pay attention to any noticeable decrease in air quality or an increase in allergy symptoms, as this may indicate that your filters need attention.
By following these maintenance tips, you can ensure that your germ guardian air purifier filters are functioning at their best.
Now let’s explore the proper cleaning techniques for different types of germ guardian air purifier filters.
Proper Cleaning Techniques for Different Types of Germ Guardian Air Purifier Filters
When cleaning your Germ Guardian air purifier filter, make sure to follow the proper cleaning techniques for your specific filter type. Different types of air purifiers require different cleaning methods to ensure optimal performance and longevity. Cleaning your air filter regularly is essential for maintaining clean and healthy indoor air quality. By removing dust, pollen, pet dander, and other airborne particles, a clean air filter can provide numerous benefits, such as reducing allergies and respiratory issues. Here is a table outlining the different types of Germ Guardian air purifier filters and their respective cleaning techniques:
| Filter Type | Cleaning Technique |
|---|---|
| HEPA Filter | Vacuum or wash |
| Carbon Filter | Replace |
| UV-C Light Filter | Wipe with a cloth |
| Pre-Filter | Vacuum or wash |
| Pet Filter | Vacuum or wash |
Following these cleaning techniques will ensure that your Germ Guardian air purifier continues to provide you with clean and fresh air.
Drying and Reinstalling the Cleaned Filter
After properly cleaning the Germ Guardian air purifier filter, the next step is to dry it thoroughly before reinstalling it. Drying the filter is crucial to prevent the growth of mold or bacteria and ensure the filter functions effectively. Here are three effective drying methods for Germ Guardian air purifier filters:
-
Air Drying: Place the cleaned filter in a well-ventilated area and let it air dry naturally. This method is effective and requires no additional tools or equipment.
-
Sun Drying: If weather conditions allow, you can place the filter in direct sunlight to speed up the drying process. The UV rays from the sun can also help kill any remaining bacteria or mold spores.
-
Using a Fan: Set up a fan to blow air directly onto the filter. This method accelerates the drying process and ensures the filter is completely dry before reinstalling.
Once the filter is thoroughly dried, you can proceed with the reinstalling process.
Maintenance Tips to Extend the Lifespan of Your Germ Guardian Air Purifier Filter
Regularly replacing your Germ Guardian air purifier’s filter is essential in order to extend its lifespan and maintain optimal performance. However, there are also maintenance tips you can follow to further extend the lifespan of your filter and improve the air quality in your home.
One important maintenance tip is to vacuum or wipe the exterior of the filter regularly to remove any dust or debris that may have accumulated. This helps to ensure that the filter can effectively capture and remove pollutants from the air.
Another tip is to keep the air purifier in a clean environment, away from sources of dirt or dust. This can help prevent the filter from becoming clogged or damaged, allowing it to function at its best for a longer period of time.
Additionally, it is recommended to change the pre-filter regularly, as this can help prolong the lifespan of the main filter. The pre-filter captures larger particles and protects the main filter from excessive dirt and debris, allowing it to work more efficiently.
By following these maintenance tips, you can extend the lifespan of your Germ Guardian air purifier’s filter, ensuring that it continues to improve the air quality in your home for years to come.
| Maintenance Tips to Extend Filter Lifespan |
|---|
| 1. Vacuum or wipe exterior of filter regularly |
| 2. Keep air purifier in a clean environment |
| 3. Change pre-filter regularly |
| 4. Follow manufacturer’s instructions for cleaning |
| 5. Replace main filter as recommended by manufacturer |
Troubleshooting Common Issues With Germ Guardian Air Purifier Filters
To troubleshoot common issues with your Germ Guardian air purifier filters, try checking the power source and ensuring it is properly connected. Here are three troubleshooting tips for common filter problems:
-
Inspect the filter for dirt and debris: Over time, the filter can become clogged with dust and other particles, reducing its effectiveness. Remove the filter and inspect it for any visible dirt or debris. If necessary, gently clean the filter using a soft brush or vacuum cleaner.
-
Replace the filter if necessary: Filters have a limited lifespan and may need to be replaced periodically. Check the manufacturer’s recommendations for how often the filter should be changed. If you notice a significant decrease in air quality or the filter appears damaged or worn out, it’s time to replace it.
-
Check the settings and fan speed: Make sure the air purifier is set to the appropriate settings for your needs. If the fan speed is too low, the air purifier may not be effectively filtering the air. Adjust the settings and fan speed as needed to see if it improves the performance of the filter.
Frequently Asked Questions
Can I Clean the Germ Guardian Air Purifier Filter With Water and Soap?
Yes, you can clean the Germ Guardian air purifier filter with water and soap. It is one of the recommended cleaning methods. Make sure to follow the cleaning tips provided by the manufacturer for best results.
How Often Should I Clean My Germ Guardian Air Purifier Filter?
I clean my Germ Guardian air purifier filter without water by using alternative methods. It is important to clean the filter regularly to maintain its efficiency. I follow a detailed, scientific approach based on evidence to ensure optimal performance.
Can I Use a Vacuum Cleaner to Clean the Germ Guardian Air Purifier Filter?
Yes, you can use a vacuum cleaner to clean the Germ Guardian air purifier filter. It is one of the effective cleaning methods to remove dust and debris from the filter.
Is It Necessary to Replace the Germ Guardian Air Purifier Filter if It Is Not Visibly Dirty?
It’s not necessary to replace the Germ Guardian air purifier filter if it’s not visibly dirty. However, regular filter maintenance is important to ensure optimal performance. Signs of a dirty filter include decreased airflow and a decrease in air purifying effectiveness.
Are There Any Specific Cleaning Products or Solutions I Should Avoid When Cleaning the Germ Guardian Air Purifier Filter?
When cleaning the Germ Guardian air purifier filter, it’s important to avoid certain cleaning products that could damage the filter. Instead, opt for alternative cleaning methods that are safe and effective.
Conclusion
In conclusion, cleaning your Germ Guardian air purifier filter is essential for maintaining its efficiency and prolonging its lifespan. By following the step-by-step guide and using the proper cleaning techniques, you can ensure that your air purifier functions optimally and effectively removes germs and allergens from your indoor air.
Regular maintenance and troubleshooting can also help address any issues that may arise. Remember, coincidence is not a factor when it comes to the cleanliness of your air purifier filter – it’s all about taking proactive steps to ensure a healthier indoor environment.