Did you know that the air inside our homes can be up to five times more polluted than the air outside?
That’s why it’s crucial to keep our air purifiers clean and functioning at their best.
In this article, I’ll guide you through the step-by-step process of cleaning your Honeywell Air Purifier Tower.
From understanding the different filters to reassembling the unit, I’ll provide thorough and research-based instructions to ensure the longevity and efficiency of your air purifier.
Let’s get started!
Key Takeaways
- The Honeywell Air Purifier Tower effectively removes airborne particles and improves indoor air quality.
- Regular filter changes and keeping the surrounding area clean are important for maintaining air quality.
- Cleaning the filters is crucial for maintaining the performance and lifespan of the air purifier.
- Reassembling the air purifier correctly and performing regular maintenance is essential for optimal functioning.

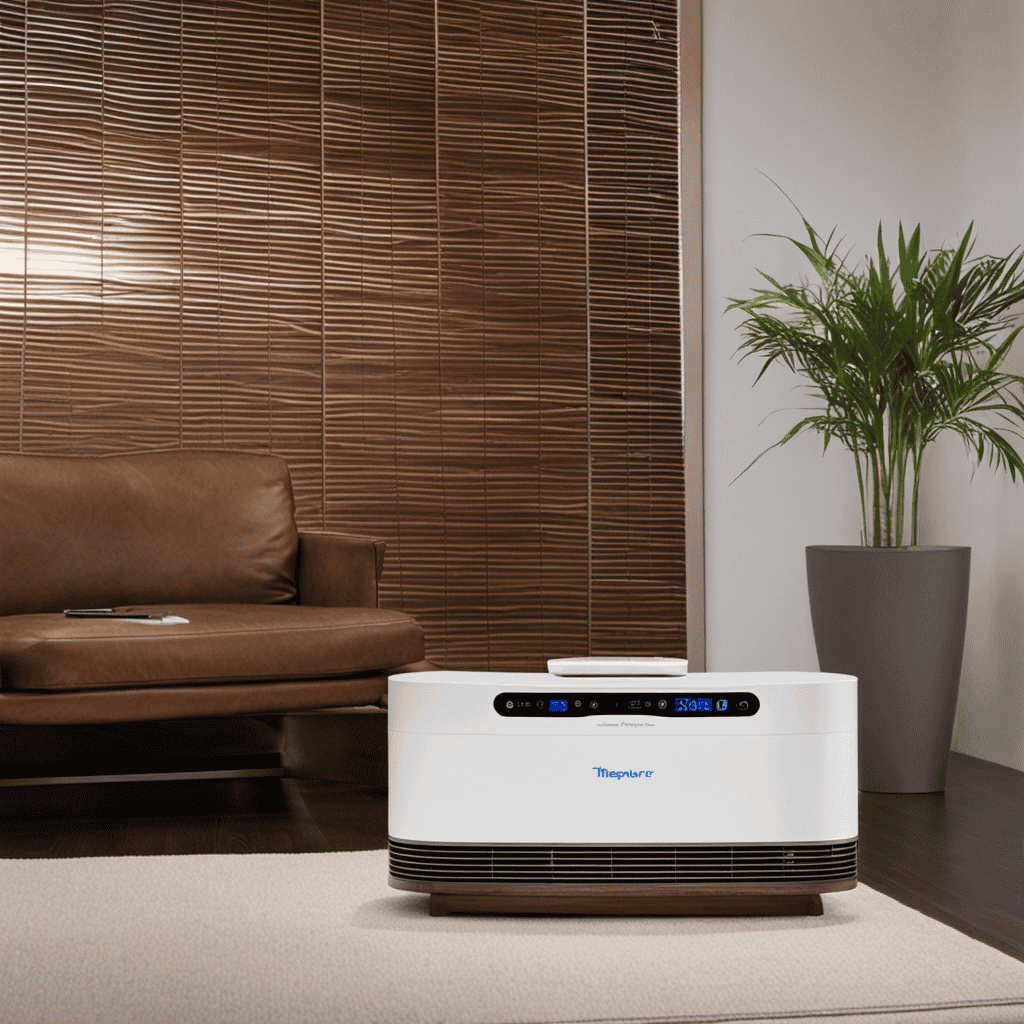
Air Purifiers for Home Large Room, Cover Up to 2600 Ft² with Washable Filters, Powerful Turbo Mode, PM2.5 Air Quality Display, Air Cleaner for Pets, HAP607, Bright White
𝐓𝐑𝐈𝐏𝐋𝐄 𝐈𝐍𝐓𝐀𝐊𝐄, 𝐖𝐇𝐎𝐋𝐄-𝐑𝐎𝐎𝐌 𝐏𝐔𝐑𝐈𝐅𝐈𝐂𝐀𝐓𝐈𝐎𝐍: Featuring a front air inlet combined with wider dual-side air inlets, this air purifier...
As an affiliate, we earn on qualifying purchases.
Understanding the Honeywell Air Purifier Tower
The Honeywell Air Purifier Tower is designed to effectively remove airborne particles and improve the quality of the air in your home.
Understanding the different air purification technologies is essential when it comes to choosing the right air purifier for your needs.
This tower uses a HEPA filter, which stands for High Efficiency Particulate Air, to capture up to 99.97% of microscopic particles as small as 0.3 microns. This includes dust, pollen, pet dander, and even some bacteria and viruses.
Additionally, the tower features an activated carbon pre-filter that helps to reduce common household odors.
To further improve air quality in your home, it is important to keep the purifier clean and well-maintained. Regularly change the filters according to the manufacturer’s instructions and keep the surrounding area clean and dust-free.

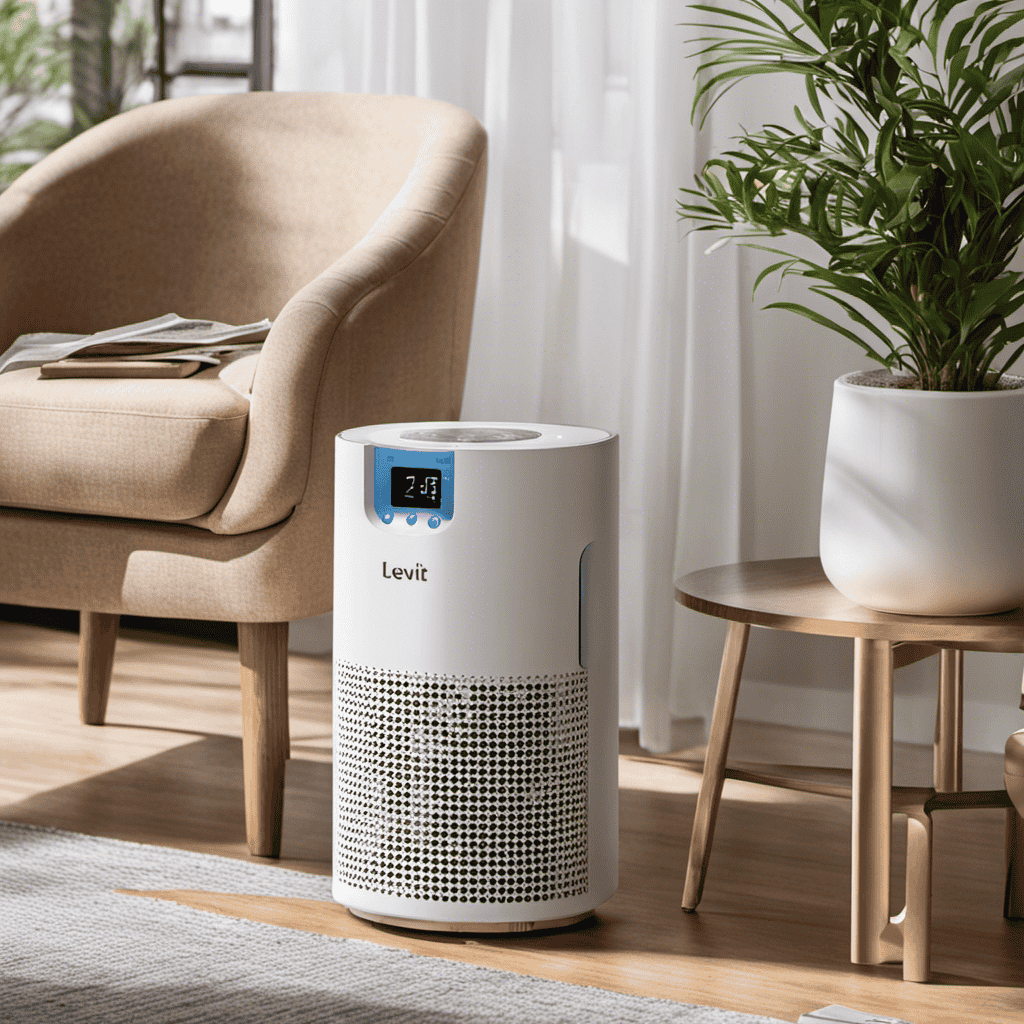
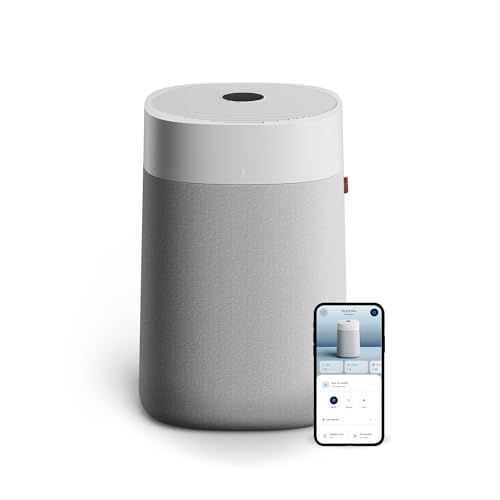
KNKA Air Purifier for Home Bedroom Large Room Up to 1,695 Ft² in 1 Hr, HEPA Sleep Mode Air Cleaner with Washable Pre-Filter, AHAM VERIFIDE, AQI Display, Pet Mode for Pets, Dust, Pollen, APH4000
𝐀𝐇𝐀𝐌 𝐕𝐞𝐫𝐢𝐟𝐢𝐞𝐝 & 𝐇𝐢𝐠𝐡 𝐂𝐀𝐃𝐑 𝐕𝐚𝐥𝐮𝐞: Certified by the Association of Home Appliance Manufacturers, this air purifier provides...
As an affiliate, we earn on qualifying purchases.
Preparing for the Cleaning Process
Before diving into the cleaning process of the Honeywell Air Purifier Tower, it is crucial to have a pre-cleaning checklist in place.
This checklist should include tasks such as unplugging the device, removing the filters, and identifying any specific cleaning instructions provided by the manufacturer.
Additionally, it is essential to gather all the required cleaning supplies, such as a vacuum cleaner with a brush attachment, mild detergent, microfiber cloths, and a soft-bristle brush for delicate parts.
Pre-Cleaning Checklist
First things first, make sure you’ve checked off all the items on your pre-cleaning checklist. Here are some important pre-cleaning steps to ensure a smooth and effective cleaning process for your Honeywell air purifier tower:
- Turn off and unplug the air purifier to ensure safety during cleaning.
- Remove the pre-filter and wash it with warm soapy water to remove dust and debris.
- Check the HEPA filter for any visible damage or discoloration. If damaged, replace it with a new one.
- Inspect the exterior of the purifier for any dirt or grime and clean it with a damp cloth.
By following these pre-cleaning steps, you can troubleshoot any potential issues and ensure that your air purifier is ready for a thorough cleaning.
Now, let’s move on to the next section where we will discuss the required cleaning supplies.
Required Cleaning Supplies
To effectively clean your device, you’ll need a few essential supplies.
When it comes to cleaning techniques for your Honeywell air purifier tower, it’s important to have the right tools on hand.
Firstly, you’ll need a soft, lint-free cloth or microfiber cloth to wipe down the exterior of the unit. This will help remove any dust or dirt that may have accumulated.
Next, you’ll need a small brush or vacuum cleaner with a brush attachment to clean the vents and grills of the purifier.
For those looking for eco-friendly cleaning options, consider using natural cleaning solutions such as vinegar or lemon juice mixed with water. These can be effective at removing stubborn stains and odors without the use of harsh chemicals.
Once you have gathered these supplies, you can proceed to the next step of removing and cleaning the pre-filter.
BLUEAIR Blue Pure 211i Max Smart Air Purifier for Large Rooms up to 3,235 Sq Ft, HEPASilent Air Cleaner for Pets, Allergies, Smoke & Dust, WiFi Air Purifier with Auto Mode, Quiet Air Purifier for Home
Powerful Air Purification for Large Rooms: The Blue Pure 211i Max cleans large living rooms, open floor...
As an affiliate, we earn on qualifying purchases.
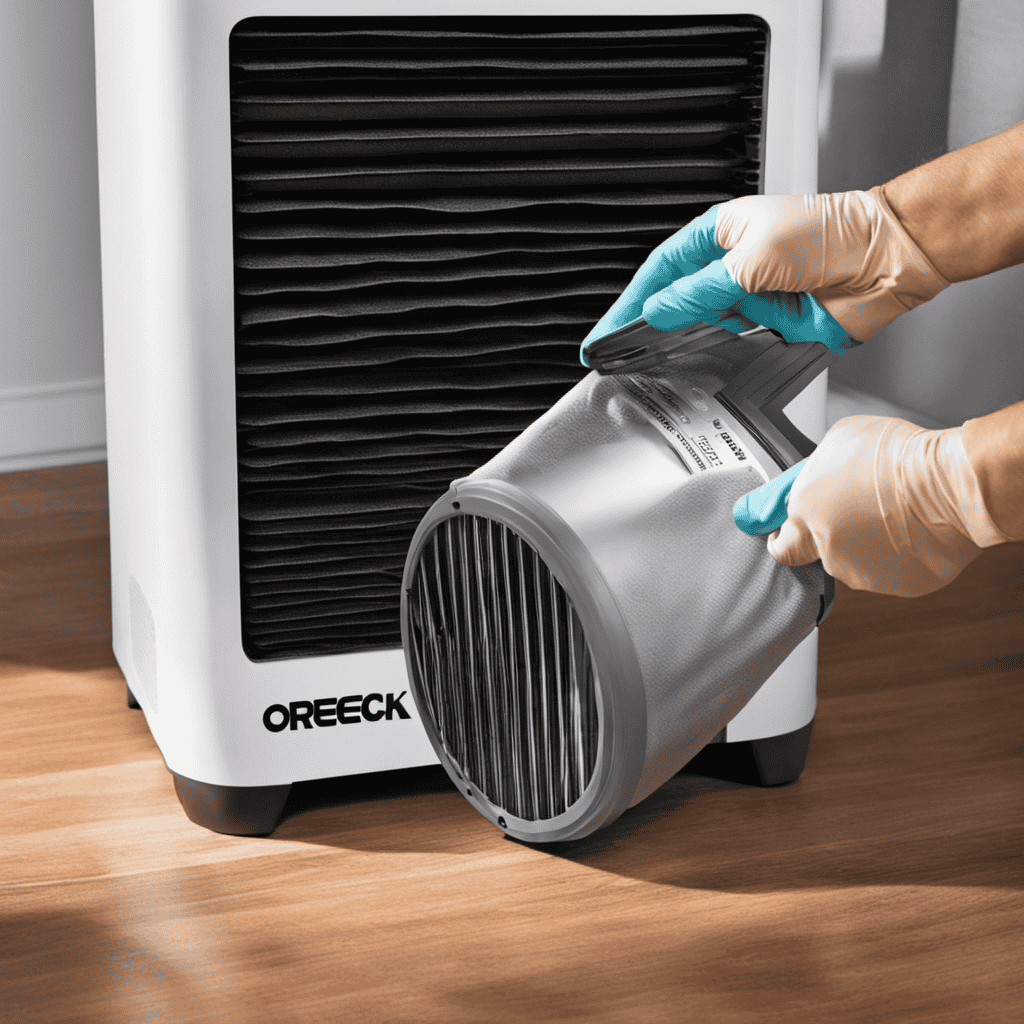
Removing and Cleaning the Pre-Filter
When it comes to maintaining the pre-filter of your air purifier, there are a few important tips to keep in mind.
Regular cleaning of the pre-filter not only improves the overall performance of your air purifier, but also helps to extend its lifespan.
Additionally, being aware of common pre-filter issues such as clogging or damage can help you troubleshoot and address any potential problems.
Pre-Filter Maintenance Tips
While cleaning the Honeywell air purifier tower, it’s important to regularly maintain the pre-filter. Here are some tips for pre-filter maintenance:
-
Check the pre-filter regularly: Inspect the pre-filter for dirt and debris buildup. If it appears clogged or discolored, it may be time for a replacement.
-
Replace the pre-filter when necessary: Depending on the air quality and usage, the pre-filter may need to be replaced every 3-6 months. Follow the manufacturer’s instructions for proper replacement.
-
Troubleshoot pre-filter issues: If the air purifier is not performing as expected, check the pre-filter for any damage or improper installation. Make sure it is securely in place and free from any obstructions.
-
Clean the pre-filter: If the pre-filter is washable, rinse it with water and mild detergent. Allow it to dry completely before reinstalling.
Regular maintenance of the pre-filter is crucial to ensure optimum performance of the Honeywell air purifier tower. By keeping the pre-filter clean and replacing it when necessary, you can enjoy cleaner and healthier air in your home.
Benefits of Regular Cleaning
Regularly maintaining the pre-filter of my air purifier is essential for enjoying cleaner and healthier air in my home. The benefits of regular cleaning are numerous and important.
Firstly, a clean pre-filter ensures that larger particles such as dust, pet dander, and pollen are effectively captured, preventing them from circulating back into the air. This is especially beneficial for individuals with allergies or respiratory conditions.
Additionally, a clean pre-filter allows the air purifier to work more efficiently, prolonging its lifespan and reducing energy consumption.
Common Pre-Filter Issues
To address common pre-filter issues, you can easily replace the filter with a new one. Troubleshooting the pre-filter can help resolve any problems you may encounter with your air purifier.
Here are some common pre-filter issues and how to deal with them:
-
Clogged Filter: If you notice reduced airflow or a musty smell, it may be due to a clogged pre-filter. Replace the filter to restore optimal performance.
-
Filter Discoloration: Over time, the pre-filter may become discolored due to trapped particles. If the discoloration is significant, it’s time to replace the filter for better air quality.
-
Filter Damage: If the pre-filter is torn or damaged, it won’t effectively capture particles. Replace the filter to ensure efficient filtration.
-
Filter Lifespan: Pre-filters have a limited lifespan. If you’ve been using the same filter for a long time, it’s advisable to replace it to maintain the air purifier’s effectiveness.
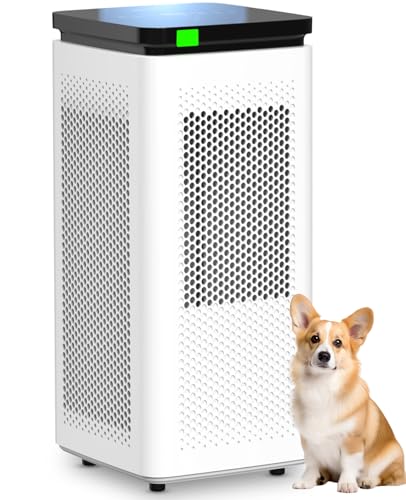
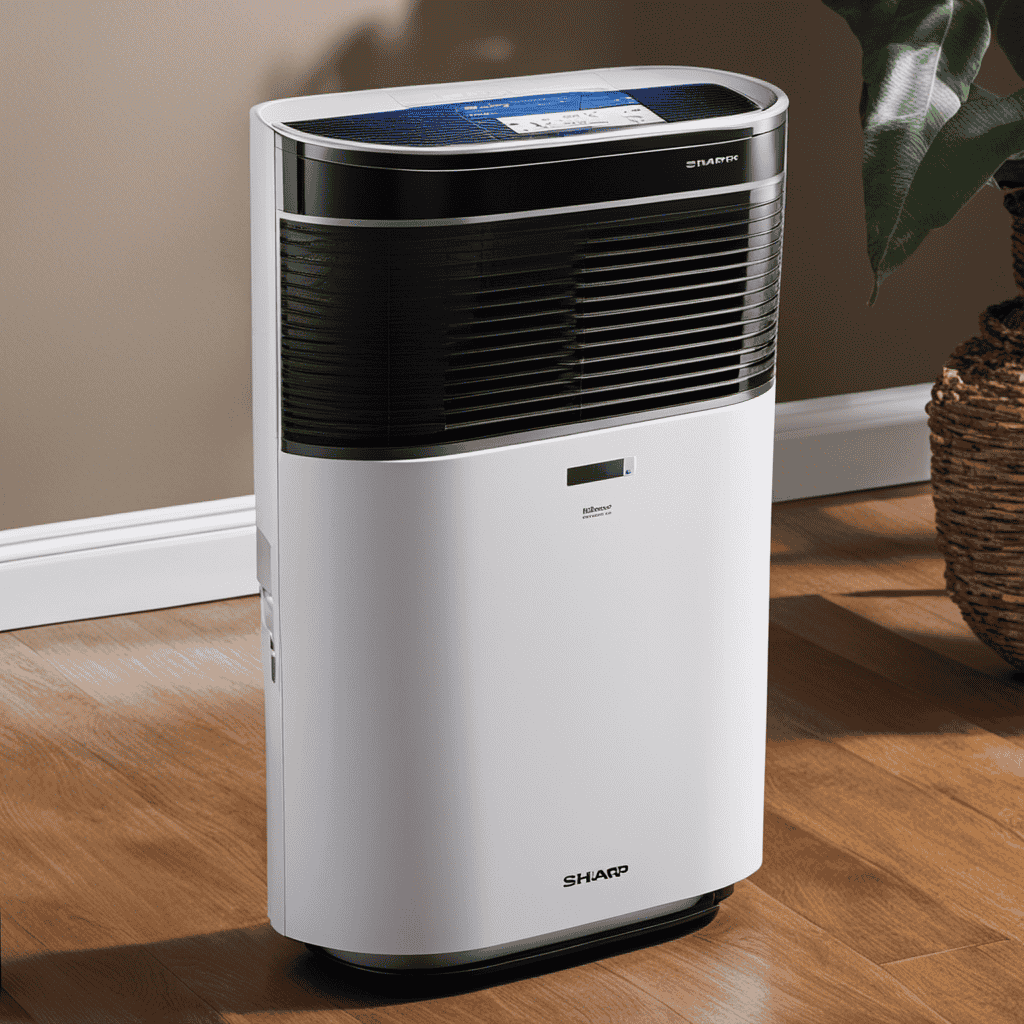
Air Purifiers for Home Large Rooms up to 3500 Ft², H13 True HEPA 0.1 Micron 99.97% Filtration with Carbon Filter, 235 CFM CADR, for Pollen, Pet Odor, Smoke, VOCs, 30dB Sleep Mode, PM2.5 Display
H13 True HEPA + Carbon Filter – Removes Odors & Smoke: Equipped with H13 True HEPA (0.1μm, 99.97%)...
As an affiliate, we earn on qualifying purchases.
Cleaning the True HEPA Filter
You’ll need to gently vacuum the True HEPA filter to remove any dust or debris. This filter is responsible for capturing allergens and particles as small as 0.3 microns, so it’s important to keep it clean for optimal performance.
To clean the True HEPA filter, follow these steps:
- Turn off the air purifier and unplug it from the power source.
- Carefully remove the True HEPA filter from the main unit.
- Use a soft-bristle brush or a handheld vacuum cleaner with a brush attachment to gently remove any visible dust or debris from the filter.
- Be cautious not to damage the filter during the cleaning process.
- Once the filter is clean, securely reattach it to the main unit and plug the air purifier back in.
By regularly cleaning the True HEPA filter, you can ensure that your Honeywell air purifier tower continues to provide you with clean and fresh air.
Now, let’s move on to cleaning the activated carbon filter.
Cleaning the Activated Carbon Filter
Now, let me guide you through the process of maintaining and cleaning the activated carbon filter in your air purifier.
The activated carbon filter plays a crucial role in removing odors and trapping harmful gases in the air. To ensure its optimal performance, follow these steps:
- Remove the activated carbon filter from your air purifier.
- Gently tap the filter to dislodge any loose particles or debris.
- Rinse the filter under cool running water to remove any remaining dirt.
- Allow the filter to air dry completely before reinserting it into your air purifier.
Regular maintenance is key to prolonging the lifespan of your activated carbon filter and ensuring its effectiveness in eliminating odors. By following these simple steps, you can enjoy fresh and clean air in your home.
Remember to clean the filter every 3-6 months or as recommended by the manufacturer.
Cleaning the Ionizer Plates
Now that we’ve covered cleaning the activated carbon filter in the previous subtopic, let’s move on to cleaning the ionizer plates in your Honeywell air purifier tower.
The ionizer plates are responsible for charging particles in the air, helping to remove them from your indoor environment. Over time, these plates can accumulate dust and dirt, reducing their effectiveness.
To clean them, start by turning off and unplugging your air purifier. Remove the front grill and locate the ionizer plates. Gently wipe them with a soft, damp cloth or sponge. Avoid using any harsh chemicals or abrasive materials as they may damage the plates.
Once cleaned, allow the plates to dry completely before reassembling the unit. If you encounter any issues during the cleaning process or notice a decline in performance, consult your user manual or contact Honeywell customer support for troubleshooting assistance.
Cleaning the Outer Housing
To maintain optimal performance, it’s important to regularly clean the outer housing of your air purifier. Here are some cleaning techniques and troubleshooting steps to help you keep your Honeywell air purifier tower in top condition:
- Start by turning off and unplugging the air purifier.
- Use a soft, lint-free cloth to gently wipe down the exterior of the unit. Be sure to remove any dust or debris that may have accumulated.
- For tougher stains or dirt, dampen the cloth slightly with water or a mild detergent solution. Avoid using harsh cleaners or abrasive materials that could damage the surface.
- Pay special attention to the air intake and outlet vents, as these can become clogged with dust over time. Use a small brush or vacuum attachment to remove any trapped particles.
Regularly cleaning the outer housing of your air purifier will not only improve its appearance but also ensure that it functions efficiently and effectively.
Reassembling the Honeywell Air Purifier Tower
After cleaning the outer housing, you can now proceed to reassemble the Honeywell air purifier tower. Here are some reassembling tips and a troubleshooting guide to ensure a smooth process:
-
Reassembling Tips:
- Refer to the user manual for specific instructions on reassembling the tower.
- Take note of the position and orientation of each component before disassembling.
- Double-check all connections and ensure they are secure.
- Follow the reverse order of disassembly to put the tower back together.
- Test the unit after reassembling to ensure it is working properly.
-
Troubleshooting Guide:
| Issue | Possible Solution |
|---|---|
| Unit not powering on | Check power source and plug connection. |
| Strange noise | Inspect fan and filters for debris or damage. |
| Weak airflow | Clean or replace filters, check for obstructions. |
| Unpleasant odor | Clean or replace filters, check for mold or mildew. |
| Error code displayed | Refer to the user manual for error code explanation. |
Maintenance Tips for Longevity and Efficiency
By regularly replacing the filters and keeping the components free of debris, you can maximize the longevity and efficiency of your air purifier. Here are some maintenance tips to help you keep your Honeywell air purifier tower in optimal condition:
-
Replace the filters: Depending on the model, filters should be replaced every 3-6 months to ensure effective air purification.
-
Vacuum the exterior: Use a soft brush attachment to remove dust and debris from the exterior of the tower.
-
Clean the pre-filter: Rinse the pre-filter under running water to remove larger particles and allow it to air dry before reinstalling.
-
Check the sensors: Make sure the sensors are clean and free of dust, as they play a crucial role in detecting air quality and adjusting the purification settings accordingly.
Following these maintenance tips and regularly cleaning your air purifier will help it operate efficiently and provide you with cleaner and healthier air.
Frequently Asked Questions
How Often Should I Clean the Honeywell Air Purifier Tower?
I clean my Honeywell air purifier tower every 3 to 6 months to maintain its efficiency. To properly clean it, I follow the manufacturer’s instructions, which usually involve wiping the surfaces and replacing the filters.
Can I Use Any Cleaning Solution to Clean the Filters?
I wouldn’t recommend using any cleaning solution on the filters. It’s best to follow the manufacturer’s instructions for cleaning the Honeywell Air Purifier Tower. They may provide alternative cleaning methods that are safe and effective.
Can I Wash the Pre-Filter and True HEPA Filter in the Dishwasher?
No, it is not recommended to wash the pre-filter and true HEPA filter of the Honeywell Air Purifier Tower in the dishwasher. These filters are not dishwasher safe and should be cleaned according to the manufacturer’s instructions.
Do I Need to Replace the Activated Carbon Filter?
Yes, the activated carbon filter in the Honeywell Air Purifier Tower needs to be replaced periodically. It helps remove odors, gases, and VOCs from the air, ensuring cleaner and fresher indoor air quality.
How Do I Clean the Control Panel of the Honeywell Air Purifier Tower?
To clean the control panel of my Honeywell Air Purifier Tower, I use gentle cleaning methods like wiping it with a soft cloth and mild soap. If there are any issues, I refer to troubleshooting tips provided in the user manual.
Conclusion
In conclusion, cleaning your Honeywell Air Purifier Tower is essential for maintaining its efficiency and prolonging its lifespan. By following the steps outlined in this article, you can ensure that your air purifier is functioning at its best and providing you with clean and fresh air.
Remember to regularly clean the pre-filter, true HEPA filter, activated carbon filter, ionizer plates, and outer housing for optimal performance. Don’t forget to implement the maintenance tips provided to keep your air purifier running smoothly.
So go ahead and give your Honeywell Air Purifier Tower the cleaning it deserves, and enjoy the benefits of clean and purified air in your home.