I’ve always considered my Mila Air Purifier to be my trusty companion in maintaining clean and fresh air in my home. But over time, I’ve come to realize that even the most reliable companions need a little TLC.
That’s why I’ve mastered the art of cleaning my Mila Air Purifier, ensuring it continues to work at its best. In this article, I’ll share my step-by-step process, using the right tools and techniques, to keep your Mila Air Purifier in pristine condition.
Let’s get started!
Key Takeaways
- The Mila Air Purifier is designed to remove pollutants from the air and improve indoor air quality.
- It features a multi-stage filtration system and captures harmful particles.
- Proper cleaning tools such as a soft microfiber cloth, small brush with soft bristles, vacuum cleaner with brush attachment, and mild cleaning solution are necessary for maintenance.
- Safety precautions should be followed, including turning off and unplugging the purifier, wearing protective gear, and storing the components in a dry and dust-free area.
Understanding the Mila Air Purifier
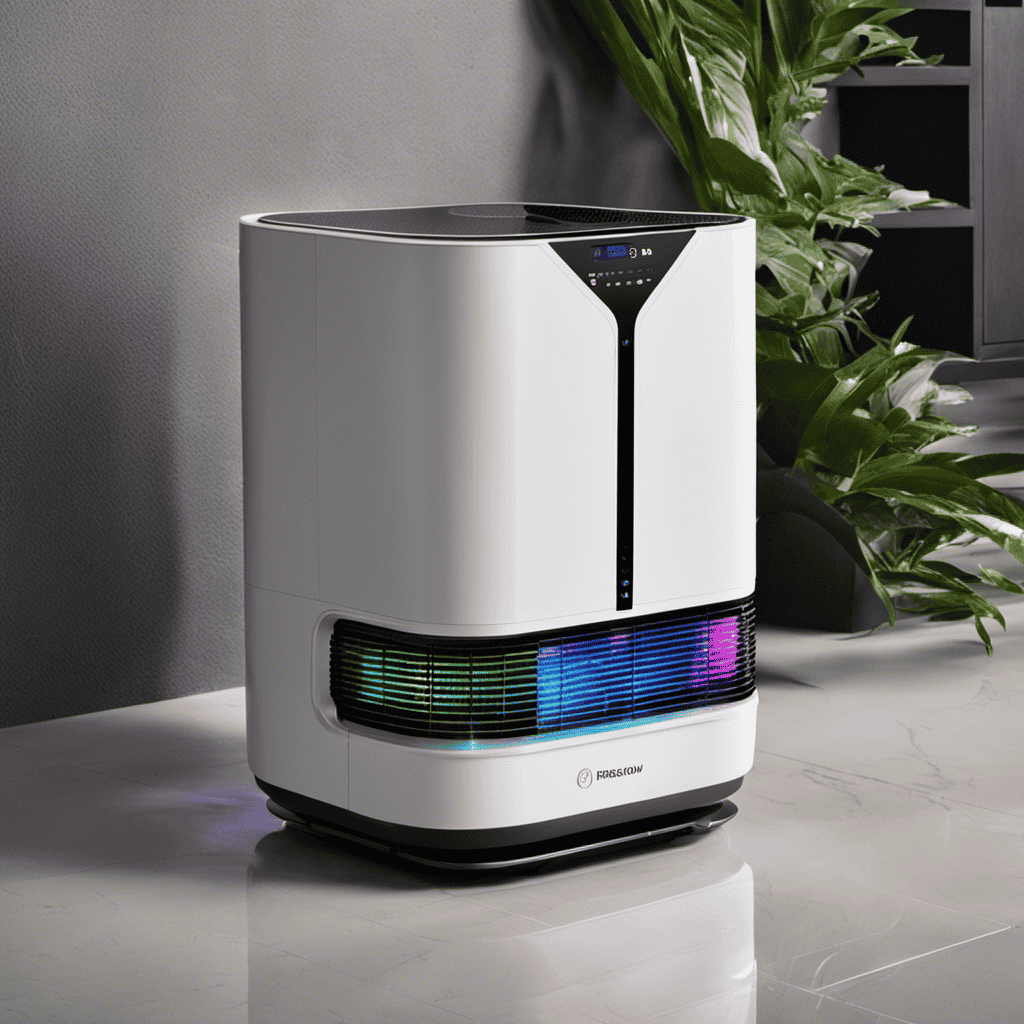
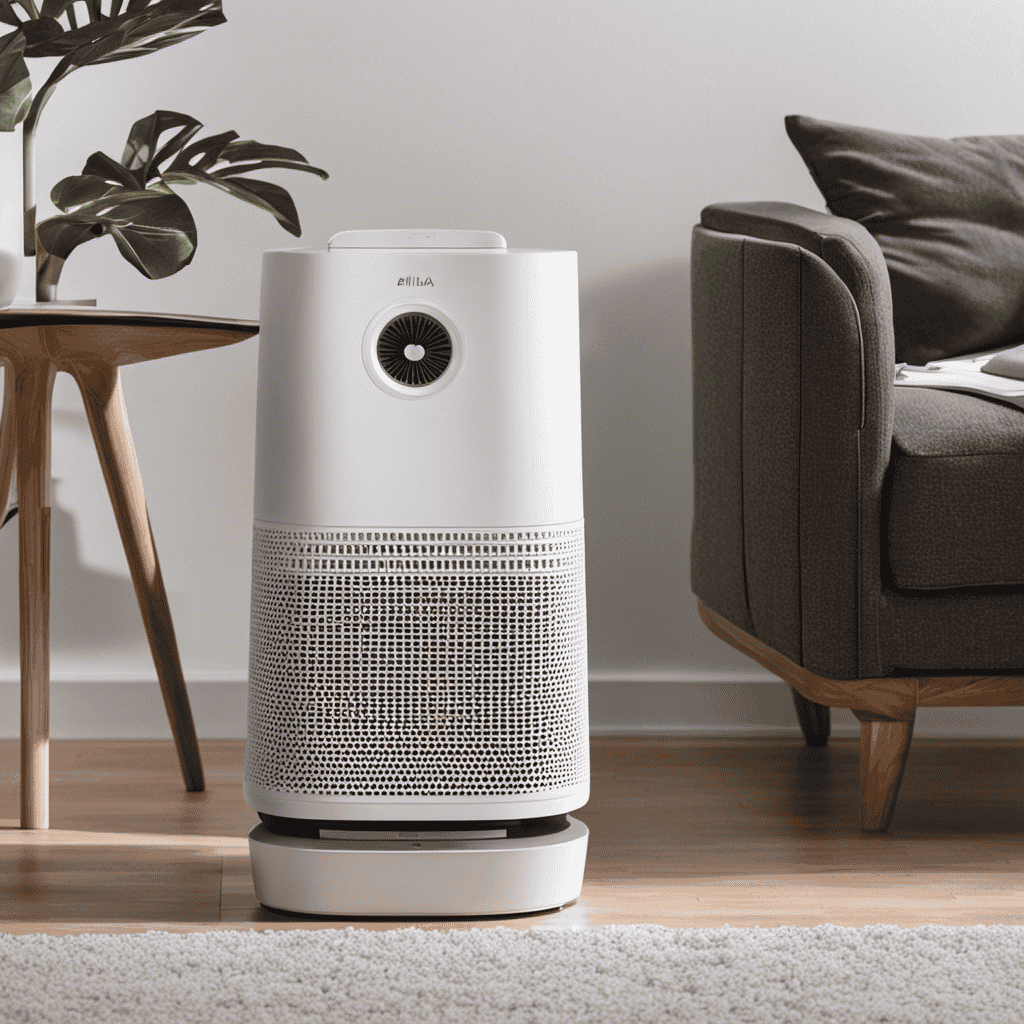
The Mila Air Purifier is designed to remove pollutants from the air in your home. As an air purifier, it offers numerous benefits for you and your family.
Firstly, it helps to improve indoor air quality by capturing and filtering out harmful particles such as dust, pollen, pet dander, and smoke. This is especially beneficial for individuals with allergies or respiratory conditions.
Secondly, the Mila Air Purifier features a multi-stage filtration system that includes a pre-filter, HEPA filter, and activated carbon filter. This combination effectively removes both large and small particles, as well as odor-causing substances.
Additionally, the purifier has a sleek and compact design, making it easy to place in any room. With its quiet operation and energy-efficient features, the Mila Air Purifier is a reliable and effective solution for maintaining clean and fresh air in your home.
Gathering the Necessary Cleaning Tools
Before starting, make sure you have all the necessary cleaning tools. Cleaning the Mila Air Purifier is essential for maintaining its efficiency and prolonging its lifespan.
To effectively clean your Mila Air Purifier, you will need a few key tools. Firstly, a soft microfiber cloth is necessary for wiping down the exterior surfaces of the purifier. This will remove any dust or dirt that has accumulated.
Additionally, a small brush with soft bristles is useful for reaching into the crevices and vents to remove any trapped debris. For the filters, a vacuum cleaner with a brush attachment is ideal for removing larger particles.
Finally, a mild, non-abrasive cleaning solution can be used to clean the filters thoroughly.
Following a regular cleaning schedule and using the appropriate cleaning techniques will ensure that your Mila Air Purifier continues to provide clean, fresh air for years to come.
Turning off and Unplugging the Mila Air Purifier
When it comes to cleaning the Mila Air Purifier, it is important to prioritize safety precautions. This includes wearing protective gloves and goggles to avoid any potential contact with chemicals or dust.
Additionally, proper storage after cleaning is crucial to maintain the longevity of the air purifier and prevent any damage or contamination. It is essential to store the cleaned components in a dry and dust-free area, away from direct sunlight or extreme temperatures.
Safety Precautions When Cleaning
Always make sure to follow safety precautions while cleaning your Mila air purifier to avoid any accidents.
Cleaning your air purifier regularly is essential to maintain its efficiency and prolong its lifespan.
To clean your Mila air purifier, start by turning off and unplugging the device, as mentioned in the previous section. Once that’s done, you can proceed with the cleaning techniques.
Use a soft, damp cloth to wipe down the exterior of the purifier, removing any dust or dirt.
For the filters, consult the user manual to determine the recommended cleaning frequency. Some filters may be washable, while others may require replacement. It is important to follow the guidelines provided by the manufacturer for proper cleaning and maintenance.
After cleaning your Mila air purifier, remember to store it in a clean and dry place to prevent any damage or contamination.
Proper Storage After Cleaning
After you’ve finished cleaning, make sure to store your Mila air purifier in a clean and dry place to prevent any damage or contamination. Proper storage is essential for maintaining the performance and longevity of your purifier.
To ensure the best results, follow these steps. First, unplug the purifier from the power source and remove any filters or accessories. Clean and dry all parts thoroughly before storing them. It’s important to keep the purifier in a place where it won’t be exposed to excessive moisture, dust, or direct sunlight. A cabinet or closet is ideal.
Additionally, make sure to keep the purifier away from any potential sources of damage, such as sharp objects or heavy items that could fall on it. By incorporating proper storage into your maintenance routine, you’ll extend the life of your Mila air purifier and ensure its continued effectiveness.
Now, let’s move on to the next step: disassembling the different parts of the purifier.
Disassembling the Different Parts of the Mila Air Purifier
First, you’ll need to carefully remove the different parts of the Mila Air Purifier to disassemble it. Disassembling the air purifier is a straightforward process, but it requires some attention to detail. Here are the disassembling techniques to follow:
| Parts to Remove | Tools Required | Steps to Follow |
|---|---|---|
| Front Panel | Screwdriver | 1. Locate and remove the screws holding the front panel in place. |
| Filters | Hands | 2. Gently pull out the filters from their slots. |
| Fan Motor | Screwdriver | 3. Unscrew the fan motor from its housing. |
By following these steps, you can easily disassemble the Mila Air Purifier for cleaning or maintenance. However, if you encounter any issues during the disassembling process, here are some common troubleshooting tips:
- If the screws are stuck, try using a lubricant or applying gentle pressure while unscrewing.
- If the filters are difficult to remove, double-check if there are any additional locks or latches holding them in place.
- If the fan motor is not coming off, ensure that all screws are fully removed and check for any hidden clips or connections.
Remember to handle all parts with care to avoid damage and always refer to the user manual for specific instructions.
Cleaning the Filters and Pre-Filters
When it comes to maintaining the filters in your air purifier, there are a few important tips to keep in mind.
First, it’s important to regularly clean or replace the filters according to the manufacturer’s instructions. This will ensure that your air purifier is working efficiently and effectively.
Additionally, when cleaning pre-filters, it’s important to be thorough and effective in order to remove any dust or particles that may have accumulated.
Filter Maintenance Tips
To maintain your Mila air purifier’s filters, you should regularly clean them according to the manufacturer’s instructions. This is crucial for preventing filter clogs and extending the filter lifespan.
One important tip is to check the filters regularly for dirt and debris accumulation. If you notice any build-up, gently vacuum or brush it off. Avoid using water or cleaning solutions on the filters, as this can damage them.
Another tip is to replace the filters when necessary, as cleaning can only do so much.
By keeping your filters clean and replacing them when needed, you ensure that your Mila air purifier continues to operate efficiently and effectively.
Now, let’s move on to the next section, where we will discuss how to clean the pre-filters effectively.
Cleaning Pre-Filters Effectively
Regularly checking and gently removing dirt and debris buildup from my pre-filters is essential for maintaining the efficiency of my air purifier.
To effectively clean my pre-filters, I start by turning off and unplugging the air purifier. Then, I carefully remove the pre-filters from the unit.
Using a soft brush or a vacuum cleaner with a brush attachment, I gently remove the dirt and debris from the pre-filters. If the pre-filters are heavily soiled, I may rinse them with water and allow them to air dry completely before reinstalling them.
Wiping Down the Exterior of the Mila Air Purifier
You can easily wipe down the exterior of the Mila Air Purifier to keep it clean. The sleek design of the purifier makes it a breeze to maintain.
To effectively clean the exterior, start by unplugging the purifier and removing any dust or debris with a soft, dry cloth. For stubborn stains, dampen a cloth with mild soap and water, and gently scrub the affected area. Avoid using harsh chemicals or abrasive cleaners, as they may damage the surface of the purifier.
Once you have removed the stains, wipe down the entire exterior with a clean, damp cloth to ensure a thorough cleaning. Remember to dry the purifier completely before plugging it back in.
Reassembling the Mila Air Purifier
Once you’ve finished wiping down the exterior, it’s time to reassemble the Mila Air Purifier. Reassembling the purifier is a straightforward process, but it’s important to follow the correct techniques to ensure everything fits together properly. Here are some steps to help you reassemble your Mila Air Purifier:
-
Start by placing the filter back into its designated slot. Make sure it is properly aligned and fits securely.
-
Next, reattach the front cover by sliding it back into place and ensuring it clicks into position.
-
Once the front cover is in place, secure it by tightening the screws using a screwdriver.
| Step | Reassembling Techniques |
|---|---|
| 1 | Properly align the filter and secure it in its slot |
| 2 | Slide the front cover back into place and ensure it clicks |
| 3 | Tighten the screws to secure the front cover |
Performing a Final Check and Maintenance Routine
After reassembling, it’s important to perform a final check and routine maintenance to ensure proper functionality. Regular maintenance is crucial for keeping your Mila Air Purifier in top condition and maximizing its performance.
Here are a few steps you can take to perform a final check and routine maintenance:
-
Check the filters: Make sure the filters are clean and free from any debris or dust. If necessary, replace them with new ones to maintain optimal air purification.
-
Inspect the fan blades: Examine the fan blades for any signs of dirt or obstruction. Clean them gently using a soft cloth or brush to ensure smooth operation.
-
Test the controls: Turn on the air purifier and test all the controls such as fan speed, timer, and mode settings. If you encounter any issues, consult the user manual for troubleshooting common problems.
Frequently Asked Questions
How Often Should I Clean the Mila Air Purifier?
I clean the Mila Air Purifier without water by using vinegar. It is important to clean it regularly to maintain its efficiency. I recommend cleaning it at least once every month for optimal performance.
Can I Use Any Cleaning Products on the Filters and Pre-Filters?
Yes, you can use cleaning products on the filters of the Mila Air Purifier. However, it is important to choose products that are safe and specifically designed for cleaning air purifier filters. For the pre-filters, you can use mild soapy water and a soft brush to remove dust and dirt.
Can I Clean the Exterior of the Mila Air Purifier With Water?
Yes, you can clean the exterior of the Mila Air Purifier with water. However, it’s important to follow the manufacturer’s instructions and avoid getting water into any openings or electronic components.
How Long Does It Take for the Filters and Pre-Filters to Dry After Cleaning?
After cleaning the filters and pre-filters of the Mila air purifier, it is important to properly dry them to maintain their efficiency. Here are some tips to ensure thorough drying and optimal performance.
Is It Necessary to Clean the Mila Air Purifier if It Is Only Used Occasionally?
Cleaning the Mila Air Purifier is necessary, even if it’s only used occasionally. Dust and particles can still accumulate over time, affecting the purifier’s performance. Regular cleaning ensures optimal air quality.
Conclusion
After following these steps to clean the Mila Air Purifier, I can confidently say that my air purifier is now refreshed and ready to purify the air in my home with precision and power.
The process of disassembling, cleaning, and reassembling the different parts was straightforward and simple.
By wiping down the exterior and cleaning the filters, I have ensured that my Mila Air Purifier is in tip-top shape.
Now, I can breathe a sigh of relief, knowing that my air purifier is clean, clear, and capable of combating contaminants.