
As an air purifier enthusiast, I understand the importance of keeping my Oreck XL Air Purifier clean and functioning at its best. It’s like giving my lungs a breath of fresh air every day.
In this article, I will guide you through the step-by-step process of cleaning your Oreck XL Air Purifier, ensuring that you have all the necessary tools and knowledge to maintain its longevity.
So let’s dive in and discover how to keep your air purifier sparkling clean and your indoor air quality top-notch.
Key Takeaways
- Gather necessary tools: soft cloth or sponge, mild detergent, water, vacuum cleaner with brush attachment
- Clean the pre-filter with vacuum cleaner or wash with mild detergent and water
- Tap the pre-filter gently to remove loose debris
- Regularly replace filters to maintain optimal air purification
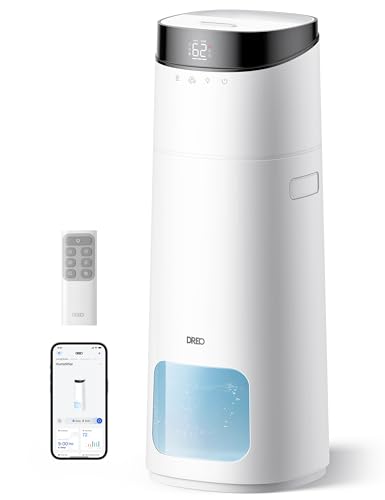
DREO 16L Smart Humidifier Large Room 1000 ft², 130H Cool Mist Air Humidifiers for Bedroom Plants Baby, Top Fill, Remote/Touch/Voice & APP Control, Clean Tank Technology, 30dB, RGB Light, HM755S White
130 𝙃𝙤𝙪𝙧𝙨 𝙐𝙡𝙩𝙧𝙖-𝙇𝙤𝙣𝙜 𝙍𝙪𝙣𝙩𝙞𝙢𝙚: The 16L DREO humidifiers for bedroom provides up to 130 hours of continuous humidification...
As an affiliate, we earn on qualifying purchases.
Understanding the Oreck XL Air Purifier
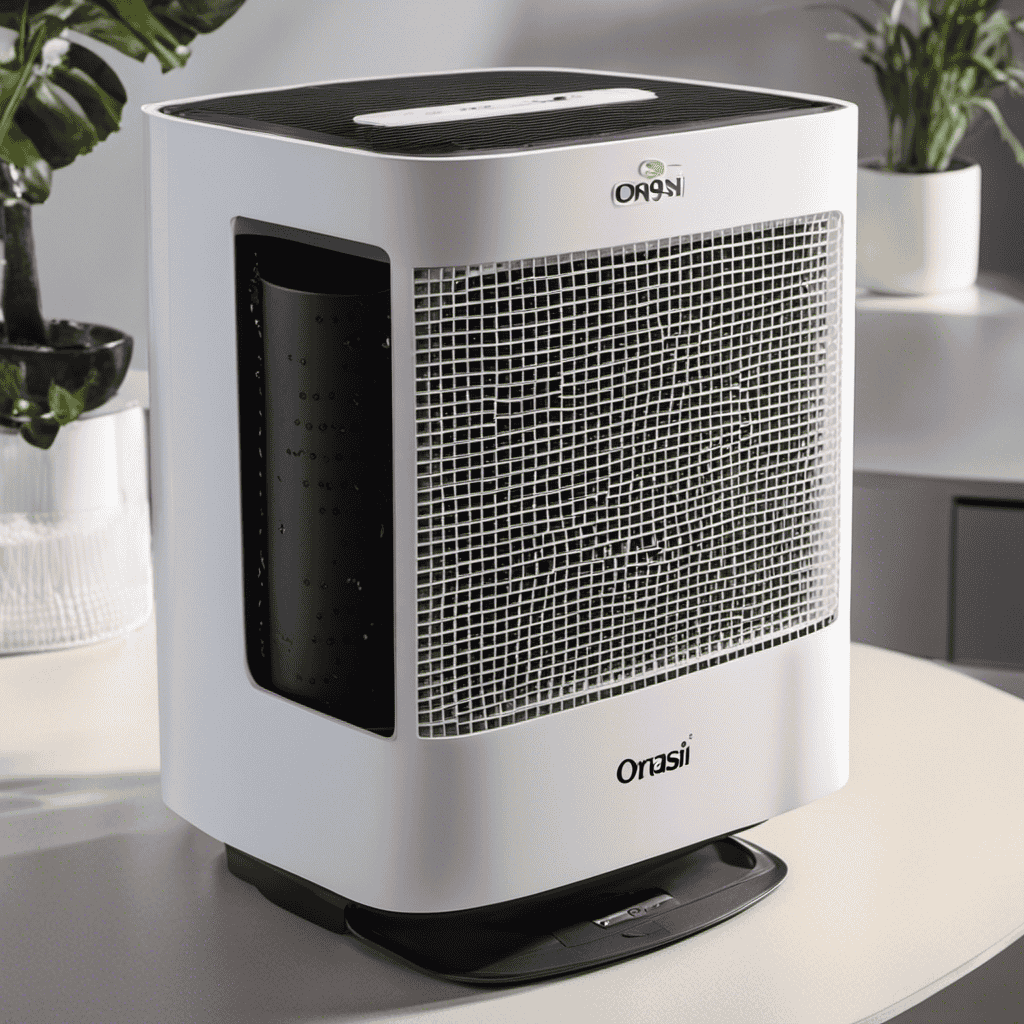
To understand the Oreck XL Air Purifier, you’ll want to familiarize yourself with its features and functions.
This air purifier is designed to improve the air quality in your home by capturing and removing airborne particles such as dust, pet dander, and pollen.
With its compact design and powerful filtration system, the Oreck XL Air Purifier provides many benefits.
It features a HEPA filter that can capture particles as small as 0.3 microns, ensuring that your indoor air is clean and fresh.
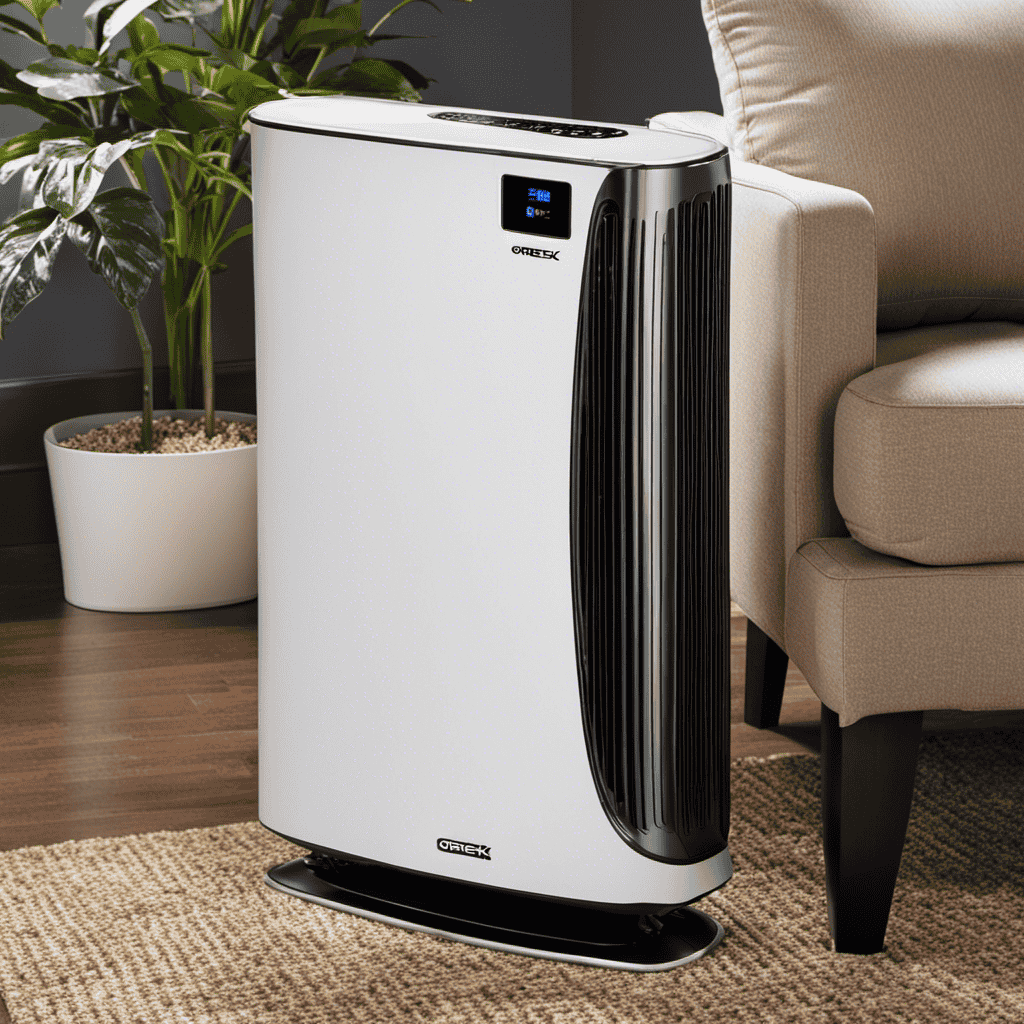
Additionally, it has a three-speed fan that allows you to adjust the airflow according to your preference.
The Oreck XL Air Purifier also has a built-in ionizer that helps to remove odors and freshen the air.

LEVOIT Top Fill Humidifiers for Bedroom, 2.5L Tank for Large Room, Easy to Fill & Clean, 28dB Quiet Cool Mist Air Humidifier for Home Baby Nursery & Plants, Auto Shut-off for Safety, 25H
𝙁𝙖𝙨𝙩 𝙃𝙪𝙢𝙞𝙙𝙞𝙛𝙞𝙘𝙖𝙩𝙞𝙤𝙣 𝘼𝙡𝙡 𝙉𝙞𝙜𝙝𝙩: Runs for up to 25 hours on low thanks to its SUPER LARGE capacity...
As an affiliate, we earn on qualifying purchases.
Preparing the Oreck XL Air Purifier for Cleaning
Before starting, make sure you’ve unplugged the Oreck XL Air Purifier. Cleaning your air purifier regularly is essential to maintain its effectiveness. Here’s a step-by-step guide on how to prepare your Oreck XL Air Purifier for cleaning:
-
Gather the necessary tools: You will need a soft cloth or sponge, mild detergent, water, and a vacuum cleaner with a brush attachment.
-
Remove the pre-filter: Open the front cover of the air purifier and carefully remove the pre-filter. This is usually located near the intake grille and can be easily lifted out.
-
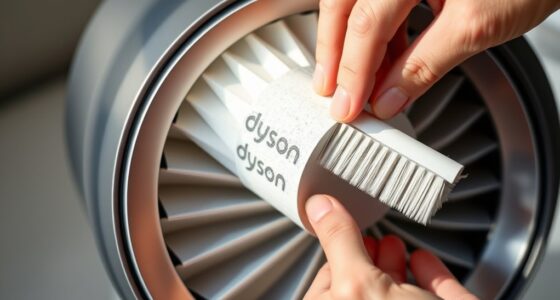
Clean the pre-filter: Use the vacuum cleaner’s brush attachment to remove any dust or debris from the pre-filter. If necessary, wash the pre-filter with mild detergent and water, then allow it to dry completely before reinstalling.
-
Clean the exterior: Wipe down the exterior of the air purifier with a damp cloth or sponge. Be sure to remove any dirt or stains, paying extra attention to the control panel and buttons.

Humidifiers for Large Room with Large Room Humidifiers
Humidifiers for Large Room with Large Room Humidifiers
As an affiliate, we earn on qualifying purchases.
Cleaning the Filters of the Oreck XL Air Purifier
After removing the pre-filter, it’s important to clean it thoroughly to ensure optimal performance of the Oreck XL Air Purifier. The pre-filter is responsible for capturing larger particles such as dust and pet hair before they reach the main filter.
To clean the pre-filter, start by gently tapping it to remove any loose debris. Then, rinse it under running water to remove any remaining dirt. Avoid using harsh chemicals or abrasive scrubbers, as they can damage the filter. Once cleaned, allow the pre-filter to air dry completely before reinserting it into the air purifier.
It is recommended to clean the pre-filter every 1-3 months, depending on the level of air pollution in your environment. Using a soft brush or vacuum attachment can also help remove any stubborn dirt or debris.

LEVOIT Superior 6000S Smart Evaporative Humidifiers for Home Whole House up to 3000ft², 23L, Last 72-Hour, Premium Filter, Dry Mode, Wheels & Water Fill Hose, Foldable Storage, Sleep Mode, New Edition
𝙒𝙝𝙤𝙡𝙚-𝙃𝙤𝙢𝙚 𝘾𝙤𝙫𝙚𝙧𝙖𝙜𝙚: Covers up to 3,000 ft² with a powerful 1,500 mL/h output, quickly raise humidity from 30–60%...
As an affiliate, we earn on qualifying purchases.
Cleaning the Exterior of the Oreck XL Air Purifier
When cleaning the exterior, be sure to use a soft cloth and mild detergent to avoid scratching the surface of the Oreck XL Air Purifier. Here is a step-by-step guide to help you clean the exterior of your air purifier:
-
Begin by unplugging the unit and placing it on a flat surface.
-
Gently wipe the control panel with a soft cloth dampened with mild detergent and water. Avoid getting any liquid into the control panel.
-
Use a vacuum cleaner with a brush attachment to remove any pet hair or dust from the outer surface of the air purifier.
-
Wipe the rest of the exterior, including the sides and top, with a soft cloth to remove any remaining dirt or fingerprints.
Remember to always follow the manufacturer’s instructions and recommendations for cleaning your Oreck XL Air Purifier to ensure its optimal performance and longevity.
Maintaining the Oreck XL Air Purifier for Longevity
When it comes to maintaining the Oreck XL Air Purifier for optimal performance and longevity, two key points to consider are proper filter replacement and a regular cleaning schedule.
As an appliance maintenance specialist, I will provide detailed instructions on how to effectively clean the air purifier and ensure its components are well-maintained.
We will explore the importance of each component, the specific tools required for cleaning, and the recommended cleaning methods to keep your Oreck XL Air Purifier operating at its best.
Proper Filter Replacement
To maintain optimal air purification, it’s important to regularly replace the filters in your Oreck XL air purifier. Here is a step-by-step guide on how to properly replace the filters:
- Turn off the air purifier and unplug it from the power source.
- Locate the filter compartment on the back of the unit.
- Open the compartment by pressing the latch and removing the cover.
- Take out the old filters and dispose of them properly.
- Insert the new filters into the compartment, making sure they fit securely.
- Close the compartment cover and lock it in place.
- Plug in the air purifier and turn it on to enjoy improved air quality.
By regularly replacing the filters, you ensure that your Oreck XL air purifier continues to effectively remove dust, allergens, and other pollutants from the air in your home. This simple maintenance task will help prolong the life of your air purifier and keep the air in your home clean and fresh.
Now that you know how to replace the filters, let’s move on to discussing the regular cleaning schedule for your Oreck XL air purifier.
Regular Cleaning Schedule
Now that we have discussed the importance of proper filter replacement, let’s move on to establishing a regular cleaning schedule for your Oreck XL air purifier. Regular cleaning is crucial to maintain the efficiency and longevity of your appliance.
To begin, gather the necessary cleaning supplies: a soft, lint-free cloth, a mild detergent, and a small brush or vacuum with a brush attachment. Start by unplugging the air purifier and removing the front grille. Use the brush or vacuum to gently remove any dust or debris from the grille and the surrounding areas.
Next, wipe down the exterior surfaces of the air purifier with the damp cloth and mild detergent. Be sure to avoid getting any moisture inside the unit. For the filter, carefully remove it according to the manufacturer’s instructions and clean it as recommended using the best cleaning techniques.
Troubleshooting and Common Issues With the Oreck XL Air Purifier
When it comes to maintaining the Oreck XL Air Purifier, there are a few key points to keep in mind.
First, understanding the filter replacement frequency is crucial to ensure optimal performance.
Second, troubleshooting strange odors is important to address any potential issues with the unit.
Lastly, power supply problems can arise and knowing how to troubleshoot them is essential for keeping the air purifier running smoothly.
In this discussion, I will provide detailed instructions on each of these topics, using technical language and maintaining a professional tone throughout.
Filter Replacement Frequency
The filter in the Oreck XL air purifier should be replaced regularly to maintain optimal performance. Proper filter maintenance is essential in prolonging the filter’s life and ensuring that your air purifier continues to effectively remove pollutants from your indoor air.
Here are four key points to consider when it comes to filter replacement:
-
Replacement frequency: The Oreck XL air purifier’s filter should be replaced every 6 to 12 months, depending on usage and air quality.
-
Genuine filters: It is important to use genuine Oreck replacement filters to maintain the air purifier’s performance and warranty.
-
Filter indicator: The Oreck XL air purifier is equipped with a filter indicator that will alert you when it’s time to replace the filter.
-
Proper installation: Follow the manufacturer’s instructions to ensure the filter is properly installed for optimal filtration.
By regularly replacing the filter in your Oreck XL air purifier, you can maintain its effectiveness in improving indoor air quality and prolong its lifespan.
Now, let’s move on to troubleshooting any strange odors that you may encounter with your air purifier.
Strange Odor Troubleshooting
If you’re experiencing any strange odors with your air purifier, there are a few troubleshooting steps you can take.
To remove stubborn odors and ensure odor prevention, it is important to clean the various components of your Oreck XL air purifier regularly.
Start by unplugging the unit and removing the front grill. Use a soft brush or cloth to gently remove any dust or debris from the pre-filter.
Next, clean the Truman Cell using a soft brush or a vacuum cleaner with a brush attachment. Be sure to clean the collector plates thoroughly to remove any dirt or residue.
Lastly, clean the odor absorber using warm soapy water and a soft cloth, making sure to rinse it thoroughly before reinstalling.
Power Supply Problems
To troubleshoot power supply problems, you should first check if the cord is securely plugged into the outlet. Here are some troubleshooting solutions for power cord issues:
- Ensure the power cord is properly connected to the air purifier and the outlet.
- Check for any visible damage or fraying on the power cord. If found, replace the cord immediately.
- Test the outlet by plugging in another device to verify if it is functioning properly.
- If the power cord and outlet are fine, try resetting the air purifier by unplugging it for a few minutes and then plugging it back in.
By following these troubleshooting steps, you can identify and resolve any power supply issues with your Oreck XL air purifier.
If the problem persists, it is recommended to contact a professional technician for further assistance.
Conclusion
In conclusion, cleaning your Oreck XL air purifier is essential for maintaining its performance and prolonging its lifespan.
By following the step-by-step instructions provided by a professional appliance maintenance specialist or air purifier technician, you can ensure that each component is thoroughly cleaned and maintained.
Remember to use the recommended cleaning method, tools, and pay attention to specific details about each component.
So, why wait? Give your Oreck XL air purifier the care it deserves and enjoy cleaner and fresher air in your home.