As a proud owner of the Oreck Xl Professional Air Purifier, I understand the importance of keeping it clean and functioning at its best.
In this article, I’ll guide you through the process of cleaning the Oreck Xl Professional Air Purifier with ease.
From disassembling the unit to properly cleaning the filter and maintaining the exterior, I’ll share step-by-step instructions and essential tips to ensure your air purifier remains in top-notch condition.
Let’s dive in and get your Oreck Xl Professional Air Purifier sparkling clean!
Key Takeaways
- The Oreck Xl Professional Air Purifier Manual provides valuable information about the features and functions of the air purifier.
- Proper maintenance techniques include regularly changing the filters, cleaning the vents, and troubleshooting common issues.
- The step-by-step guide to disassembling and cleaning the air purifier includes unplugging the unit, removing the front grille, pre-filter, and Truman Cell, cleaning the cell, wiping down the exterior, and reassembling the purifier.
- Cleaning the components of the air purifier involves wiping the front grille, vacuuming or rinsing the pre-filter, cleaning the Truman Cell with warm soapy water, and wiping the housing and control panel.

DEWALT Drill Bit Set, 3-Flats Shank,14-Piece, 135 Degree Split Point, for Plastic, Wood and Metal (DWA1184)
135 Degree Split point tip design to help reduce walking
As an affiliate, we earn on qualifying purchases.
Understanding the Oreck Xl Professional Air Purifier Manual
Understanding the Oreck Xl Professional Air Purifier Manual can be made easier with the use of contractions.
This manual provides valuable information about the air purifier features and troubleshooting tips.
The manual highlights the various functions of the air purifier, such as the three-speed fan and the ability to capture and remove allergens and pollutants from the air.
It also provides step-by-step instructions on how to properly clean and maintain the air purifier for optimal performance.
By following the troubleshooting tips provided in the manual, you can easily address any issues that may arise with the air purifier.
With the help of this manual, you can ensure that your Oreck Xl Professional Air Purifier continues to provide clean and fresh air for you and your family.
Now, let’s move on to the essential tools for cleaning the Oreck Xl Professional Air Purifier.

LEVOIT Top Fill Humidifiers for Bedroom, 2.5L Tank for Large Room, Easy to Fill & Clean, 28dB Quiet Cool Mist Air Humidifier for Home Baby Nursery & Plants, Auto Shut-off for Safety, 25H
𝙁𝙖𝙨𝙩 𝙃𝙪𝙢𝙞𝙙𝙞𝙛𝙞𝙘𝙖𝙩𝙞𝙤𝙣 𝘼𝙡𝙡 𝙉𝙞𝙜𝙝𝙩: Runs for up to 25 hours on low thanks to its SUPER LARGE capacity...
As an affiliate, we earn on qualifying purchases.
Essential Tools for Cleaning the Oreck Xl Professional Air Purifier
When it comes to keeping my Oreck Xl Professional Air Purifier in top shape, there are a few must-have cleaning tools that I always rely on.
From a soft brush attachment for gently removing dust to a microfiber cloth for wiping down the exterior, these tools help me ensure that my air purifier stays clean and efficient.
In addition to having the right tools, proper maintenance techniques like regularly changing the filters and cleaning the vents are crucial for maintaining the performance and longevity of the purifier.
Must-Have Cleaning Tools
To effectively clean your Oreck XL Professional Air Purifier, you’ll need a few must-have cleaning tools. Here are the essential cleaning supplies and effective techniques that I recommend:
| Cleaning Supplies | Effective Cleaning Techniques |
|---|---|
| Microfiber cloth | Gently wipe the exterior of the air purifier to remove dust and dirt. |
| Vacuum cleaner with brush attachment | Use the brush attachment to remove any loose debris from the air intake vents. |
| Compressed air canister | Blow air into the vents to dislodge any stubborn dust particles. Be sure to do this in a well-ventilated area. |
| Mild dish soap | Mix a small amount of dish soap with warm water and use a sponge to clean the pre-filter and collector cell. Rinse thoroughly and allow to dry completely. |
| Soft bristle brush | Use the brush to clean the ionization wires and the inside of the collector cell. Be gentle to avoid damaging any components. |
With these cleaning tools and techniques, you can keep your Oreck XL Professional Air Purifier in optimal condition, ensuring that it continues to provide you with clean, fresh air.
Proper Maintenance Techniques
Regular maintenance is crucial for extending the lifespan and efficiency of your Oreck XL Professional Air Purifier. To ensure your air purifier is working properly, it is important to troubleshoot any common issues that may arise.
One common issue is a decrease in performance due to a dirty filter. To address this, simply remove the filter and clean it according to the manufacturer’s instructions.
Another common issue is a malfunctioning power button. If you experience this problem, try unplugging the unit and plugging it back in to reset it. If the issue persists, contact Oreck customer support for further assistance.

VENTS-US Frigate ERV 80 R - Whole House Energy Recovery Ventilation System, Up to 100 CFM - Continuous Supply of Fresh Air While Exhausting Equal Amounts of Stale Air
Whole-Home Ventilation: Brings in fresh air and exhausts stale air at up to 100 CFM, maintaining healthy indoor...
As an affiliate, we earn on qualifying purchases.
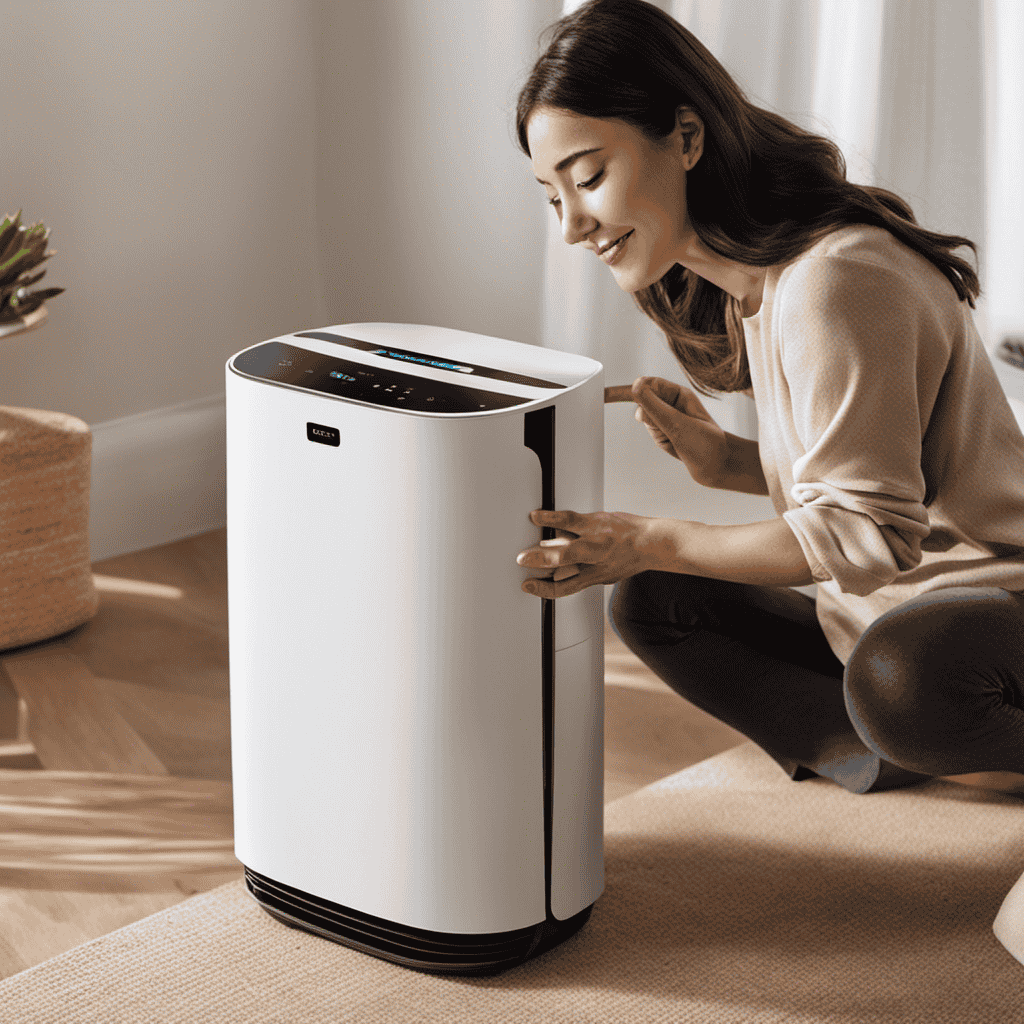
Step-by-Step Guide to Disassembling the Oreck Xl Professional Air Purifier
When it comes to maintaining my Oreck Xl Professional Air Purifier, knowing how to disassemble, clean the components, and reassemble it properly is crucial.
In this discussion, I will guide you through each step of the purifier disassembly process, ensuring you have the knowledge needed to effectively clean all the components.
Once disassembled, I will also provide clear instructions for cleaning each component and guide you through the reassembly process to ensure your purifier is functioning optimally.
Purifier Disassembly Process
First, you’ll need to gather the necessary tools for disassembling your Oreck XL Professional Air Purifier.
To troubleshoot and maintain your purifier, follow these steps.
-
Begin by unplugging the unit from the power source.
-
Next, remove the front grille by releasing the tabs on each side and lifting it up.
-
Then, take out the pre-filter by pulling it towards you.
-
To access the Truman Cell, remove the thumb screws on each side of the unit and lift the cell out.
-
Clean the cell by using a soft brush or vacuum to remove dust and debris.
-
Additionally, wipe down the exterior of the purifier with a damp cloth.
-
Lastly, reassemble the purifier in reverse order and plug it back in.
Regular maintenance will ensure optimal performance and longevity of your Oreck XL Professional Air Purifier.
Cleaning the Components
To ensure the components of your purifier are thoroughly cleaned, make sure to pay special attention to the front grille, pre-filter, and Truman Cell. These components are crucial for the proper functioning of your Oreck XL Professional Air Purifier. Here are some cleaning methods and troubleshooting tips to help you maintain your purifier:
- For the front grille, gently remove it from the unit and wipe it down with a damp cloth. Make sure to remove any dust or debris that may have accumulated.
- The pre-filter can be cleaned by either vacuuming it or rinsing it under running water. Allow it to fully dry before reinserting it into the purifier.
- The Truman Cell, which is the main filter, can be cleaned using warm soapy water. Make sure to thoroughly rinse and dry it before reinstalling.
Remember to follow the manufacturer’s instructions for cleaning and maintenance. Regular cleaning will help your purifier operate efficiently and maintain clean air in your home.
| Component | Cleaning Method | Troubleshooting Tips |
|---|---|---|
| Front Grille | Wipe with a damp cloth | Ensure proper alignment when reinserting |
| Pre-filter | Vacuum or rinse under running water | Replace if damaged or worn out |
| Truman Cell | Clean with warm soapy water, rinse and dry | Check for any loose connections or damage |
| Housing | Wipe with a damp cloth | Check for any blockages or obstructions in the airflow |
| Control Panel | Use a soft cloth and mild cleaner if necessary | Check for any error messages or malfunctions |
Reassembling the Purifier
Now that I’ve finished cleaning the components of my Oreck XL Professional Air Purifier, it’s time to reassemble it. Here are some reassembling tips to ensure everything is put back together correctly.
First, I’ll start by carefully placing the filters back into their respective slots. It’s important to make sure they are aligned properly to ensure optimal performance.
Next, I’ll reattach the front panel and secure it tightly to prevent any air leakage.
One common issue that may arise during reassembly is difficulty aligning the components. If this happens, I’ll double-check that everything is properly lined up and try again.
Another common problem is a loose or misaligned filter, which can result in reduced air purification. If I notice this, I’ll carefully readjust the filter to ensure a snug fit.

AC Infinity CLOUDWAY Whole House EC Fan T10, 1200 CFM with Temperature Humidity Controller, WiFi Integrated App Control – Ceiling Mount House Attic Vent Fan, Exhaust Home Ventilation System
A whole house attic fan designed to cool and ventilate entire homes by exhausting hot air from indoor...
As an affiliate, we earn on qualifying purchases.
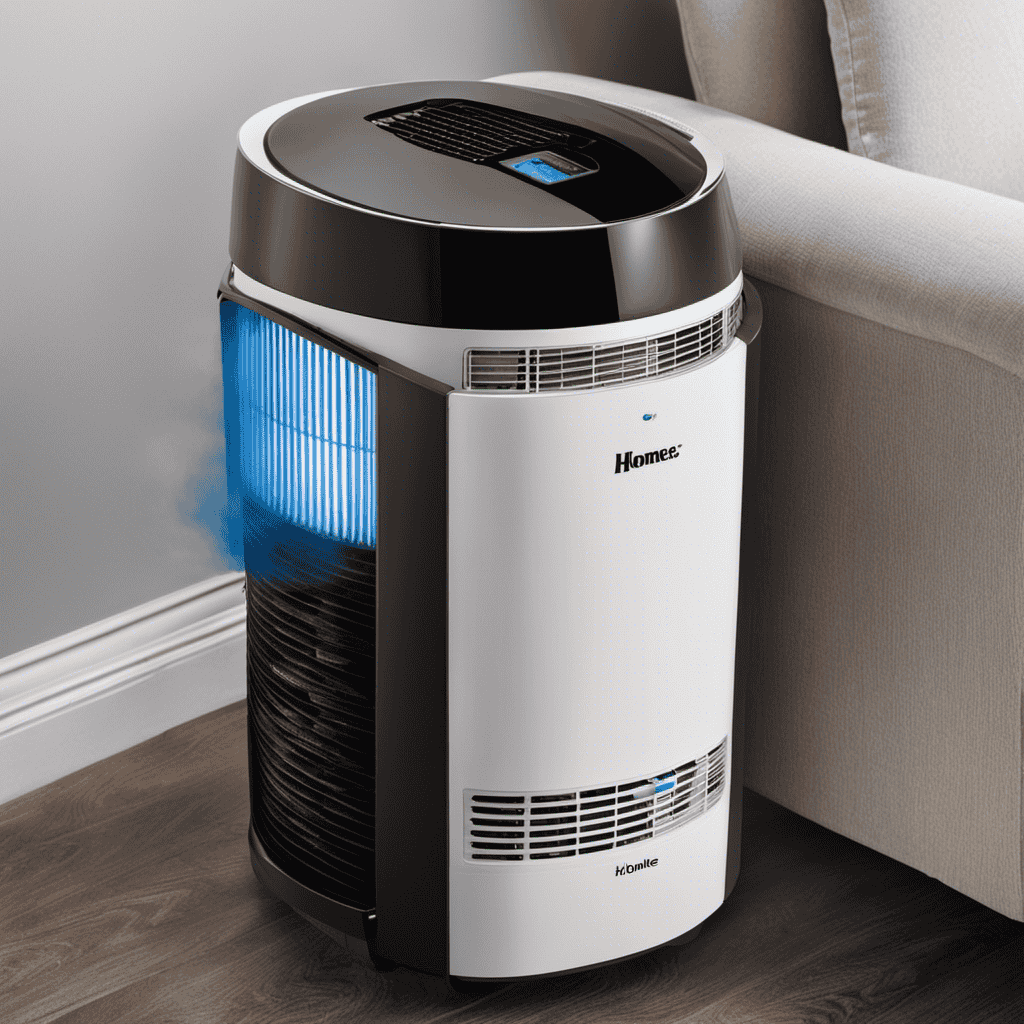
Proper Cleaning Techniques for the Oreck Xl Professional Air Purifier Filter
When cleaning the Oreck Xl Professional Air Purifier filter, it’s important to follow proper cleaning techniques. Here are some steps to help you maintain and troubleshoot your Oreck Xl Professional Air Purifier effectively:
- Start by turning off the unit and unplugging it from the power source.
- Carefully remove the filter from the purifier by following the manufacturer’s instructions.
- Gently tap the filter to remove any loose dirt or debris.
- Use a soft brush or vacuum attachment to remove any remaining dirt or dust.
- If the filter is washable, rinse it with water and mild soap. Make sure to thoroughly dry it before reinserting.
- For non-washable filters, replace them according to the manufacturer’s recommendations.
- Regularly check the filter for signs of damage or wear and replace if necessary.
Proper maintenance and cleaning of your Oreck Xl Professional Air Purifier filter will ensure optimal performance and longevity.
Cleaning the Exterior of the Oreck Xl Professional Air Purifier
After unplugging the unit, I wipe down the exterior of my Oreck Xl Professional Air Purifier to remove any dust or debris.
To clean it effectively, I use a soft, lint-free cloth or sponge dampened with mild soap and water.
I make sure not to use harsh chemicals or abrasive cleaners that could damage the surface.
It’s important to avoid getting water or moisture on the control panel or other electronic parts.
Once I’ve wiped down the exterior, I dry it thoroughly with a clean cloth.
For tougher stains or marks, I use a non-abrasive cleaner that is safe for use on plastic surfaces.
Following these cleaning methods and using recommended cleaning products helps to keep my Oreck Xl Professional Air Purifier looking clean and functioning at its best.
Maintaining and Storing the Oreck Xl Professional Air Purifier
To properly maintain and store my Oreck Xl Professional Air Purifier, I regularly clean the filters and ensure they are completely dry before reinserting them into the unit. This helps to keep the air purifier running efficiently and effectively.
Here are some key tips for maintaining and troubleshooting common issues with air purifier filters:
-
Clean the filters regularly: Dust and debris can accumulate on the filters, reducing their effectiveness. Cleaning the filters every 3-6 months is recommended.
-
Use a soft brush or vacuum: Gently brush off or vacuum the filters to remove any dirt or particles.
-
Check for damage: Inspect the filters for any signs of damage, such as tears or holes. If damaged, it’s best to replace them to maintain optimal performance.
Frequently Asked Questions
How Often Should I Clean the Oreck Xl Professional Air Purifier?
I clean my Oreck XL Professional air purifier filters every 3 months to ensure optimal performance. Regular maintenance is important for air purifiers, and following the best practices helps maintain clean and healthy air in my home.
Can I Clean the Oreck Xl Professional Air Purifier While It Is Still Plugged In?
No, it is not safe to clean the Oreck XL Professional Air Purifier while it is still plugged in. Always unplug the purifier before cleaning to ensure your safety. Follow the cleaning precautions and maintenance tips in the manual for proper cleaning.
What Should I Do if the Oreck Xl Professional Air Purifier Is Not Functioning Properly After Cleaning?
If my Oreck XL Professional Air Purifier isn’t working properly after cleaning, I’d troubleshoot common issues. I’d also follow maintenance tips to ensure it stays in good working condition.
Are There Any Specific Cleaning Solutions or Products That Should Be Used on the Oreck Xl Professional Air Purifier?
When cleaning my Oreck XL Professional Air Purifier, I use gentle cleaning solutions and products recommended by the manufacturer. I also explore alternative cleaning methods to ensure thorough cleaning and maintenance of the device.
How Long Does It Take for the Oreck Xl Professional Air Purifier Filter to Dry After Cleaning?
After cleaning the Oreck XL Professional Air Purifier filter, it typically takes a few hours to dry completely. To properly clean and maintain the filter for optimal performance, follow the instructions in the Oreck XL Professional Air Purifier manual.
Conclusion
In conclusion, cleaning the Oreck Xl Professional Air Purifier is a simple task that can greatly improve the quality of the air in your home.
By following the step-by-step guide in the manual and using the right tools, you can easily disassemble and clean the filter, as well as the exterior of the purifier.
Maintaining and storing the purifier properly will ensure its longevity.
Just like how a breath of fresh air can rejuvenate us, a clean Oreck Xl Professional Air Purifier can refresh our living spaces and promote a healthier environment.