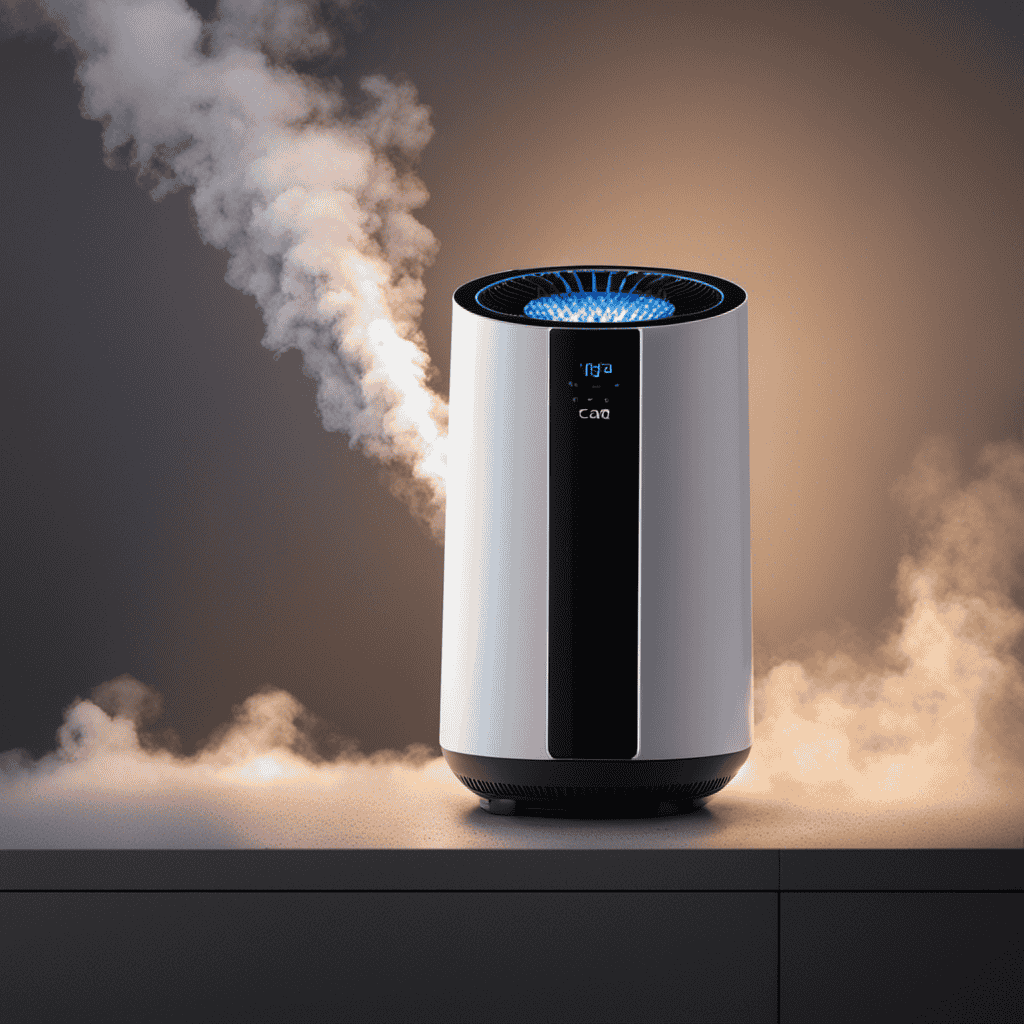
I’ve always believed that clean air is essential for a healthy and comfortable living environment. That’s why I’m excited to share with you today a step-by-step guide on how to install an air purifier.
In this article, I’ll walk you through the process, from choosing the right purifier to troubleshooting common issues. With the right tools and materials, you’ll be able to create a fresh and purified atmosphere in no time.
So, let’s get started!
Key Takeaways
- Consider factors such as room size and specific pollutants to remove when choosing an air purifier
- Look for air purifiers with HEPA filters and activated carbon filters
- Clear the area and remove obstacles before installation to optimize performance and reduce the risk of accidents or damage
- Properly connect the power source, choose the right filter, and regularly clean and replace the filter for optimal performance

HEKIWAY 60Ft Drip Irrigation System with Smart Water Timer – Automatic Garden Watering Kit with Solid Brass Metal Connectors, 360° Adjustable Nozzles & Bendable Tubing for Garden, Greenhouse & Lawn
🔹 [Smart Timer Included – Hands-Free Watering, Fully Programmable | 2026 Upgraded]No more daily hose duty. The built-in...
As an affiliate, we earn on qualifying purchases.
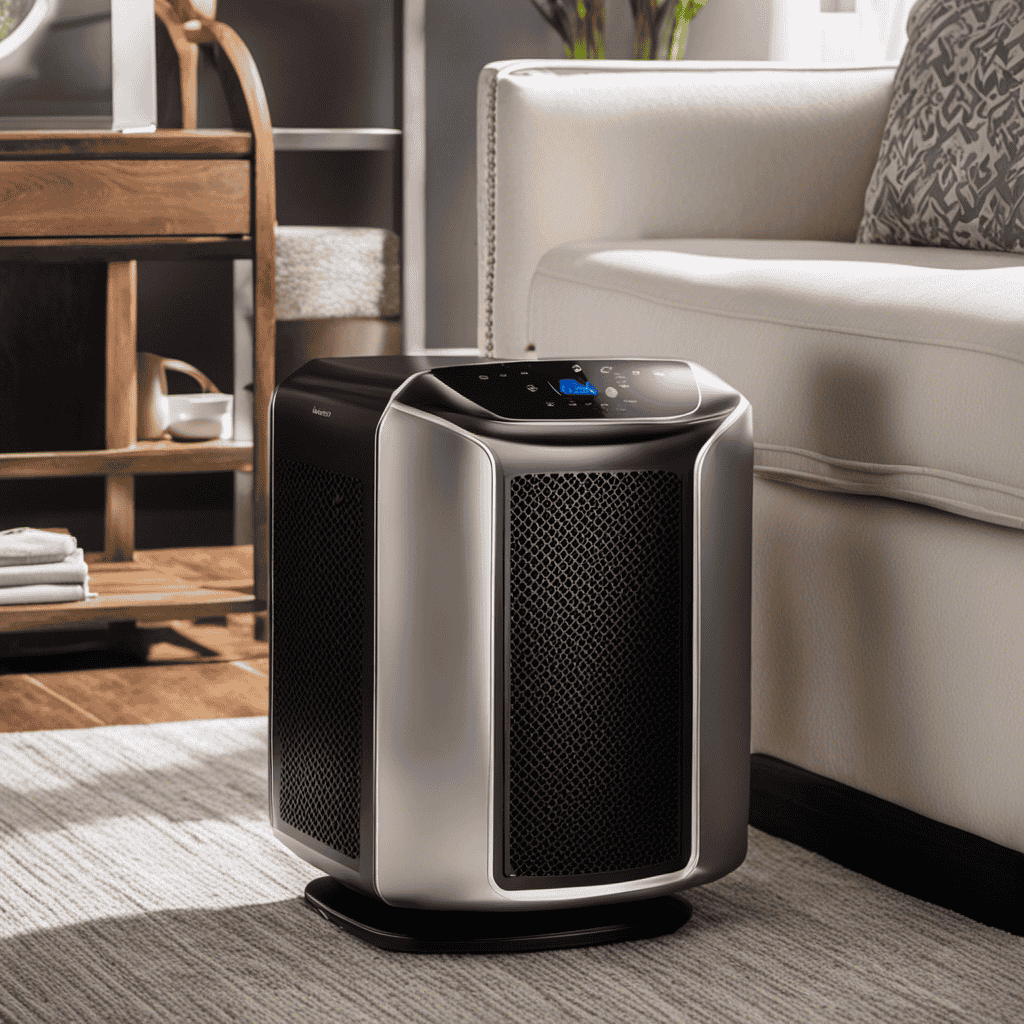
Choosing the Right Air Purifier
To choose the right air purifier for your needs, you’ll want to consider factors such as the size of the room and the specific pollutants you want to remove.
When it comes to air purifier features, there are a few key ones to look out for. First, check if the purifier has a HEPA filter, which is designed to capture small particles like dust, pollen, and pet dander. Additionally, consider if the purifier has an activated carbon filter, as this can help remove odors and chemicals from the air.
As for air purifier brands, some top options include Dyson, Honeywell, and Blueair. These brands have a reputation for producing high-quality purifiers that effectively clean the air in your home.
Kidde Carbon Monoxide Detector, AA Battery Powered CO Alarm with LEDs, Test-Reset Button, Low Battery Indicator, Portable
Electrochemical sensor technology detects CO gas
As an affiliate, we earn on qualifying purchases.
Assessing Indoor Air Quality
Assess the quality of the air in your home by using an air quality monitor.
It is important to regularly check for air pollutants to ensure a healthy indoor environment. Indoor air quality plays a significant role in our overall well-being, as we spend a considerable amount of time indoors.
An air quality monitor provides real-time data on the levels of various pollutants such as volatile organic compounds (VOCs), particulate matter (PM2.5), and carbon dioxide (CO2). By monitoring these parameters, you can identify potential sources of contamination and take appropriate measures to improve the air quality.
Additionally, a good air quality monitor can help you understand the effectiveness of air purifiers or ventilation systems you may have installed. Prioritizing indoor air quality is crucial for maintaining a healthy and comfortable living space.
Kidde Carbon Monoxide + Explosive Gas, Natural Gas & Propane Alarm, Plug-in with 9V Battery Backup, Digital Display, 85 dB Alarm, LED Status Indicators, 3rd Edition
Easy Installation - simply plug-in to a standard, 120V outlet in your home
As an affiliate, we earn on qualifying purchases.
Gathering the Necessary Tools and Materials
Gather all the necessary tools and materials for checking the quality of your indoor air. To conduct an indoor air quality testing and air purifier performance evaluation, you will need the following items:
| Tools | Materials |
|---|---|
| Air quality monitor | Dust wipes |
| Particle counter | Carbon dioxide detector |
| VOC meter | Air samples |
| Thermohygrometer | Testing equipment |
An air quality monitor will help measure the levels of pollutants in your indoor air such as particulate matter, volatile organic compounds (VOCs), and carbon dioxide. A particle counter will count the number and size of particles in the air, giving you an idea of the air cleanliness. A VOC meter will detect and measure the levels of harmful chemicals released from various sources. A thermohygrometer will provide information about the temperature and humidity levels in your space. Lastly, you will need testing equipment to collect air samples for further analysis. With these tools and materials on hand, you can accurately assess the quality of your indoor air and evaluate the performance of your air purifier.

Kidde Carbon Monoxide Detector, AA Battery Powered, Portable for Travel or Home, 85 dB Alarm, LED Status Indicators, 3rd Edition
Electrochemical sensor technology detects CO gas
As an affiliate, we earn on qualifying purchases.
Preparing the Installation Area
Before starting the installation, make sure to clear the area and remove any obstacles. Preparing the space is crucial for a successful air purifier installation.
Begin by measuring the area where you plan to install the air purifier. Take into account the height, width, and depth of the unit to ensure it will fit properly. Additionally, consider the proximity to electrical outlets and the availability of a grounded wall socket.
It is important to have enough clearance around the air purifier for proper air circulation. Remove any furniture or objects that may block the airflow. Clearing the area not only ensures optimal performance but also reduces the risk of accidents or damage.
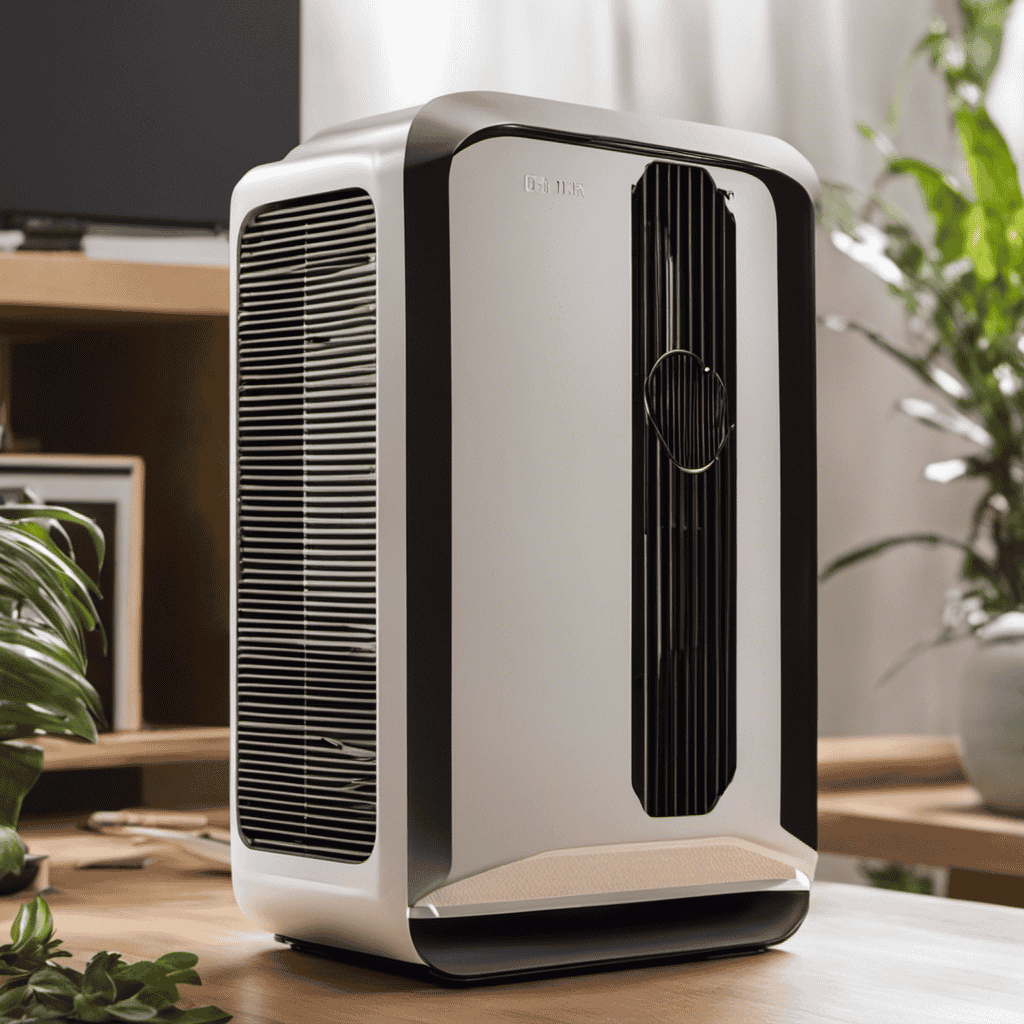
Mounting the Air Purifier
When it comes to mounting an air purifier, there are a few key points to consider.
First, you need to decide whether to mount it on the wall or ceiling. Wall mounting is often preferred for easy access and maintenance, while ceiling mounting can provide better air circulation.
Next, you’ll need to gather the necessary tools for installation. Typically, this includes a drill, screws, and a level for proper alignment.
Lastly, you should determine the ideal height and location for optimal performance. It’s important to follow the manufacturer’s recommendations and take into account the specific needs of the room.
Overall, by considering these factors, you can ensure that your air purifier is properly mounted and functioning effectively.
Wall or Ceiling
To properly install the air purifier, you’ll want to decide whether you prefer to mount it on the wall or the ceiling. This decision will depend on factors such as the layout of your space and your personal preferences. Here are three key points to consider:
-
Wall installation: Mounting the air purifier on the wall is a popular choice as it saves floor space and provides easy access for maintenance. It is important to ensure that the wall is sturdy enough to support the weight of the unit.
-
Ceiling installation: Mounting the air purifier on the ceiling can be advantageous if you have limited wall space or if you want the unit to be discreetly hidden. However, it may require professional installation due to the electrical and structural considerations involved.
As you make your decision, keep in mind the specific requirements of your space and the ease of installation.
Now, let’s move on to the tools needed for the installation process.
Tools Needed
Now that we have chosen whether to install the air purifier on the wall or ceiling, let’s move on to the next step: determining the tools needed.
When it comes to installing an air purifier, you will need a few essential tools. First and foremost, a drill and drill bits are necessary for creating holes in the wall or ceiling to mount the unit securely.
Additionally, a screwdriver will be needed to tighten screws and fasten the air purifier in place. It is also important to have a leveler to ensure that the unit is installed straight and level.
Lastly, don’t forget to have a measuring tape handy to determine the proper size and placement of the air purifier. Once you have gathered these tools, you will be ready to move on to the next step: deciding the height and location for installation.
Height and Location?
Once you’ve determined the tools needed, deciding on the height and location for your unit is the next step. Proper installation height and ideal placement location are crucial for optimizing the performance of your air purifier. Here’s what you need to know:
-
Height: Mount your air purifier at a height of about 3-5 feet from the ground. This ensures that it effectively captures airborne pollutants while avoiding obstruction from furniture or other objects.
-
Location: Place your unit in a central area of the room, away from walls and corners. This allows for optimal air circulation and coverage throughout the space.
-
Avoid direct sunlight and drafts: Keep your air purifier away from direct sunlight or areas with excessive drafts. This helps prevent damage to the unit and ensures efficient operation.
Connecting the Power Source
Before connecting the power source, make sure to unplug the air purifier. This is an important step to ensure your safety during the installation process.
When connecting the power source, it is crucial to follow electrical safety precautions to avoid any accidents or damage. Here are some steps to guide you:
- Locate the power cord of the air purifier and the nearest electrical outlet.
- Check the electrical rating of the air purifier to ensure compatibility with the outlet.
- Plug the power cord securely into the outlet.
- Make sure there are no kinks or damages to the cord that could cause electrical hazards.
By following these steps, you can safely connect your air purifier to the power source.
Once this is done, you can move on to setting up the filters, which is the next step in the installation process.
Setting Up the Filters
When it comes to setting up the filters for your air purifier, there are a few important factors to consider.
First, it’s crucial to choose the right filter for your specific needs and air quality concerns.
Additionally, proper installation is key to ensure optimal performance and efficiency.
Filter Selection Tips
To choose the right filter for your air purifier, it’s important to consider factors like the size of your room and the specific pollutants you want to target. Here are three key tips to help you select the right filter:
-
Understand your air quality needs: Identify the specific pollutants you want to remove from your indoor air. Whether it’s allergens, pet dander, or odors, different filters are designed to address specific concerns.
-
Check the filter lifespan: Each filter has a recommended lifespan before it needs replacing. Consider the maintenance aspect and choose a filter that suits your lifestyle and budget. Regular filter replacement is crucial for optimal performance and clean air.
-
Consider room size: Larger rooms require filters with higher Clean Air Delivery Rate (CADR) to effectively clean the air. Ensure the filter you choose is suitable for the square footage of your space.
By considering these factors, you can make an informed decision about the most appropriate filter for your air purifier.
Now let’s move on to proper filter installation.
Proper Filter Installation
Make sure you have the correct size filter for your air purifier before attempting installation. Proper filter installation is crucial for the optimal performance of your air purifier.
Here are some filter installation tips to ensure you do it right.
First, turn off your air purifier and unplug it from the power source. Open the front cover or access panel to locate the filter compartment. Remove the old filter carefully, following the manufacturer’s instructions. Take note of the filter orientation, as some filters have a specific direction for air flow.
Insert the new filter, making sure it fits securely and aligns with any arrows or markings. Close the cover or access panel, plug in the air purifier, and turn it back on.
Common installation mistakes include using the wrong size filter, improper filter orientation, and failing to secure the filter properly, allowing air leaks.
Maintenance and Replacement
Now that we have learned how to properly install the air purifier filter, let’s move on to the next crucial step: maintenance and replacement. Taking care of your air purifier filter is essential in ensuring its optimal performance and prolonging its lifespan.
Here are some maintenance tips to keep in mind:
-
Regular cleaning: Clean the filter regularly by gently vacuuming or rinsing it with water, depending on the manufacturer’s instructions.
-
Check the filter indicator: Most air purifiers come with a filter indicator that alerts you when it’s time to replace the filter. Pay attention to this indicator and replace the filter as recommended.
-
Keep the surroundings clean: Dust and particles in the environment can accumulate on the filter, reducing its efficiency. Regularly clean the area around the air purifier to minimize dust and extend the filter’s lifespan.
Testing and Adjusting the Air Purifier Settings
You should start by testing the different air purifier settings to find the one that suits your needs. One important feature to adjust is the fan speed. Most air purifiers have multiple fan speed settings, such as low, medium, and high. By adjusting the fan speed, you can control the airflow and noise level of the purifier. Another useful setting to test is the test mode. This mode allows the purifier to run at its highest speed for a short period of time to quickly clean the air in the room. It’s a great way to see the purifier in action and assess its effectiveness. To help you visualize the different settings and their effects, here is a table:
| Setting | Description |
|---|---|
| Low | Quiet operation, suitable for sleeping |
| Medium | Balanced airflow and noise level |
| High | Powerful purification, but louder |
| Test Mode | Quick and intense air cleaning for demonstration |
| Auto | Automatically adjusts fan speed based on air quality |
Maintaining and Cleaning the Air Purifier
When it comes to maintaining and cleaning my air purifier, there are three key points that I need to focus on: filter replacement frequency, cleaning methods, and the tools I will need.
Firstly, understanding the filter replacement frequency is crucial to ensure the effectiveness of the air purifier.
Secondly, I need to be aware of the proper cleaning methods to keep the air purifier free from dust and other particles.
Lastly, having the right tools, such as a soft cloth and a vacuum cleaner, is essential for easy and thorough cleaning.
Filter Replacement Frequency
The filter in your air purifier needs to be replaced regularly to ensure optimal performance. Proper filter maintenance is crucial for maintaining clean and healthy air in your home. Here are three important things to know about filter replacement frequency:
-
Filter lifespan: Filters have a limited lifespan, typically ranging from 3 to 6 months, depending on the air quality in your home and the type of filter you have. It’s important to check the manufacturer’s recommendations for your specific model.
-
Air quality: If you live in an area with high pollution levels or if you have pets or smokers in your home, the filter may need to be replaced more frequently. These factors can cause the filter to become clogged and less effective at removing airborne particles.
-
Regular maintenance: Regularly inspect your air purifier’s filter for signs of dirt, dust, or discoloration. If the filter appears dirty or discolored, it’s time for a replacement. Keeping up with filter maintenance will ensure that your air purifier continues to work efficiently in capturing pollutants and allergens.
To properly maintain your air purifier, it’s essential to know not only when to replace the filter but also how to clean it effectively. In the next section, I’ll discuss the different cleaning methods and tools you can use to keep your air purifier in top condition.
Cleaning Methods and Tools
To maintain optimal performance of your air purifier, it’s important to know the different cleaning methods and tools available.
Regular cleaning of your air purifier ensures that it continues to effectively remove pollutants from the air. There are several cleaning techniques you can use, depending on the model of your air purifier. Some common methods include wiping the exterior with a damp cloth, vacuuming the intake vents and filters, and washing the reusable filters with mild soap and water.
It is important to follow the manufacturer’s instructions for cleaning to avoid damaging the unit. Additionally, using recommended products such as microfiber cloths and gentle cleaning solutions can help maintain the efficiency of your air purifier.
By properly cleaning your air purifier, you can ensure that it continues to provide you with clean and fresh air.
Now let’s move on to troubleshooting common installation issues.
Troubleshooting Common Installation Issues
If you’re experiencing any issues during the installation process of your air purifier, make sure to check the user manual for troubleshooting tips. Here are some common issues you may encounter and troubleshooting techniques to resolve them:
-
Power supply problems: Check if the power cord is securely plugged into a functioning outlet. Ensure that the power switch is turned on. If the purifier still doesn’t turn on, try using a different outlet or replacing the power cord.
-
Filter replacement error: If you’re having trouble replacing the filter, make sure you’re using the correct filter for your specific air purifier model. Follow the user manual’s instructions carefully to ensure proper installation.
-
Noisy operation: If your air purifier is making excessive noise, check if the unit is placed on an uneven surface. Adjusting the position of the purifier may help reduce noise. Additionally, cleaning or replacing the fan may resolve the issue.
Frequently Asked Questions
How Often Should I Replace the Filters in My Air Purifier?
I should replace the filters in my air purifier based on the recommended maintenance frequency. Regularly replacing the filters ensures optimal performance and clean air. It is important to follow the manufacturer’s guidelines for proper maintenance.
Can I Install an Air Purifier in Every Room of My House?
Yes, you can install an air purifier in every room of your house. Having multiple air purifiers provides several benefits, such as improving indoor air quality, reducing allergens, and creating a healthier living environment.
Do Air Purifiers Remove All Types of Indoor Pollutants?
Air purifiers are effective at removing a wide range of indoor pollutants, including common ones like dust, pet dander, and pollen. They improve indoor air quality, making it healthier to breathe.
What Is the Ideal Location to Mount an Air Purifier?
The ideal height to mount an air purifier is at least 3 feet above the ground. It should be placed in a location with proper ventilation, away from obstacles. This ensures maximum efficiency in removing indoor pollutants.
Are There Any Specific Safety Precautions I Should Take During the Installation Process?
When installing an air purifier, it’s important to take safety measures and have necessary equipment. Be sure to follow manufacturer instructions, turn off power, and wear protective gear to prevent accidents.
Conclusion
In conclusion, installing an air purifier is a crucial step towards achieving cleaner and healthier indoor air. By carefully choosing the right air purifier, assessing the air quality, and gathering the necessary tools, you can enjoy the benefits of fresh and purified air in your home.
Remember to regularly maintain and clean the air purifier to ensure its optimal performance. So go ahead and take the leap towards a breath-taking transformation of your indoor environment!