I’ve always wanted to breathe in clean, fresh air within the comfort of my own home. That’s why I decided to install an in-duct air purifier.
With this simple addition to my HVAC system, I can enjoy improved air quality and reduce allergens and pollutants.
In this article, I’ll guide you through the step-by-step process of installing an in-duct air purifier. Get ready to take control of your indoor air quality and breathe easier than ever before.
Key Takeaways
- Consider the size of your HVAC system
- Evaluate the compatibility of filtration technology
- Take into account maintenance requirements
- Ensure effective circulation and air cleaning
Choosing the Right In-Duct Air Purifier
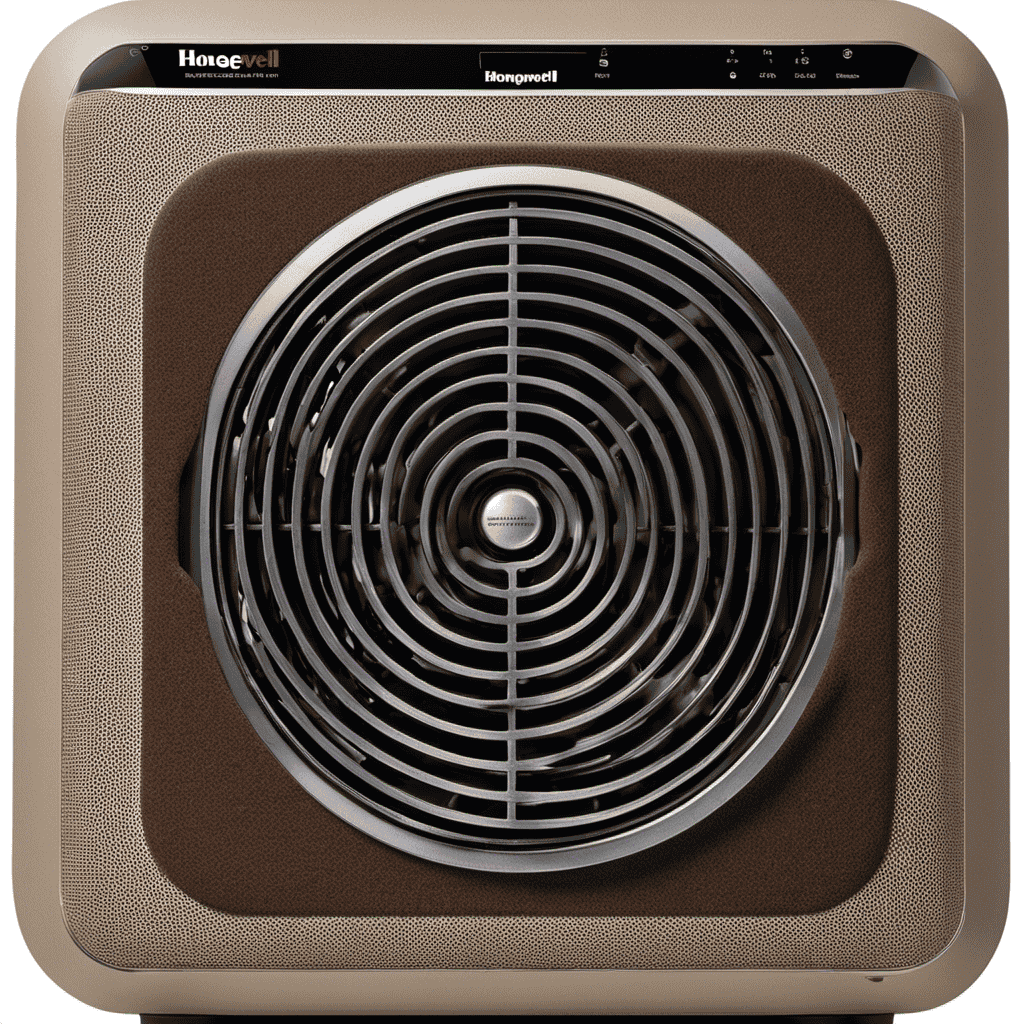
When choosing the right in-duct air purifier, it’s important to consider the size of your HVAC system. The filtration technology you choose should be compatible with your system’s capacity to effectively circulate and clean the air.
Different filtration technologies, such as HEPA filters or activated carbon filters, have varying levels of effectiveness in removing different types of airborne pollutants.
Additionally, it’s crucial to consider the maintenance requirements of the air purifier. Some filters need to be replaced more frequently than others, and regular cleaning may be necessary to ensure optimal performance.
By choosing the right filtration technology and considering the maintenance requirements, you can ensure that your in-duct air purifier will effectively improve the air quality in your home.
Now, let’s move on to the next step: assessing your ductwork for installation.
Assessing Your Ductwork for Installation
Before installing an in-duct air purifier, it’s crucial to assess the suitability of your ductwork. This assessment involves evaluating factors such as the size, condition, and layout of your ducts. This ensures they can accommodate the air purifier effectively.
Additionally, you need to consider compatibility with your existing HVAC system. Certain modifications may be necessary to ensure seamless integration. These modifications can range from simple adjustments to more complex installations. The associated costs will vary accordingly.
Ductwork Suitability Assessment
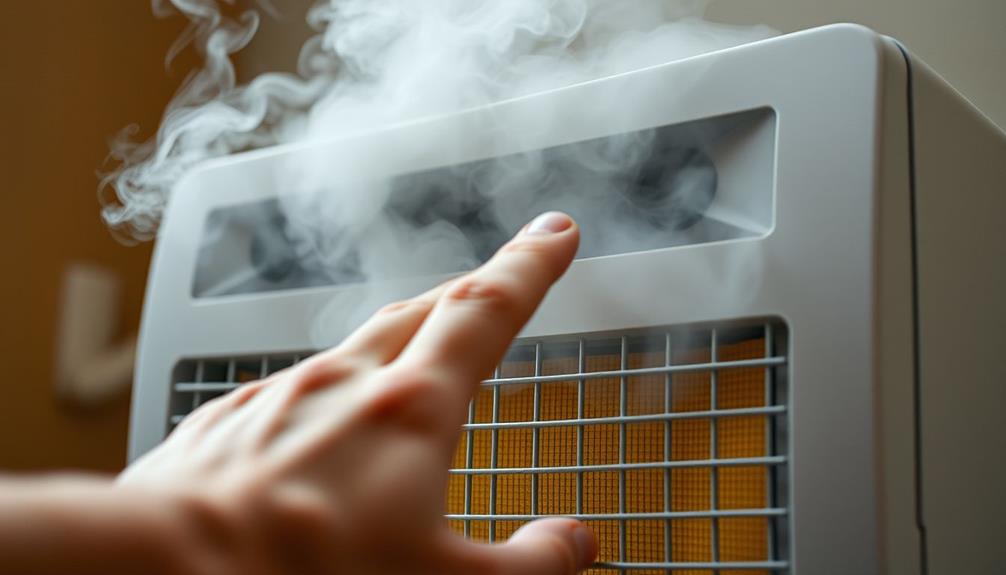
The first step in assessing the suitability of your ductwork for an in-duct air purifier is to check for any leaks or damage. These issues can significantly impact the efficiency of your ductwork and compromise the effectiveness of the air purifier. To assess your ductwork, visually inspect the entire system for any visible leaks or signs of damage. Pay close attention to joints, seams, and connections. Additionally, you can perform a smoke test by introducing smoke into the ductwork and observing if it escapes anywhere. This will help identify any hidden leaks or gaps. To help you understand the importance of assessing ductwork efficiency and improving indoor air quality, here is a table showcasing the potential health risks associated with poor air quality and the benefits of using an in-duct air purifier:
| Health Risks | Benefits of using an in-duct air purifier |
|---|---|
| Allergies and Asthma | Removes allergens and irritants from the air |
| Respiratory Issues | Filters out harmful particles and pollutants |
| Poor Sleep Quality | Enhances air quality for a better night’s rest |
| Odor and Chemical Sensitivities | Reduces odors and eliminates harmful chemicals |
| Increased Risk of Illness | Cleanses the air of bacteria and viruses |
Compatibility With Existing System
Assessing your existing system is important to determine if it is compatible with an in-duct air purifier. Before installing an in-duct air purifier, you need to ensure that your existing HVAC system is capable of accommodating the unit.
Check if your system has sufficient space in the ductwork to install the air purifier. Additionally, make sure that the airflow of your system is compatible with the air purifier’s requirements. Some air purifiers require a certain level of airflow to effectively clean the air.
It is also essential to consider the electrical requirements of the air purifier and verify if your existing system can provide the necessary power supply. Assessing these factors will help determine if your existing system is compatible and if any modifications are needed for a successful installation.
Transitioning into the subsequent section about necessary modifications and costs, once you have assessed the compatibility of your existing system, you can move on to evaluating any necessary modifications and associated costs.
Necessary Modifications and Costs
Once you’ve assessed compatibility, you’ll need to consider if any modifications are required and how much they will cost.
When installing an in-duct air purifier, necessary modifications may include changes to the existing ductwork or electrical system. These modifications are crucial to ensure the proper functioning and efficiency of the air purifier.
The installation costs will depend on the complexity of the modifications needed. For example, if the ductwork needs to be extended or resized, it may require additional materials and labor, resulting in higher installation costs. Similarly, if the electrical system needs to be upgraded to accommodate the air purifier, the cost will increase accordingly.
It is important to consult with a professional HVAC technician to assess the necessary modifications and provide an accurate estimate of the installation costs.
Gathering the Necessary Tools and Materials
Gather all the necessary tools and materials before starting the installation process. Here is a list of tools you’ll need: a screwdriver, pliers, wire cutters, a tape measure, and a utility knife.
Additionally, you’ll need the following materials: an in-duct air purifier unit, duct tape, zip ties, and electrical tape.
Before you begin, make sure to turn off the power to your HVAC system.
Start by locating a suitable spot in your ductwork to install the air purifier. Measure and mark the area where you’ll cut a hole for the unit. Use a utility knife to carefully cut the opening.
Secure the air purifier in place using duct tape and zip ties.
Lastly, reconnect any disconnected ducts and seal them with electrical tape.
With the tools and materials gathered, you’re now ready to prepare your HVAC system for installation.
Preparing Your HVAC System for Installation
Before you begin, make sure to turn off the power to your HVAC system to prepare it for installation.
Proper HVAC system maintenance is essential to ensure optimal performance and longevity.
As part of the installation process, it is crucial to troubleshoot any ductwork issues that may affect the airflow and efficiency of the system.
Start by inspecting the ducts for any signs of damage, such as leaks or loose connections.
Seal any leaks using duct tape or mastic sealant to prevent air leakage.
Additionally, check for any obstructions or blockages in the ducts that may hinder the airflow.
Clear out any debris or dust buildup using a vacuum or a brush.
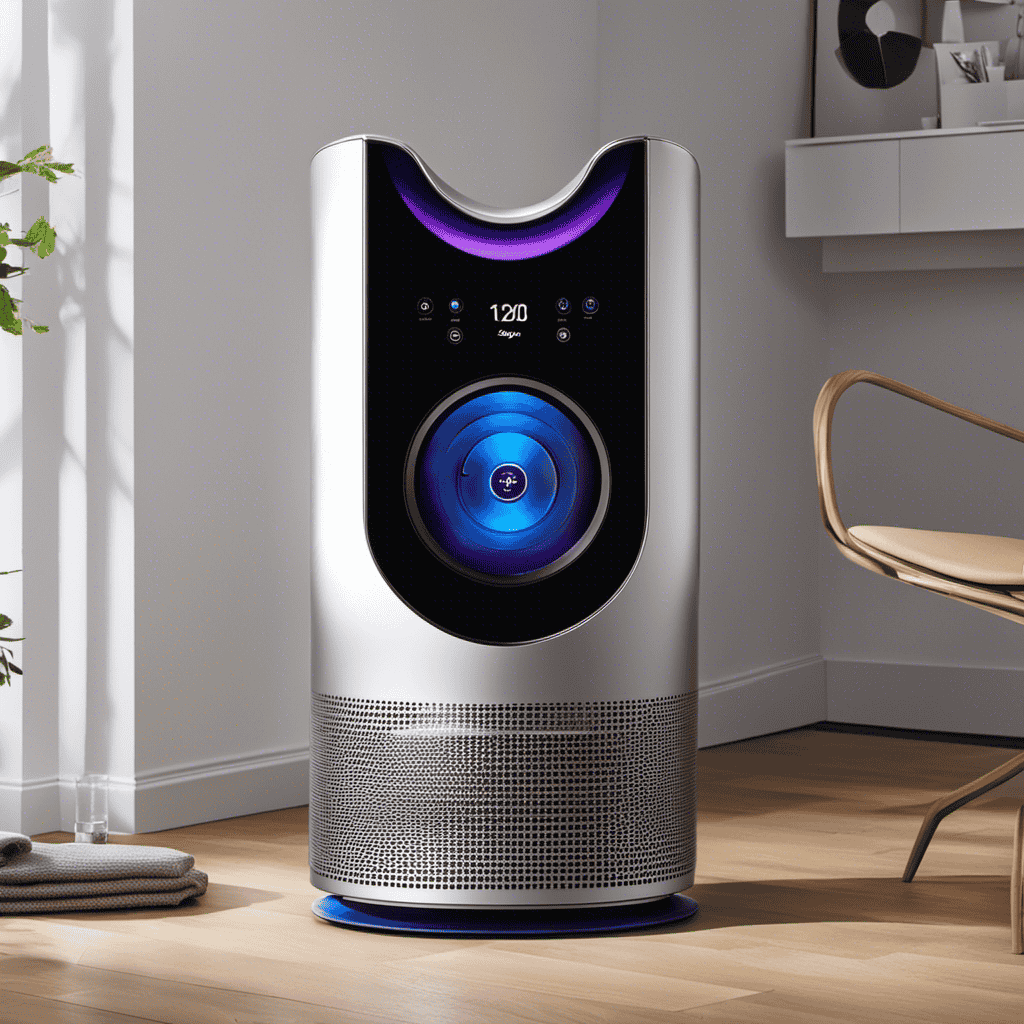
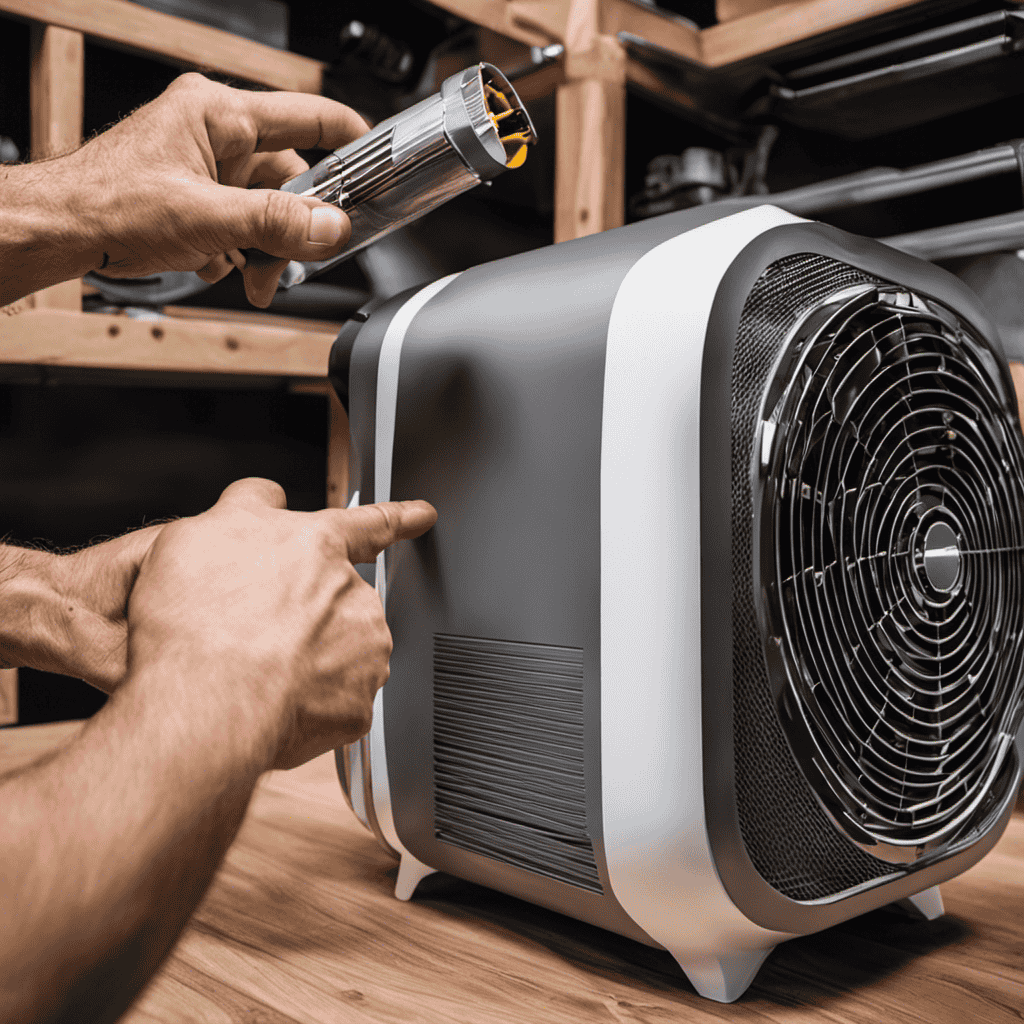
Mounting the In-Duct Air Purifier
To properly mount the in-duct air purifier, you’ll need a screwdriver and a level to ensure it is securely attached and properly aligned. Follow these mounting techniques for a successful installation and troubleshooting:
-
Choose the right location: Find a suitable spot in the existing ductwork where the purifier can be easily accessed for maintenance. Make sure there are no obstructions or wiring in the way.
-
Secure the mounting brackets: Use the screwdriver to attach the mounting brackets to the ductwork. Ensure they are securely fastened to prevent any movement or vibrations.
-
Align the purifier: Place the air purifier on the mounting brackets and use the level to ensure it is perfectly aligned. This will ensure optimal performance and efficient air purification.
By following these mounting techniques, you can ensure the in-duct air purifier is securely installed and ready to improve the air quality in your home.
Now, let’s move on to connecting the purifier to your HVAC system.
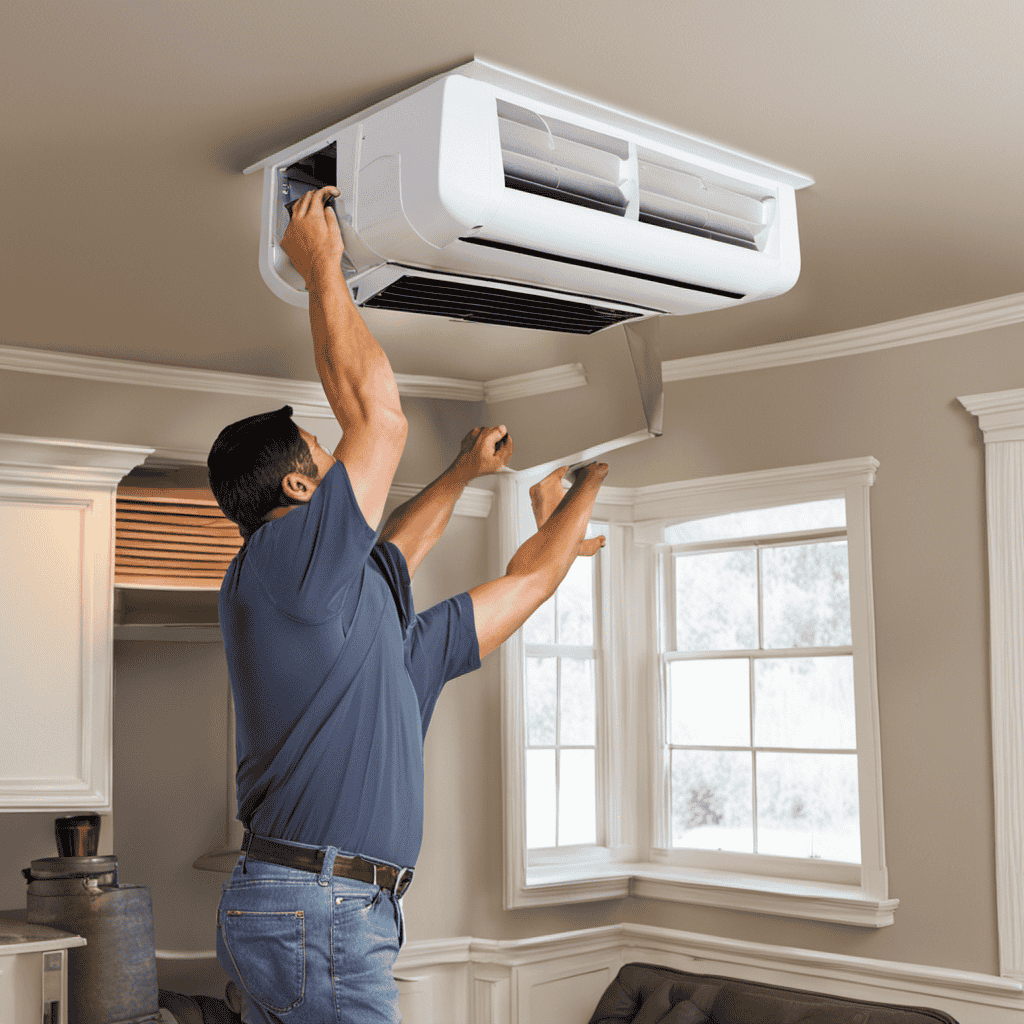
Connecting the Purifier to Your HVAC System
Now that we have successfully mounted the in-duct air purifier, the next step is to connect it to your HVAC system. This is a crucial part of the installation process as it ensures that the purified air is efficiently distributed throughout your home.
To connect the purifier, follow these simple steps:
- Locate the air duct where you want to install the purifier.
- Cut an appropriate-sized hole in the duct using a hole saw or a similar tool.
- Connect the purifier’s duct collar to the hole using sheet metal screws.
- Seal the connection with HVAC foil tape to prevent air leakage.
- Finally, connect the power supply to the purifier.
In case you encounter any issues during the connecting process, refer to the troubleshooting tips below:
| Issue | Troubleshooting Tip |
|---|---|
| Air leakage around the connection | Ensure that the duct collar is securely fastened and sealed with HVAC foil tape. |
| Power supply not working | Check the power source and make sure it is providing sufficient voltage. Also, check the wiring connections for any loose or damaged wires. |
Testing and Adjusting the Air Purifier Settings
Once you have connected the HVAC system to the purifier, it’s time to test and adjust the settings to ensure optimal air purification. Here are the steps to follow:
-
Adjust air purification levels: Start by setting the air purification level to the manufacturer’s recommended setting. This will help remove airborne pollutants effectively without putting unnecessary strain on the system. Monitor the air quality over a few days and make adjustments as needed to achieve the desired level of purification.
-
Troubleshoot common issues: If you notice any issues such as reduced airflow or unusual noises, check the air filters and ensure they are clean and properly installed. Also, inspect the ductwork for any obstructions or leaks that could affect the performance of the air purifier. Addressing these issues promptly will help maintain optimal air purification.
-
Fine-tune settings for your specific needs: Each environment is unique, so it’s important to fine-tune the settings based on your specific needs. You may need to experiment with different air purification levels and observe the air quality to find the ideal setting for your space.
By following these steps, you can ensure that your in-duct air purifier is functioning optimally.
Now, let’s move on to the next step: maintaining and cleaning your in-duct air purifier.
Maintaining and Cleaning Your In-Duct Air Purifier
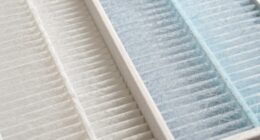
Make sure you regularly clean the filters of your in-duct air purifier to maintain its effectiveness. Proper air purifier maintenance is crucial for ensuring clean and healthy air in your home.
Over time, the filters in your air purifier can become clogged with dust, pollen, and other airborne particles, reducing its efficiency. To clean the filters, first, turn off the air purifier and unplug it from the power source. Remove the filter cover and carefully take out the filters.
Gently tap the filters to remove loose debris, or use a soft brush to brush away the dirt. If the filters are washable, rinse them with water and let them dry completely before reinstalling. For non-washable filters, replace them according to the manufacturer’s instructions.
Regularly cleaning and replacing the filters will help extend the lifespan of your air purifier and maintain its optimal performance. If you are experiencing any issues with your air purifier, such as strange noises, decreased airflow, or a noticeable drop in air quality, consult the user manual or contact the manufacturer for troubleshooting tips.
Frequently Asked Questions
How Long Does It Take for an In-Duct Air Purifier to Start Working Effectively?
It usually takes a few hours for an in-duct air purifier to start working effectively. Factors affecting effectiveness include the size of the space, the level of pollution, and the quality of the air purifier. However, the potential benefits are worth the wait.
What Are the Potential Side Effects of Using an In-Duct Air Purifier?
Using an in-duct air purifier can potentially reduce health risks by filtering out allergens and pollutants. It helps alleviate respiratory issues, such as asthma and allergies, allowing for cleaner and healthier indoor air.
Can an In-Duct Air Purifier Remove All Types of Indoor Air Pollutants?
An in-duct air purifier can effectively remove volatile organic compounds (VOCs) and improve indoor air quality. It uses filters and air circulation to trap and eliminate various types of indoor air pollutants.
How Often Should I Replace the Air Filters in My In-Duct Air Purifier?
I replace the air filters in my in-duct air purifier every three months. Regular replacement ensures optimal performance and clean air in my home. When installing the purifier, I follow these helpful tips for a successful installation.
Is It Necessary to Hire a Professional for the Installation of an In-Duct Air Purifier?
No, it’s not necessary to hire a professional for installing an in-duct air purifier. I can provide you with DIY installation tips that are cost-effective and straightforward. Let’s discuss the cost comparison and the steps involved.
Conclusion
In conclusion, installing an in-duct air purifier is a worthwhile investment for improving the air quality in your home. By following the steps outlined in this article, you can effectively install and maintain your air purifier.
Just like a superhero fighting off villains, the in-duct air purifier acts as a shield, protecting you and your loved ones from harmful pollutants.
With regular maintenance and cleaning, you can ensure that your air purifier continues to work efficiently, providing you with clean and fresh air to breathe.
So, go ahead and take the necessary steps to install your in-duct air purifier and enjoy the benefits it brings.