As a homeowner, I understand the importance of clean and healthy air in my living space. That’s why I decided to install a whole house air purifier.
In this guide, I will walk you through the step-by-step process of installing your own air purifier, ensuring that you and your loved ones can breathe easy. From determining the best location to connecting it to your HVAC system, I’ll provide you with all the detailed instructions you need to create a healthier environment for your home.
Key Takeaways
- Mount the air purifier at a height of 4-6 feet from the ground for optimum air circulation and coverage.
- Place the air purifier away from potential sources of pollution.
- Regularly maintain your HVAC system for optimal performance and energy efficiency.
- Connect the air purifier to the air ducts and power supply according to the installation process.

Dirnun 4th of July Decorations Red White and Blue Lights with 40 Led Big Stars, 4th of July Lights for Indoor Outdoor Home Garden Golf Cart Patriotic Theme Memorial Independence Day Decorations
Perfect 4th of July Lights: These red white and blue star string lights which is similar to the...
As an affiliate, we earn on qualifying purchases.
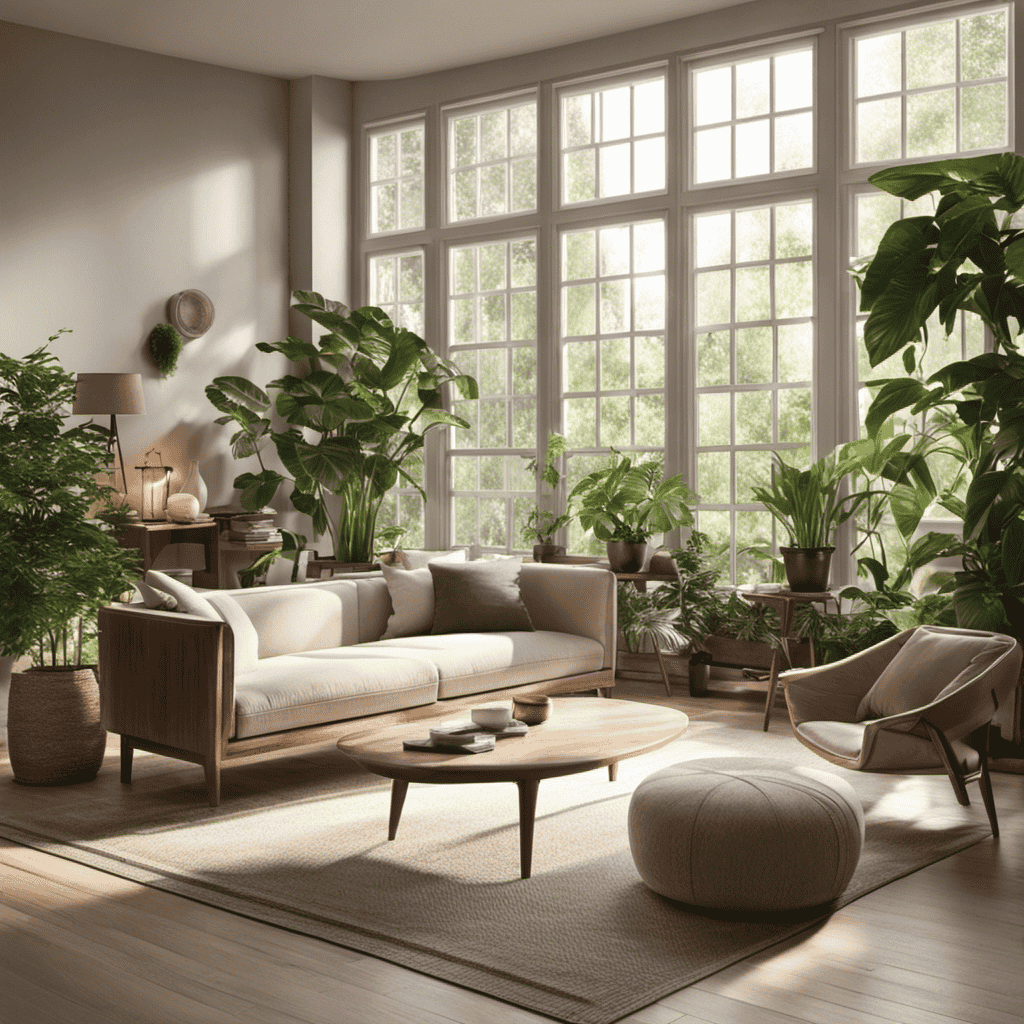
Determine the Best Location for Your Air Purifier
You’ll need to figure out the best location for your air purifier. When considering the mounting height, it is crucial to place the purifier at a height that allows for optimum air circulation and coverage.
Ideally, the purifier should be mounted at a height of about 4-6 feet from the ground. This ensures that the air purifier can effectively capture and filter the pollutants present in the air.
Additionally, it is important to consider the purifier placement in relation to potential sources of pollution, such as doors, windows, or areas with high traffic. By strategically placing the air purifier, you can maximize its effectiveness in providing clean and healthy air throughout your home.

2Pack 400LED Smart 4th of July String Lights | 164FT App Controlled Red White and Blue Lights, Waterproof Patriotic RGB Color Changing String Lights with Remote & Timer Indoor Outdoor for Memory Day
RGB String Lights with 16 Million Colors | The smart 4th of July color changing string lights can...
As an affiliate, we earn on qualifying purchases.
Gather the Necessary Tools and Materials
To get started, make sure you have all the tools and materials needed for the installation. You will need a few key tools for the installation process, including a screwdriver, wire cutters, and a power drill. Additionally, you will need the necessary materials such as mounting brackets, screws, and electrical wiring.
When it comes to air purifier selection, it’s important to consider your HVAC system compatibility. Before purchasing an air purifier, check the specifications to ensure it is compatible with your existing HVAC system. This will ensure efficient and optimal performance.
It is essential to gather all the tools and materials beforehand to avoid any delays during the installation process. By doing so, you can ensure a smooth and successful installation of your whole house air purifier.

ReyeeInc Solar 4th of July String Lights, 100 Stars and 39.4FT Outdoor Waterproof Patriotic Lights, Solar Battery Operated Fourth of July Lights for Golf Cart, Camping, Outside Decorations
Show Your Patriotism: ReyeeInc red white and blue outdoor lights are a stunning and patriotic addition to Memorial...
As an affiliate, we earn on qualifying purchases.
Turn off Your HVAC System
Before proceeding, make sure you’ve turned off your HVAC system.
Proper HVAC system maintenance is crucial for optimal performance and energy efficiency benefits. By regularly maintaining your HVAC system, you can ensure it operates at peak performance, reducing energy consumption and lowering utility bills.
Regular maintenance tasks include cleaning or replacing air filters, checking and cleaning the evaporator coil, inspecting and cleaning the condenser coil, and lubricating moving parts. These maintenance tasks help improve the system’s airflow, prevent breakdowns, and extend its lifespan.
Additionally, a well-maintained HVAC system ensures better indoor air quality by removing dust, allergens, and pollutants. It also reduces the strain on the system, preventing unnecessary wear and tear.
Taking the time to properly maintain your HVAC system will not only save you money but also contribute to a more energy-efficient home.

cshare 4th of July Lights Battery Operated, Red White and Blue Lights with Timer Outdoor Waterproof, 13ft 40LED Patriotic Star String Lights for Memorial Day Presidents Day Independence Day
🎇 Elevate Your Celebrations with Patriotic Decorations: Elevate your Memorial Day and Independence Day celebrations with our Pentagram...
As an affiliate, we earn on qualifying purchases.
Install the Air Purifier Mounting Bracket
Once the mounting bracket is in place, it’s important to securely attach it to the designated spot on the wall. To ensure a successful installation, here are some mounting bracket installation tips and recommendations for choosing the right tools and materials.
Firstly, select a sturdy and level area on the wall to install the bracket. Use a stud finder to locate the wall studs, as they provide the necessary support for the weight of the air purifier.
Next, gather the required tools and materials, including a drill, screws, and a screwdriver. Make sure to choose screws that are appropriate for the type of wall you are working with, whether it’s drywall or concrete.
Before attaching the bracket, double-check the dimensions and weight capacity to ensure it is compatible with your air purifier. Follow the manufacturer’s instructions for proper placement and alignment.
Once you have positioned the bracket, use the drill to create pilot holes for the screws. This will prevent the wall from cracking or splintering during installation. Insert the screws into the pilot holes and tighten them securely using a screwdriver.
Connect the Air Purifier to Your HVAC System
When connecting an air purifier to your HVAC system, it is important to ensure compatibility between the two systems. This involves assessing the size and capacity of the HVAC system to determine if it can effectively accommodate the air purifier.
Understanding the installation process overview is crucial in properly integrating the air purifier into the HVAC system, including connecting it to the air ducts and power supply.
One of the key benefits of air purification is the improvement of indoor air quality, as it filters out pollutants and allergens, providing cleaner and healthier air for occupants.
HVAC System Compatibility
Installing a whole house air purifier requires checking if your HVAC system is compatible. This is important because not all HVAC systems are designed to work with air purifiers. Here are some key factors to consider regarding HVAC system compatibility:
-
Airflow: Ensure that your HVAC system can accommodate the additional airflow requirements of the air purifier. This will prevent any strain on the system and ensure optimal performance.
-
Electrical compatibility: Check if your HVAC system has the necessary electrical connections and capacity to power the air purifier.
-
Filter compatibility: Verify if the air purifier’s filters can be easily integrated into your HVAC system’s existing filter setup.
-
Energy efficiency: Look for air purifiers that are energy-efficient and have a high CADR (Clean Air Delivery Rate) to ensure effective purification without significantly increasing energy consumption.
Considering these factors will help you find a compatible air purifier that enhances your HVAC system’s efficiency and improves indoor air quality.
Now, let’s move on to the installation process overview.
Installation Process Overview
To begin, you’ll need to gather all the necessary tools and materials for the installation process. First, make sure you have a screwdriver, wire cutters, and electrical tape. You’ll also need mounting brackets, screws, and a power drill.
Once you have all the tools, follow these installation process steps. Start by turning off the power to your HVAC system. Next, locate a suitable spot to mount the air purifier. Use the mounting brackets and screws to secure it in place. Then, connect the wiring according to the manufacturer’s instructions. Finally, turn the power back on and test the air purifier to ensure it’s functioning properly. If you encounter any issues, troubleshooting air purifier problems can help identify and resolve them.
Now that the installation process is complete, let’s explore the benefits of air purification.
Benefits of Air Purification
Now that you’ve got an air purifier, you’ll enjoy cleaner and fresher air in your home. Air purification techniques have advanced significantly, so choosing the right air purifier is crucial for reaping the benefits.
Here are some reasons why air purification is essential:
-
Improved Indoor Air Quality: An air purifier can eliminate airborne pollutants like dust, pollen, pet dander, and mold spores. This leads to healthier air for you and your family to breathe.
-
Allergy and Asthma Relief: Air purifiers remove allergens and irritants from the air, providing relief to those with allergies or asthma.
-
Odor Elimination: Air purifiers equipped with activated carbon filters effectively remove odors from cooking, pets, and smoke, leaving your home smelling fresh.
-
Respiratory Health Protection: Air purifiers reduce the risk of respiratory illnesses by trapping bacteria and viruses, preventing their circulation in the air.
Investing in a high-quality air purifier not only improves your indoor air quality but also contributes to a healthier and more comfortable living environment.
Securely Mount the Air Purifier Unit
When it comes to mounting options for your air purifier, it’s important to consider the layout of your space and the specific requirements of your unit.
There are various options available, such as wall mounting, ceiling mounting, or simply placing the unit on a tabletop or floor.
However, regardless of the mounting option you choose, ensuring a secure installation is crucial for optimal performance and safety.
Mounting Options for Purifier
You can choose between wall-mounted, ceiling-mounted, or freestanding options for mounting your whole house air purifier. Each option has its own benefits and considerations.
-
Wall-mounted: This option allows for easy installation and accessibility. It is ideal for smaller spaces where floor or ceiling mounting may not be possible.
-
Ceiling-mounted: This option maximizes space and provides even distribution of purified air throughout the entire house. It is a great choice for larger homes or areas with limited wall space.
-
Freestanding: This option offers flexibility as it can be placed anywhere in the room. It is convenient for those who may want to move the air purifier between different areas of the house.
-
Personal preference: Ultimately, the choice of mounting option depends on your specific needs and preferences.
Considering the importance of secure installation, it is crucial to ensure that the chosen mounting option is properly installed to guarantee optimal performance and safety.
Importance of Secure Installation
Ensuring the chosen mounting option is properly installed is crucial for optimal performance and safety. When it comes to HVAC system maintenance and air quality improvement, the installation of a whole house air purifier plays a vital role.
The mounting option you select should be sturdy and secure, allowing the purifier to function effectively without any risk of falling or malfunctioning. It is important to follow the manufacturer’s instructions carefully and use the appropriate tools for installation.
A well-installed mounting option guarantees that the air purifier is securely attached to the HVAC system, ensuring proper air circulation and filtration throughout your home.
Once the mounting is complete, you can proceed to the next step of installing and connecting the air purifier filters, which further enhance the purification process.
Install and Connect the Air Purifier Filters
To begin, make sure you have the necessary tools to install and connect the air purifier filters. Here are some important steps to follow:
- Step 1: Turn off the power supply to the air purifier to avoid any accidents.
- Step 2: Open the access panel of the air purifier and locate the filter compartment.
- Step 3: Remove the old filters carefully, making sure not to damage any surrounding components.
- Step 4: Install the new filters in the correct orientation, following the manufacturer’s instructions.
Installing and connecting the air purifier filters is crucial for maintaining clean and healthy indoor air. By regularly replacing the filters, you ensure that the air purifier can effectively remove dust, allergens, and other pollutants from your home.
Now that the filters are installed, let’s move on to connecting the air purifier control panel.
Connect the Air Purifier Control Panel
After successfully installing and connecting the air purifier filters, the next step is to connect the air purifier control panel.
The control panel is an essential component of the air purifier as it allows you to easily adjust settings and monitor the device’s performance.
Most air purifier control panels feature a variety of useful features. These may include a power button to turn the device on and off, fan speed controls to adjust the airflow intensity, a timer function to schedule automatic operation, and indicator lights to display the current status of the air purifier. Some advanced models may even have built-in air quality sensors and Wi-Fi connectivity for remote control through a smartphone app.
In case you encounter any connectivity issues with your air purifier, troubleshooting steps can be taken. These may include checking the Wi-Fi signal strength, ensuring the correct network credentials are entered, and resetting the device if necessary.
Turn on Your HVAC System and Test the Air Purifier
First, make sure you’ve turned on your HVAC system and test the air purifier to ensure it’s functioning properly. Prioritizing HVAC system maintenance is crucial for optimal air purifier performance. Here are some key points to consider:
- Regularly clean or replace your HVAC system’s air filters to maintain air quality and improve the effectiveness of your air purifier.
- Check and clean the air vents and ducts to prevent dust and debris buildup, which can hinder the air purifier’s efficiency.
- Schedule professional HVAC system maintenance at least once a year to ensure proper functioning and maximize air purifier effectiveness.
- Monitor and adjust the HVAC system’s humidity levels as excessive moisture can impact the air purifier’s performance.
By following these maintenance practices for your HVAC system, you can ensure that your air purifier is operating at its highest potential.
Now, let’s move on to how to perform regular maintenance on your air purifier.
Perform Regular Maintenance on Your Air Purifier
Now let’s take a look at how you can regularly maintain your air purifier to keep it working effectively. Regular maintenance is crucial to ensure that your air purifier continues to provide clean and fresh air.
To start, establish a cleaning schedule. It’s recommended to clean the pre-filter every two weeks and replace it every three to six months. The HEPA filter should be replaced every six to twelve months, depending on usage.
Additionally, clean the exterior of the air purifier regularly with a damp cloth to remove dust and debris. It’s also important to check the fan and motor for any signs of dirt or damage and clean them if necessary.
Troubleshooting Common Issues With Your Air Purifier
If your air purifier is not turning on, check to make sure that it is properly plugged into a functioning outlet. This is a common issue that can easily be overlooked. However, there are other troubleshooting steps you can take to address common issues with your air purifier:
-
Check the power switch: Ensure that the power switch is in the ‘on’ position. Sometimes, it can accidentally be turned off.
-
Clean or replace the filters: Clogged or dirty filters can hinder the performance of your air purifier. Regularly cleaning or replacing the filters is essential for optimal performance.
-
Inspect the fan: A malfunctioning fan can prevent your air purifier from working properly. Check for any obstructions or signs of damage.
-
Reset the unit: Some air purifiers have a reset button that can help resolve minor issues. Press the reset button and observe if it resolves the problem.
Frequently Asked Questions
How Often Should I Replace the Filters in My Air Purifier?
I should replace the filters in my air purifier every 3-6 months. Regularly cleaning air purifier filters is crucial to maintain its effectiveness in removing pollutants and allergens from the air, providing numerous health benefits.
Can I Install the Air Purifier Myself, or Do I Need to Hire a Professional?
I can install the air purifier myself, but hiring a professional is recommended for safety and proper installation. They have the expertise to ensure the unit is correctly installed and functioning optimally.
Can I Use the Air Purifier With a Window Air Conditioning Unit, or Does It Have to Be Connected to a Central HVAC System?
Yes, you can use the air purifier with a window air conditioning unit or a central HVAC system. It provides clean air throughout your house, removing pollutants and allergens.
Will the Air Purifier Remove All Types of Pollutants, Including Volatile Organic Compounds (Vocs)?
Yes, a whole house air purifier can remove various types of pollutants, including volatile organic compounds (VOCs). This is beneficial for improving indoor air quality and reducing the health risks associated with VOC exposure.
How Much Electricity Does the Air Purifier Consume, and Will It Significantly Increase My Energy Bill?
Installing a whole house air purifier was a smart move. It consumes minimal electricity, so it won’t significantly increase my energy bill. I’m relieved knowing that I can breathe clean air without breaking the bank.
Conclusion
Well, congratulations! You’ve successfully installed your whole house air purifier. Give yourself a pat on the back, because not everyone can handle this level of technical prowess.
Now, take a moment to revel in the fact that you are the proud owner of cleaner and fresher air throughout your entire home. It’s like living in a luxury spa, except without the hefty price tag.
So sit back, relax, and breathe in that sweet purified air. You deserve it!