Hello! Have you ever wondered about the proper way to access a Honeywell air purifier? Don’t worry, I have all the information you need.
In this article, I’ll walk you through the step-by-step process of opening your Honeywell air purifier so you can access its filters or internal components.
With just a few simple tools and a little know-how, you’ll be well on your way to improving the air quality in your home.
So, let’s get started!
Key Takeaways
- Gathering the necessary tools: screwdriver and pliers.
- Safety precautions: turning off and unplugging the unit, wearing protective gloves and eyewear.
- Different types of latches: push button, slide lock, twist lock, magnetic lock, combination lock.
- Steps for opening the casing: locating tabs or screws, gently prying it open.

Air Purifiers for Home Large Room, Cover Up to 2600 Ft² with Washable Filters, Powerful Turbo Mode, PM2.5 Air Quality Display, Air Cleaner for Pets, HAP607, Bright White
𝐓𝐑𝐈𝐏𝐋𝐄 𝐈𝐍𝐓𝐀𝐊𝐄, 𝐖𝐇𝐎𝐋𝐄-𝐑𝐎𝐎𝐌 𝐏𝐔𝐑𝐈𝐅𝐈𝐂𝐀𝐓𝐈𝐎𝐍: Featuring a front air inlet combined with wider dual-side air inlets, this air purifier...
As an affiliate, we earn on qualifying purchases.
Step 1: Gather the Necessary Tools
First, make sure you have all the necessary tools to open the Honeywell air purifier. To safely open the air purifier, you will need a screwdriver and a pair of pliers. The screwdriver is required to remove the screws that hold the casing together, while the pliers are useful for gripping and pulling apart any stubborn parts.
It is important to take safety precautions when handling the tools. Ensure that the air purifier is turned off and unplugged before attempting to open it. This will prevent any electrical accidents or damage to the unit. Additionally, make sure to wear protective gloves and eyewear to avoid any injury during the opening process.

WINIX 5510 Air Purifier (New Generation of 5500-2 with App Support) for Home Large Room Up to 1881 Ft² in 1 Hr, True HEPA, High Deodorization Carbon Filter and Auto Mode, Captures Pet Allergies, Smoke
𝐀𝐇𝐀𝐌 𝐕𝐞𝐫𝐢𝐟𝐢𝐝𝐞 𝐚𝐭 𝟑92 𝐬𝐪 𝐟𝐭.: Also cleans rooms up to 1,882 sq ft in 1 hour (941...
As an affiliate, we earn on qualifying purchases.
Step 2: Power off the Air Purifier
Before proceeding, make sure to turn off the air purifier. Powering down the device is an essential step to ensure safety and prevent any potential accidents.
Here are a few reasons why it is important to turn off the air purifier before opening it:
-
Peace of mind: By switching off the purifier, you can relax knowing that there is no risk of electrical shock or damage.
-
Longevity: By properly powering down the device, you can extend its lifespan and prevent any unnecessary wear and tear.
-
Energy conservation: Turning off the air purifier when not in use helps reduce energy consumption and contributes to a more sustainable lifestyle.
Now that the air purifier is safely powered off, we can proceed to the next step: locating the latches or locks to open the device.

KNKA Air Purifier for Home Bedroom Large Room Up to 1,695 Ft² in 1 Hr, HEPA Sleep Mode Air Cleaner with Washable Pre-Filter, AHAM VERIFIDE, AQI Display, Pet Mode for Pets, Dust, Pollen, APH4000
𝐀𝐇𝐀𝐌 𝐕𝐞𝐫𝐢𝐟𝐢𝐞𝐝 & 𝐇𝐢𝐠𝐡 𝐂𝐀𝐃𝐑 𝐕𝐚𝐥𝐮𝐞: Certified by the Association of Home Appliance Manufacturers, this air purifier provides...
As an affiliate, we earn on qualifying purchases.
Step 3: Locate the Latches or Locks
Now you can easily find the latches or locks on your device. When it comes to opening an air purifier, it’s essential to know the different latch types and how to troubleshoot them. To help you understand, I have created a table below that summarizes the most common latch types and their troubleshooting tips.
| Latch Type | Description | Troubleshooting Tips |
|---|---|---|
| Push Button | Requires pressing a button to release the latch | Ensure the button is not stuck or jammed |
| Slide Lock | Involves sliding a lock mechanism to unlock | Check if the lock is properly aligned and not damaged |
| Twist Lock | Requires twisting the latch to unlock | Make sure the latch is not overtightened or stripped |
| Magnetic Lock | Relies on magnets to keep the latch closed | Verify that the magnets are aligned and not weak |
| Combination Lock | Requires entering a specific code to unlock | Double-check the code entered and try again |
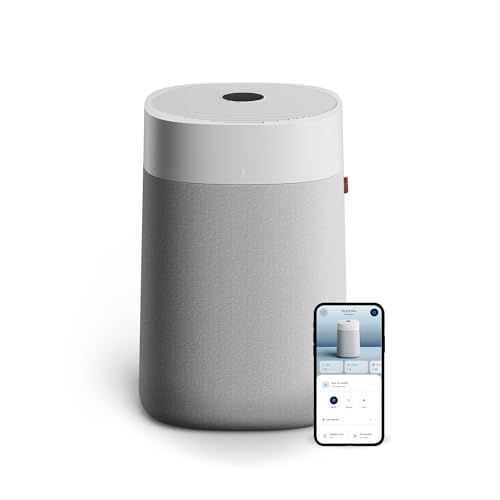
BLUEAIR Blue Pure 211i Max Smart Air Purifier for Large Rooms up to 3,235 Sq Ft, HEPASilent Air Cleaner for Pets, Allergies, Smoke & Dust, WiFi Air Purifier with Auto Mode, Quiet Air Purifier for Home
Powerful Air Purification for Large Rooms: The Blue Pure 211i Max cleans large living rooms, open floor...
As an affiliate, we earn on qualifying purchases.
Step 4: Release the Latches or Unlock the Locks
To release the latches or unlock the locks, you’ll need to follow the troubleshooting tips based on the latch type of your device.
Here are some common issues you may encounter with the unlocking mechanism:
-
The latch is stuck or jammed: This can happen due to dust or debris buildup. Try cleaning the latch with a soft cloth or compressed air to remove any obstructions.
-
The lock is not engaging properly: If the lock is loose or not clicking into place, it may need adjustment. Check for any loose screws or misaligned parts and tighten or realign them as needed.
-
The key or code is not working: If you have a lock that requires a key or code, make sure you are using the correct one. If the key or code is not working, try resetting it or contacting the manufacturer for assistance.
Step 5: Open the Air Purifier Casing
Once you’ve successfully released the latches or unlocked the locks, you’ll notice that the casing of your device is now easily accessible. Opening the air purifier casing is a straightforward process that allows you to access the internal components for cleaning or troubleshooting common issues.
To open the casing, follow these simple steps:
- Locate the tabs or screws on the sides or back of the device.
- Use a flathead screwdriver or your fingers to gently pry open the casing.
- Slowly lift the casing off, being careful not to damage any wires or components.
Opening techniques may vary depending on the model of your Honeywell air purifier, so refer to the user manual for specific instructions.
Troubleshooting common issues, such as a clogged filter or unusual noises, can often be resolved by opening the casing and inspecting the internal components.
Step 6: Access the Filters or Internal Components
Now that we’ve accessed the filters and internal components of the air purifier, it’s important to discuss how to properly clean the filters and replace any worn-out components.
Cleaning the filters correctly is crucial for maintaining the efficiency of the air purifier and ensuring clean air circulation.
Additionally, replacing worn-out components, such as the fan or motor, is essential for the long-term functionality of the device.
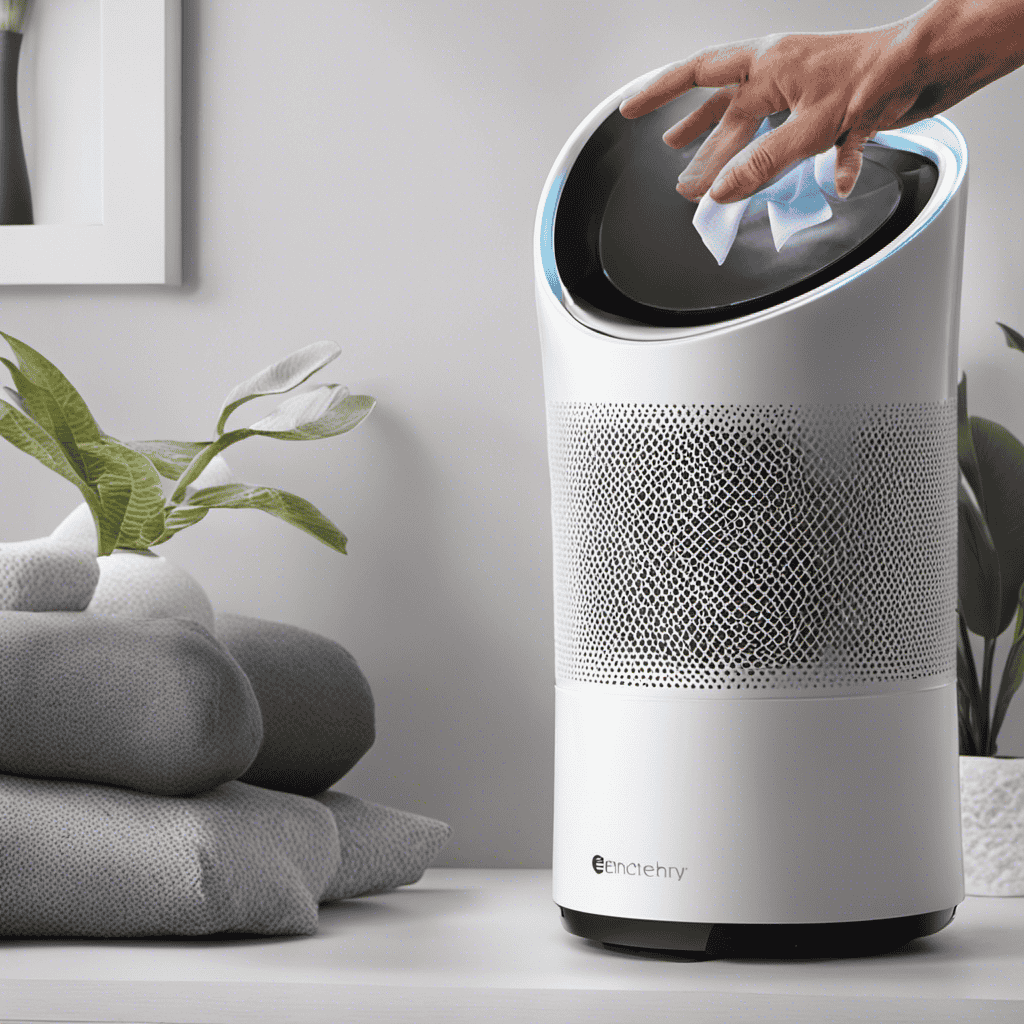
Cleaning the Filters Properly
Cleaning the filters properly ensures that your Honeywell air purifier continues to effectively remove pollutants from the air. Regular maintenance is crucial for optimal performance and longevity of your air purifier. Here are some cleaning techniques and maintenance tips to keep in mind:
- Gently remove the filters from the air purifier.
- Use a soft brush or vacuum cleaner attachment to remove dust and debris from the filters.
- If the filters are washable, rinse them with lukewarm water and mild detergent. Allow them to air dry completely before reinstalling.
By following these cleaning techniques and maintenance tips, you can ensure that your Honeywell air purifier operates at its best, providing you with clean and fresh air.
Taking care of your air purifier not only enhances its efficiency but also promotes a healthier living environment for you and your family.
Replacing Worn-Out Components
To ensure optimal performance, it’s important to replace worn-out components of your air purifier regularly.
When it comes to replacing air purifier parts, there are a few common issues that you might encounter.
One common problem is a clogged filter. If you notice reduced airflow or a decrease in air quality, it might be time to replace the filter.
Another issue could be a malfunctioning fan. If you hear strange noises or the fan is not spinning properly, it’s a good idea to replace it.
Additionally, the UV bulb in your air purifier might need to be replaced if it stops emitting the necessary ultraviolet light to kill bacteria and viruses.
Conclusion
In conclusion, opening a Honeywell air purifier is a simple process that can be done with just a few steps. By following the outlined steps, you can easily access the filters or internal components of the purifier.
Did you know that indoor air can be up to 5 times more polluted than outdoor air? This shocking statistic emphasizes the importance of regularly cleaning and maintaining your air purifier to ensure clean and healthy air in your home.