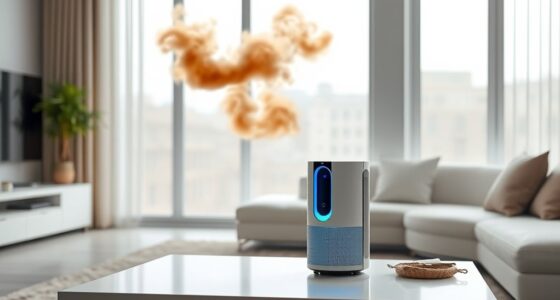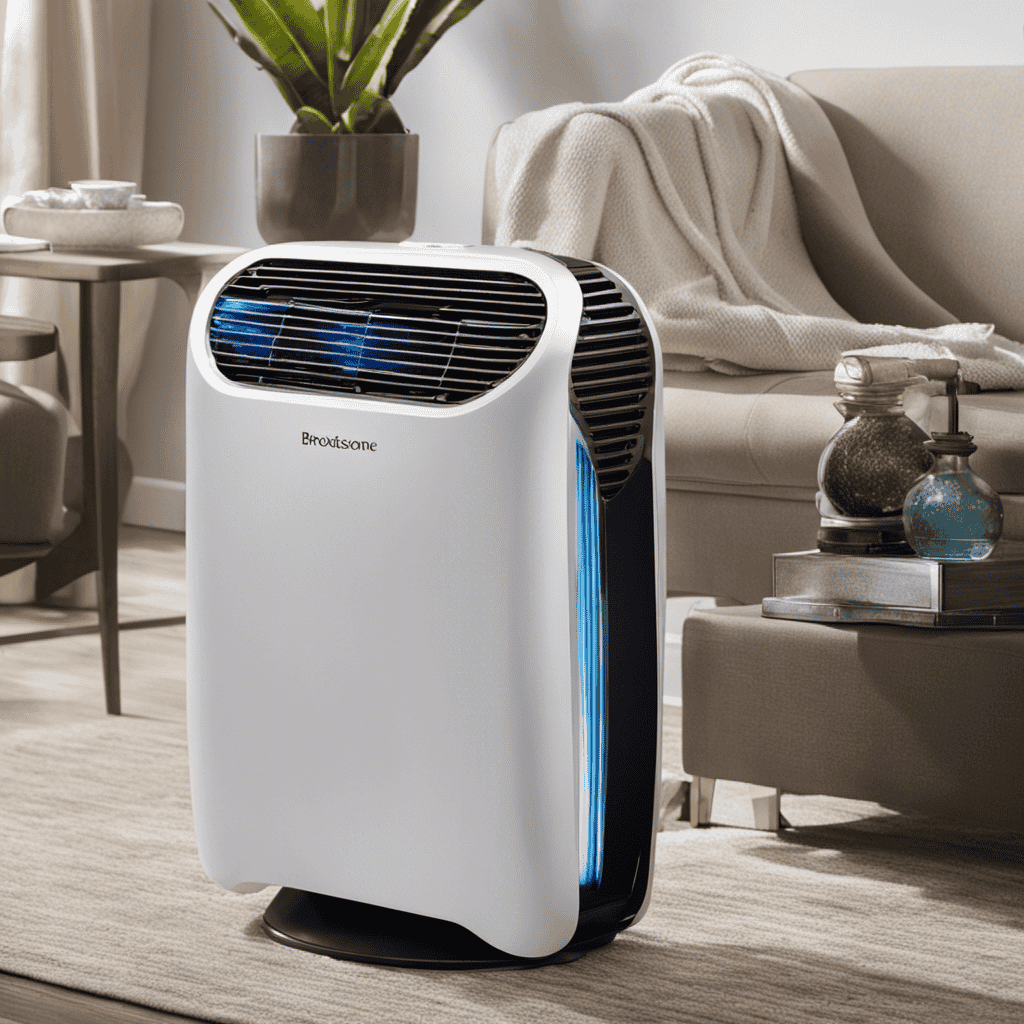
I have consistently depended on my Brookstone air purifier to maintain the cleanliness and freshness of the air in my house. However, one day it unexpectedly ceased functioning. Feeling frustrated, I made the decision to take matters into my own hands and troubleshoot how to repair it on my own.
In this article, I’ll guide you through the step-by-step process of troubleshooting and repairing your Brookstone air purifier. From identifying faulty components to cleaning or replacing the filter, I’ll provide you with all the detailed information you need to get your air purifier up and running again.
Key Takeaways
- Troubleshooting common issues includes checking power supply and outlets, inspecting air filters, cleaning fan blades, and adjusting settings.
- Identifying faulty components involves understanding potential causes, using effective troubleshooting techniques, and having the skills to repair or replace damaged parts.
- Troubleshooting techniques include examining the power button and its connection, checking the power cord for damage, cleaning or replacing air filters regularly, and keeping the air purifier well-ventilated.
- Repairing damaged parts may require contacting customer service, replacing the motor, disconnecting power supply and removing casing, disconnecting wiring connections, installing a new motor, and securing it in place.

DEWALT 20V MAX Cordless Drill Driver Set, Electric Drill, Brushless 1/2 In 2 Speed, 2.0 Ah Battery and Charger Included, LED Light (DCD777D1)
DEWALT Power drill brushless motor delivers more run time over brushed
As an affiliate, we earn on qualifying purchases.
Troubleshooting Common Issues
If your Brookstone air purifier isn’t working properly, there are a few common issues you can troubleshoot. Regular air purifier maintenance is crucial to ensure its optimal performance. Here are some air purifier maintenance tips and a DIY air purifier repair guide to help you resolve common issues.
First, check if the power supply is connected securely and the outlet is functioning correctly. Next, inspect the air filters for any clogs or dirt buildup, as this can hinder airflow. Clean or replace the filters as necessary. Additionally, check the fan blades for any obstructions and clean them if needed. Lastly, ensure that the settings are properly adjusted according to your preferences.
By following these steps, you can often resolve minor issues and improve the functionality of your Brookstone air purifier.
Now, let’s move on to identifying faulty components.

DEWALT Drill Bit Set, 3-Flats Shank,14-Piece, 135 Degree Split Point, for Plastic, Wood and Metal (DWA1184)
135 Degree Split point tip design to help reduce walking
As an affiliate, we earn on qualifying purchases.
Identifying Faulty Components
In this discussion, I will be addressing the key points of identifying common faulty components, troubleshooting techniques, and repairing damaged parts.
It is crucial to understand the various components that can potentially cause issues in a device, as this knowledge will aid in the troubleshooting process. Additionally, knowing effective techniques for troubleshooting will allow for a more efficient and accurate diagnosis of the problem.
Once the faulty component is identified, it is then important to have the necessary skills and knowledge to effectively repair or replace the damaged parts.
Common Faulty Components
Check if the filter or fan motor are the faulty components in your Brookstone air purifier.
When the power button on your air purifier is not working, it can be frustrating. However, before assuming the power button is faulty, it’s important to check the other components first.
Start by inspecting the filter, as a clogged or dirty filter can cause issues with the power button. Remove the filter and clean or replace it if necessary.
Next, examine the fan motor. A malfunctioning or damaged fan motor can also affect the power button. Ensure that the fan motor is running smoothly and that there are no obstructions.
Troubleshooting Techniques
To troubleshoot the issue with your air purifier, start by examining the power button and its connection. Ensure that the power button is functioning properly and securely plugged in. If the power button is loose or damaged, it may need to be replaced. Additionally, check the power cord for any signs of damage or fraying.
Here are some maintenance tips to optimize your air purifier’s performance:
- Clean or replace the air filters regularly to remove dust and allergens effectively.
- Keep the air purifier in a well-ventilated area and away from obstacles that may block airflow.
- Clean the exterior of the air purifier with a soft cloth and mild detergent to remove any dirt or grime.
- Consider using a programmable timer to control the operation of your air purifier, reducing energy consumption.
Repairing Damaged Parts
If you notice any damaged parts, make sure to contact customer service for assistance.
One common issue with the Brookstone air purifier is a damaged motor. This can happen due to wear and tear or excessive use. To fix a damaged motor, you will need to replace it with a new one.
Start by disconnecting the power supply and removing the broken casing. Carefully remove the damaged motor and disconnect any wiring connections. Install the new motor by connecting the wires properly and secure it in place.
Once everything is in order, reassemble the casing and connect the power supply.
Now, you can move on to repairing the fan motor, which I will explain in the next section.

DEWALT 20V Max Cordless Drill Driver Set, 2 Speed, High Performance Motor, Includes 2 XR 1.3Ah Li-Ion Batteries, Charger and Contractor Bag (DCD771C2)
Compact, lightweight design fits into tight areas
As an affiliate, we earn on qualifying purchases.
Repairing the Fan Motor
Make sure you’ve unplugged the air purifier before attempting to repair the fan motor. When it comes to fixing the fan motor in your Brookstone air purifier, there are a few steps you can follow to ensure a successful repair. Here’s what you need to do:
- Remove the front cover of the air purifier to access the fan motor.
- Carefully disconnect the wires connected to the motor.
- Remove the motor from its housing by unscrewing the screws holding it in place.
- Inspect the motor for any signs of damage or wear, such as worn-out bearings or debris.
If you notice any issues, you can try replacing the bearings or lubricating the parts. This will help improve the motor’s performance and extend its lifespan.
Once you’ve completed the fan motor repair, you can move on to cleaning or replacing the filter, ensuring your air purifier functions optimally.

DEWALT 20V MAX Cordless Drill and Impact Driver, Power Drill Brushless 2-Tool Power Tool Combo Kit, Includes 2 Batteries, Charger and Bag (DCK277D2)
The compact 7.6-inch front-to-back, lightweight design fits into tight areas, making it an ideal choice for a power...
As an affiliate, we earn on qualifying purchases.
Cleaning or Replacing the Filter
When cleaning or replacing the filter, ensure that you have unplugged the device for safety purposes.
Cleaning or replacing the filter is an important part of filter maintenance for your Brookstone air purifier.
To clean the filter, gently remove it from the unit and shake off any loose debris. Then, use a soft brush or vacuum cleaner with a brush attachment to remove any remaining dirt or dust.
If the filter is heavily soiled, you may need to wash it with mild soap and water. Allow the filter to air dry completely before reinstalling it.
If the filter is damaged or worn out, it is recommended to replace it with a new one.
Regular cleaning or replacement of the filter will ensure that your air purifier continues to function effectively and efficiently.
Fixing Electrical Connections
To ensure your electrical connections are secure, check for any loose or frayed wires before plugging in your device. It is important to maintain the safety and functionality of your Brookstone air purifier by regularly inspecting and addressing any issues with the electrical connections. Here are some steps to help you fix electrical connections on your air purifier:
- Replace the power cord if it’s damaged or worn out.
- Check the circuit breaker to ensure it’s not tripped or overloaded.
- Inspect the wiring inside the air purifier for any loose connections.
- Tighten any loose screws or connectors.
By following these steps, you can ensure that your air purifier operates safely and effectively.
Now, let’s move on to the next section, which covers reassembling and testing the air purifier.
Reassembling and Testing the Air Purifier
Now that you’ve finished fixing the electrical connections, it’s time to reassemble and test your air purifier.
Begin by carefully placing the front panel back onto the unit, ensuring that it aligns properly with the rest of the housing. Secure it in place using the screws you removed earlier.
Next, reattach the filters, making sure they are properly seated and locked into position.
Once you have reassembled the unit, plug it back into a power source and turn it on. Listen for any unusual noises or vibrations and check that the controls are functioning correctly.
Let the air purifier run for a few minutes to ensure that it is working properly and effectively improving air quality in your space.
Frequently Asked Questions
How Long Does a Brookstone Air Purifier Typically Last Before It Needs to Be Repaired?
Typically, a Brookstone air purifier can last for several years before needing repair. However, to extend its lifespan, it’s important to know how to properly maintain it and recognize common signs of damage.
Can I Use a Generic Air Purifier Filter Instead of a Brookstone Replacement Filter?
Personally, I’ve found that using a generic air purifier filter instead of a Brookstone replacement filter can be problematic. It’s crucial to consider the compatibility and performance of alternative air purifier filters before making a decision.
What Should I Do if the Air Purifier Emits an Unpleasant Odor?
If my air purifier emits an unpleasant odor, I would first check if the filter needs to be replaced or cleaned. If that doesn’t solve the problem, I would consult the user manual for troubleshooting tips or contact customer support for assistance.
Is It Safe to Take Apart the Air Purifier and Clean the Internal Components Myself?
Taking apart an air purifier and cleaning its internal components yourself can be risky. It is important to follow manufacturer guidelines and ensure your safety. Seek professional help if unsure.
How Often Should I Clean or Replace the Filter in My Brookstone Air Purifier?
I clean or replace the filter in my Brookstone air purifier every 3-6 months to maintain optimal performance. Using a Brookstone replacement filter ensures the air is effectively purified, improving indoor air quality.
Conclusion
In conclusion, repairing a Brookstone air purifier is like breathing new life into a tired machine. By troubleshooting common issues, identifying faulty components, and fixing electrical connections, you can revive this vital appliance.
Cleaning or replacing the filter is like giving it a refreshing shower, ensuring it functions at its best.
Finally, reassembling and testing the air purifier is like watching it spread its wings and take flight once again. With these steps, you’ll have your air purifier humming and purifying the air in no time.