I’ve always been a firm believer in the power of clean air.
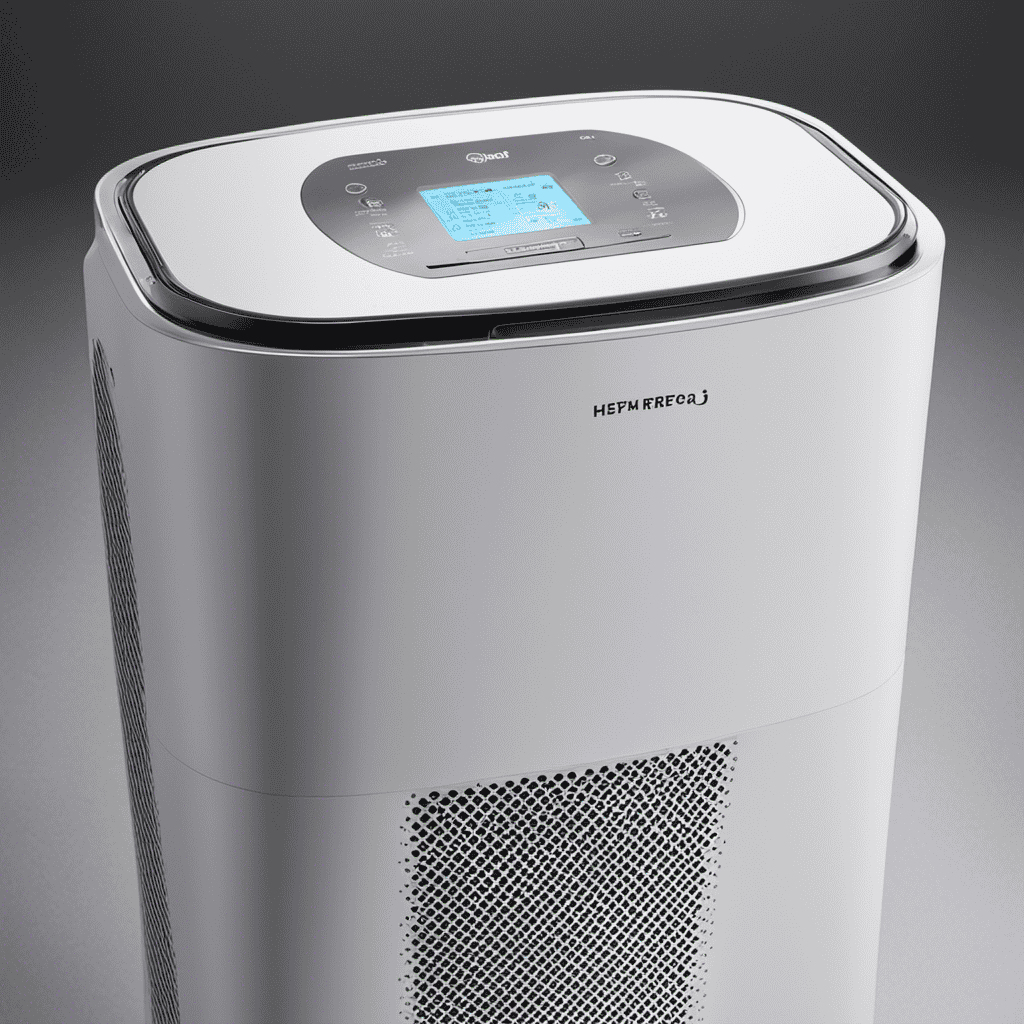
But when my Sky Enterprise Air Purifier 1057 started acting up, I knew I had to take matters into my own hands.
In this step-by-step guide, I’ll walk you through the process of troubleshooting common issues, disassembling the purifier, cleaning the filters, replacing the fan motor, fixing electrical wiring problems, and putting it all back together.
Get ready to breathe easy again with this comprehensive repair tutorial.
Key Takeaways
- Troubleshooting common issues and following the recommended maintenance practices are essential for maintaining the Sky Enterprise Air Purifier 1057.
- Disassembling and cleaning the air purifier involves unplugging the power source, removing screws, and cleaning the filters.
- When replacing the fan motor, it is important to disconnect the power and follow precautions to avoid common problems.
- Prioritizing precautions and safety measures, such as turning off the power supply, using insulated tools, and wearing safety gloves and goggles, is crucial when working with electrical wiring and repairing the air purifier.
Troubleshooting Common Issues
If you’re experiencing any issues with your Sky Enterprise air purifier 1057, troubleshooting common problems can help you identify and resolve them quickly. Here are some steps to follow if you encounter an air purifier noise or if your air purifier is not turning on.
-
Check the power supply: Ensure that the air purifier is properly plugged into a working outlet. Also, check if the power switch is turned on.
-
Inspect the filter: Remove the front cover and check if the filter is dirty or clogged. If so, clean or replace the filter according to the manufacturer’s instructions.
-
Clean the unit: Dust and debris can accumulate inside the air purifier, causing it to make noise or malfunction. Use a soft cloth or brush to clean the exterior and interior components.
-
Contact customer support: If the issue persists, reach out to the Sky Enterprise customer support team for further assistance. They can provide additional troubleshooting steps or guide you through the repair process.
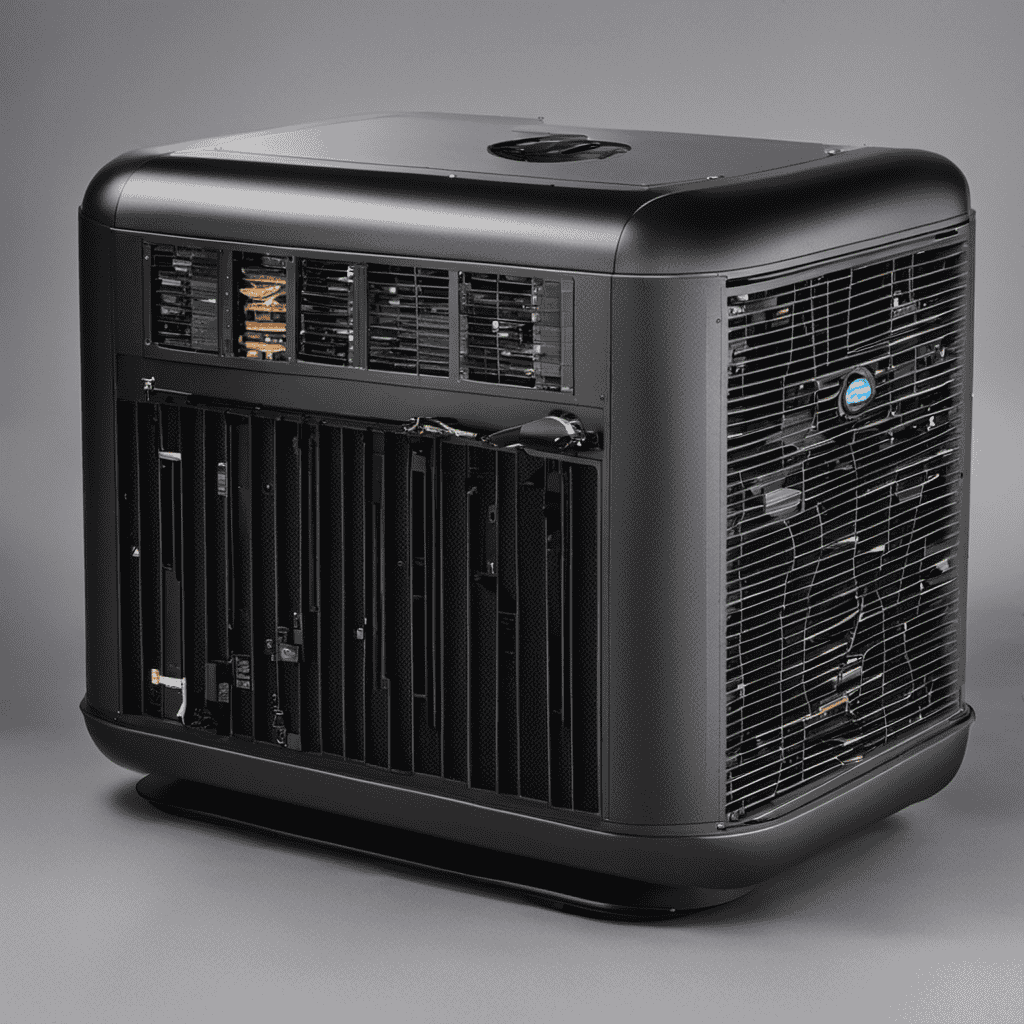
Disassembling the Air Purifier
To disassemble the air purifier, you’ll need to carefully remove the front cover. Here are the step-by-step disassembling techniques:
- Unplug the air purifier from the power source to ensure safety.
- Locate the screws holding the front cover in place. Use a screwdriver to remove them.
- Gently pull the front cover towards you to detach it from the main unit.
- Place the front cover aside and set it on a clean surface to avoid any damage.
- Now, you have access to the internal components of the air purifier for maintenance or repair.
To reassemble the air purifier, simply follow the disassembling steps in reverse order. Make sure all the screws are securely tightened, and plug the unit back into the power source.
Now that we have disassembled the air purifier, let’s move on to the next section about cleaning the filters.
Cleaning the Filters
Now that we’ve taken apart the air purifier, it’s time to discuss how to clean the filters. Proper filter maintenance is crucial for optimal performance and longevity of the air purifier.
Here are the steps to clean the filters:
- Step 1: Remove the filters from the air purifier by gently pulling them out.
- Step 2: Use a vacuum cleaner with a brush attachment to remove any loose debris from the filters.
- Step 3: Fill a basin with warm water and add a mild detergent.
- Step 4: Submerge the filters in the soapy water and gently agitate them to remove dirt and dust.
- Step 5: Rinse the filters thoroughly with clean water and allow them to air dry completely before reinstalling.
By regularly cleaning the filters, you can ensure the continuous efficiency of the air purifier.
Now, let’s move on to the next section about replacing the fan motor.
Replacing the Fan Motor
When it comes to replacing the fan motor, there are several important steps that need to be followed.
First, ensure that the power is disconnected and the unit is safely turned off.
Next, carefully remove the old motor and install the new one, making sure to connect all the necessary wires and secure it in place.
Motor Installation Steps
The first step in the motor installation process is removing the back panel of the air purifier. This will provide access to the internal components and allow for the safe installation of the new motor.
Before beginning the installation, it is important to take certain precautions to ensure a successful outcome. Here are some motor installation precautions to keep in mind:
- Disconnect the power supply: Before working on any electrical component, it is crucial to disconnect the power supply to avoid the risk of electric shock.
- Use the correct tools: Make sure to use the appropriate tools for the job to prevent damage to the motor or other components.
- Follow the manufacturer’s instructions: Carefully read and follow the instructions provided by the manufacturer to ensure proper installation.
- Secure the motor properly: Make sure the motor is securely fastened to prevent any vibrations or movement that could lead to premature failure.
- Test the motor: Once the installation is complete, run a test to check if the motor is functioning correctly.
Common motor installation problems to watch out for:
- Incorrect wiring: Double-check the wiring connections to ensure they are correctly aligned with the motor’s specifications.
- Misalignment: Ensure that the motor is properly aligned with the fan blades to avoid any performance issues.
- Overheating: Make sure there is sufficient airflow around the motor to prevent overheating, as this can lead to motor failure.
- Improper lubrication: If your motor requires lubrication, follow the manufacturer’s guidelines to ensure it is properly lubricated for optimal performance.
- Insufficient power supply: Ensure that the power supply is adequate for the motor’s requirements, as an insufficient power supply can cause motor failure.
Troubleshooting Common Issues
To troubleshoot common issues, start by checking the wiring connections and ensuring they are aligned correctly with the motor’s specifications. This is an important step in troubleshooting techniques for the Sky Enterprise Air Purifier 1057.
Incorrect wiring connections can lead to various problems such as motor failure, poor performance, or even electrical hazards. Begin by inspecting the wiring connections for any loose or disconnected wires. If any wires are loose, tighten them securely.
Next, verify that the wires are aligned correctly with the motor’s specifications. Refer to the user manual or wiring diagram to ensure proper alignment. Additionally, check for any signs of damage or wear on the wires. If any wires are damaged, they should be replaced.
Recommended Maintenance Practices
Regularly cleaning and replacing filters is crucial for maintaining the optimal performance of the 1057 model. To ensure the air purifier’s effectiveness and extend its lifespan, follow these maintenance practices:
-
Clean the pre-filter every 2 weeks: Remove the pre-filter and vacuum it to remove dust and debris. Rinse it with water and let it dry completely before reinstalling.
-
Replace the carbon filter every 3 months: The carbon filter absorbs odors and chemicals. Replace it regularly to maintain its effectiveness.
-
Clean the HEPA filter every 6 months: Use a vacuum with a brush attachment to remove dust and particles. Do not wash the HEPA filter.
-
Check the UV-C bulb every 12 months: Ensure the UV-C bulb is still emitting light. If not, replace it to maintain the air purifier’s germ-killing capabilities.
-
Clean the exterior regularly: Wipe the exterior of the air purifier with a damp cloth to remove dust and keep it looking clean.
Fixing Electrical Wiring Problems
When it comes to fixing electrical wiring problems, there are several key points to keep in mind.
First and foremost, troubleshooting common issues is essential in order to identify the root cause of the problem. This can involve checking for loose connections, damaged wires, or faulty components.
Additionally, safety precautions are of utmost importance when working with electrical wiring. It is crucial to turn off the power supply before starting any repairs and to use insulated tools to prevent electrical shocks.
Troubleshooting Common Issues
If your Sky Enterprise air purifier 1057 is experiencing common issues, there are troubleshooting steps you can take.
First, check the power source and make sure the unit is properly plugged in.
Next, inspect the air filter and see if it needs replacement. A clogged or dirty filter can reduce the effectiveness of the purifier.
If the unit is making excessive noise, check for any loose or damaged parts. Tighten or replace them as necessary.
Ensure that the air intake and outlet vents are clear from any obstructions.
Lastly, reset the purifier by turning it off, unplugging it, waiting for a few minutes, and then plugging it back in.
Safety Precautions When Repairing
Make sure to follow safety precautions while performing repairs on your 1057 air purifier to avoid any potential accidents or injuries.
When working with electrical components, it is crucial to prioritize electrical safety. Always disconnect the power supply by unplugging the air purifier from the outlet before starting any repairs.
Additionally, wear safety gloves and goggles to protect yourself from any potential electric shocks or debris. Familiarize yourself with the repairing techniques specific to the 1057 air purifier model. Refer to the user manual or online resources for detailed instructions on disassembling, troubleshooting, and replacing faulty parts.
Use proper tools and equipment to avoid damaging the air purifier or causing further issues. Remember to test the air purifier after repairs to ensure it is functioning safely and efficiently.
Tools Needed for Repairs
To successfully complete the repairs, you’ll need a set of basic tools like a screwdriver, pliers, and a multimeter. Here’s a list of tools you’ll need for repairing the Sky Enterprise Air Purifier 1057:
-
Screwdriver: This will be used to remove screws and open up the device for repairs.
-
Pliers: These will come in handy for gripping and bending wires during the repair process.
-
Multimeter: This tool will help you measure voltage, current, and resistance, allowing you to diagnose electrical issues accurately.
-
Wire cutters: These will be necessary for cutting and stripping wires when replacing components.
-
Soldering iron: In case you need to solder any broken connections or replace faulty components.
Having these tools readily available will ensure that you can perform common repairs on the Sky Enterprise Air Purifier 1057 efficiently and effectively.
Remember to always follow proper repair techniques and safety precautions while working on any electrical device.
Putting the Air Purifier Back Together
Once you’ve cleaned the individual components, it’s time to start reassembling the air purifier.
Begin by replacing the power cord. Make sure to use a cord that is compatible with the Sky Enterprise Air Purifier 1057 model. Connect one end of the cord to the power input on the purifier and the other end to a grounded electrical outlet. Ensure that the cord is securely plugged in.
Next, it’s important to adjust the airflow settings. Locate the airflow control knob on the front panel of the purifier. Turn the knob clockwise to increase the airflow and counterclockwise to decrease it. Take note of the desired airflow level based on the room size and air quality.
Once the power cord is replaced and the airflow is adjusted, carefully place the purifier back in its original position. Ensure that all the components are securely fastened and the purifier is stable.
Congratulations, you’ve successfully reassembled the Sky Enterprise Air Purifier 1057!
Conclusion
In conclusion, repairing the Sky Enterprise Air Purifier 1057 is a task that can be accomplished with patience and a little know-how.
By troubleshooting common issues, disassembling the purifier, cleaning the filters, replacing the fan motor, and fixing any electrical wiring problems, you can have your air purifier up and running in no time.
Remember, Rome wasn’t built in a day, and neither is fixing a complex device like this. With a little elbow grease and determination, you’ll have clean air flowing through your home again in a jiffy.