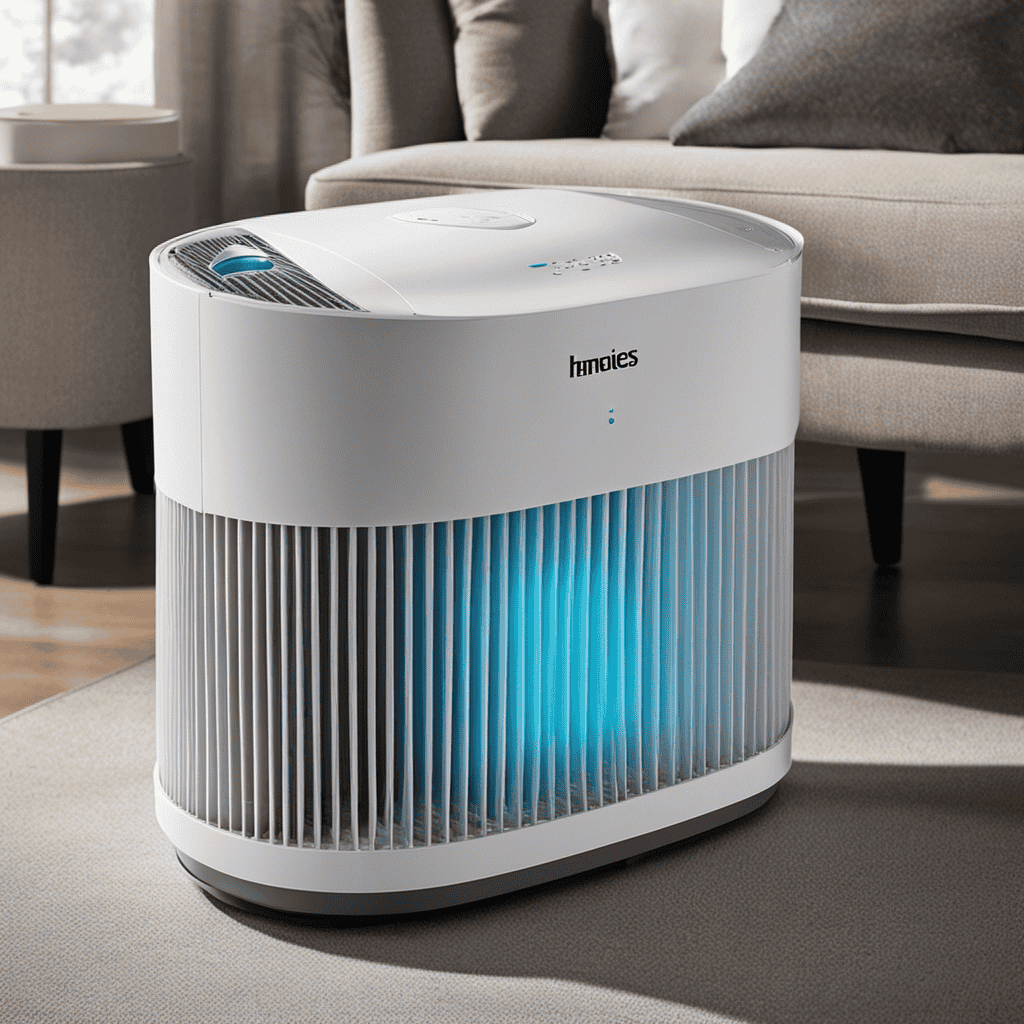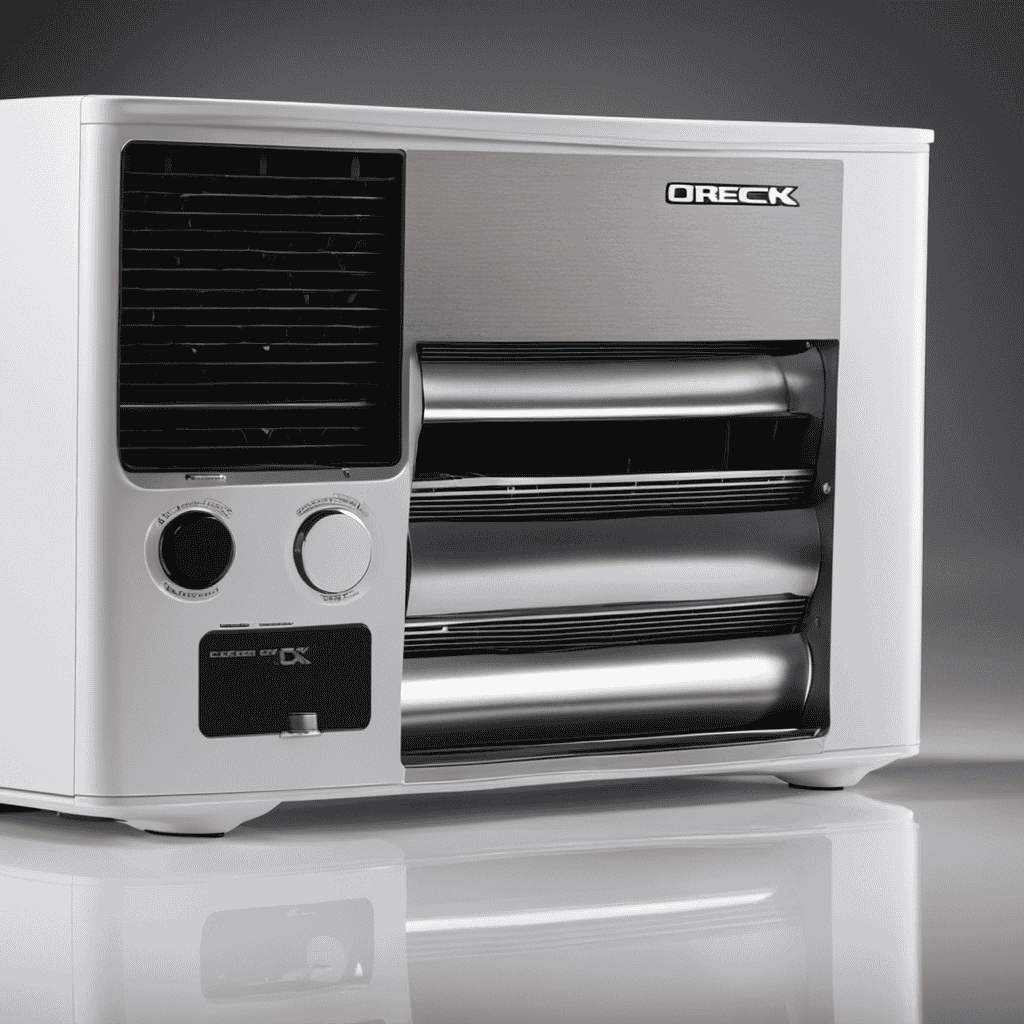

As a proud owner of the Oreck XL Air Purifier, I recognize the significance of maintaining it in prime condition.
In order to properly maintain and clean the device, it may be necessary to take it apart.
In this article, I will guide you through the disassembly process, step by step.
From removing the front cover to accessing and replacing the filters, I will provide you with detailed instructions and helpful tips.
Let’s dive in and give your Oreck XL Air Purifier the care it deserves.
Key Takeaways
- Disassembling and cleaning the Oreck XL Air Purifier is important for maintaining efficiency and prolonging its lifespan.
- It removes accumulated dust, dirt, and particles, improving overall performance by allowing unrestricted airflow.
- The process involves using tools such as a Phillips screwdriver, flathead screwdriver, needle-nose pliers, cleaning brush, and safety gloves.
- Regular cleaning and maintenance, following manufacturer’s instructions, are essential for optimal functioning and cleaner air.

DEWALT 20V MAX* Dust Extractor, Brushless, Universal, Tool Only (DWH161B)
High mobility, compact and lightweight OSHA Table 1 Compliant solution. HEPA filter is included in the dust extractor.
As an affiliate, we earn on qualifying purchases.
Why Should You Take Apart Your Oreck XL Air Purifier
There are several reasons why you should take apart your Oreck XL Air Purifier.
Disassembling an air purifier is essential for maintaining its efficiency and prolonging its lifespan.
By cleaning the Oreck XL Air Purifier, you can ensure that it continues to provide you with clean and fresh air.
One of the benefits of cleaning this purifier is that it removes accumulated dust, dirt, and other particles that can clog the filters over time.
Regular cleaning also improves the overall performance of the purifier by allowing unrestricted airflow.
Additionally, taking apart the purifier allows you to access and clean the internal components, ensuring that they are free from debris and functioning optimally.
Therefore, disassembling and cleaning your Oreck XL Air Purifier is crucial for maintaining its effectiveness and enjoying cleaner air in your surroundings.

Fein Turbo I HEPA Pro Set Wet/Dry Dust Extractor - 5.8-Gallon Capacity, 151 CFM Suction, Anti-Static System, Quiet 66 dB Operation, Includes HEPA Filter and Accessories - 92037060990
Compact Yet Powerful - With 151 CFM suction and 98" of water lift, this 5.8-gallon wet/dry dust extractor...
As an affiliate, we earn on qualifying purchases.
Tools Needed for Disassembling the Oreck XL Air Purifier
To begin disassembling the Oreck XL Air Purifier, there are a few tools that are necessary. The required tools list includes a Phillips head screwdriver, a flathead screwdriver, and a pair of needle-nose pliers. With these tools in hand, the disassembly process can be approached with efficiency and ease.
First, the bottom panel needs to be removed.
Next, the top cover and filter assembly should be removed.
Required Tools List
You’ll need a few tools in order to take apart your Oreck XL air purifier. Here is a list of the tools you will need for disassembling the purifier:
- Phillips screwdriver: This tool is essential for removing the screws that hold the different parts of the purifier together.
- Flathead screwdriver: Use this tool to pry open any clips or tabs that secure the purifier components.
- Needle-nose pliers: These pliers are useful for gripping and pulling out small parts or wires during the disassembly process.
- Cleaning brush: A small brush will help you remove any dust or debris that may have accumulated inside the purifier.
- Safety gloves: It is important to protect your hands while disassembling the purifier to avoid any injuries.
With these tools at hand, you can now proceed to the disassembly steps overview, which will guide you through the process of taking apart your Oreck XL air purifier.
Disassembly Steps Overview
Start by gathering all the necessary tools from the required tools list to begin the disassembly process. Taking apart an Oreck XL air purifier can present some disassembly challenges, but with proper troubleshooting and attention to detail, it can be done successfully.
The first step is to carefully remove the front cover by sliding it upwards and off the unit. Next, locate the screws that hold the back panel in place and use a screwdriver to remove them. Once the back panel is off, you can access the internal components of the air purifier. Be cautious of any wires or connectors that may need to be disconnected before fully removing any parts.
Troubleshooting common issues, such as a malfunctioning fan or a clogged filter, can be easier once you have gained access to the interior of the purifier. Remember to document each step of the disassembly process to ensure easy reassembly later on.

DEWALT 10 Gal. Dust Extractor with Automatic Filter Clean, Corded (DWV015)
A powerful and efficient motor delivers 155 CFM of airflow for maximum suction performance in a variety of...
As an affiliate, we earn on qualifying purchases.
Step 1: Powering off the Oreck XL Air Purifier
First, make sure you’ve powered off the Oreck XL Air Purifier. This is an important first step to ensure your safety during the disassembly process.
Here are the disassembly steps to take apart the Oreck XL Air Purifier:
- Unplug the power cord from the electrical outlet.
- Remove the front grille by gently pulling it away from the unit.
- Locate the screws on the back of the purifier and use a screwdriver to remove them.
- Carefully lift off the top cover of the unit, revealing the internal components.
- Take note of the different parts and their positions for easy reassembly later.

8 Gallon 6 Peak HP Wet/Dry Dust Extractor Vacuum with Semi Auto HEPA Filter, Tool Auto-Start, Air Tool Connector, 2-Year Warranty – Ideal for Drywall, Jobsite Dust Collection, and General Cleanup
8-Gallon Wet/Dry Dust Extractor with HEPA Filter – Designed for professional and DIY use, this extractor safely handles...
As an affiliate, we earn on qualifying purchases.
Step 2: Removing the Front Cover of the Oreck XL Air Purifier
To remove the front cover of your Oreck XL Air Purifier, simply gently pull it away from the unit. This step is essential in the disassembling process of the air purifier.
The front cover is designed to protect the internal components and filters of the device, so it is important to handle it with care. Begin by locating the tabs or latches on the sides or top of the cover. These are usually small and may require a bit of pressure to release.
Once the tabs are disengaged, slowly pull the cover away from the unit, making sure not to force it or damage any of the surrounding parts.
With the front cover removed, you can now proceed to the next steps in the disassembling process.
Step 3: Accessing the Filters in the Oreck XL Air Purifier
In this section, I’ll guide you through the process of removing the filters in the Oreck XL Air Purifier.
To successfully disassemble the purifier, you’ll need a few essential tools, such as a screwdriver and a pair of pliers.
Once the filters are accessible, I’ll also provide you with some helpful tips on how to effectively clean and maintain them for optimal performance.
Filter Removal Process
Next, you’ll need to locate the filter compartment on your Oreck XL air purifier. To remove the filters, follow these steps:
- Turn off the air purifier and unplug it from the power source.
- Open the front panel of the air purifier by pressing the release latch located at the top.
- Once the panel is open, you will see the filters arranged vertically.
- Grasp the handle of the first filter and pull it straight out to remove it.
- Repeat the same process for the remaining filters.
Filter replacement is essential for maintaining the efficiency of your air purifier. If you encounter any issues during the removal process, such as filters being stuck or difficult to remove, troubleshooting common issues can help.
Now that you have successfully removed the filters, let’s move on to the next section where we will discuss the tools required for disassembly.
Tools Required for Disassembly
Now that you’ve successfully removed the filters, let’s discuss the tools you’ll need to disassemble your Oreck XL air purifier. The disassembly process requires a few essential tools to ensure a smooth and efficient dismantling. Here is a list of tools you should have on hand:
| Tools | Quantity | Description |
|---|---|---|
| Screwdriver | 1 | Phillips head and flat head |
| Pliers | 1 | Needle-nose pliers or adjustable pliers |
| Hex Key Set | 1 | Assorted sizes for removing hex screws |
| Small Brush | 1 | Soft-bristled brush for cleaning hard-to-reach areas |
These tools will enable you to remove screws, disconnect wires, and access the internal components of your air purifier. Having the right tools at your disposal will make the disassembly process much easier and efficient.
Now that you know the tools required for disassembly, let’s move on to the next section where we will discuss cleaning and maintenance tips to keep your Oreck XL air purifier in top condition.
Cleaning and Maintenance Tips
To keep your Oreck XL air purifier functioning optimally, it’s important to regularly clean and maintain it. Here are some cleaning techniques and troubleshooting tips to help you keep your air purifier in top shape:
- Make sure to unplug the air purifier before cleaning it.
- Use a soft, dry cloth to wipe down the exterior of the unit.
- Clean the filters regularly by vacuuming or rinsing them, following the manufacturer’s instructions.
- Check the air purifier for any obstructions or blockages that may be affecting its performance.
- If you’re experiencing issues with the air purifier, such as a decrease in airflow or strange noises, refer to the user manual for troubleshooting guidance.
By following these cleaning techniques and troubleshooting common issues, you can ensure that your Oreck XL air purifier continues to deliver clean and fresh air.
Now, let’s move on to step 4: removing and cleaning the pre-filter in the Oreck XL air purifier.
Step 4: Removing and Cleaning the Pre-Filter in the Oreck XL Air Purifier
First, remove the pre-filter from the Oreck XL Air Purifier for cleaning. The pre-filter is an essential component of the air purifier and requires regular maintenance to ensure optimal performance. Cleaning the pre-filter is a simple process that can be done at home.
Here are the steps to follow:
- Turn off and unplug the air purifier.
- Locate the pre-filter compartment at the back of the unit.
- Open the compartment and carefully remove the pre-filter.
- Gently tap the pre-filter to remove any loose dirt or debris.
- Rinse the pre-filter under running water to remove stubborn dirt.
- Allow the pre-filter to air dry completely before reinstalling.
- Once dry, place the pre-filter back into the compartment and close it securely.
Regular pre-filter maintenance is crucial for the efficient functioning of the Oreck XL Air Purifier. By following these steps, you can ensure that your air purifier continues to provide clean and fresh air in your home.
Step 5: Removing and Cleaning the Truman Cell in the Oreck XL Air Purifier
After removing the pre-filter, the next step is cleaning the Truman Cell in the Oreck XL Air Purifier. The Truman Cell is the heart of the air purification system, responsible for capturing and removing airborne particles.
Here are some important points to consider when cleaning the Truman Cell:
- Gently remove the Truman Cell from the air purifier.
- Use a soft brush or vacuum cleaner to remove any loose debris from the cell.
- Fill a sink or basin with warm water and add a mild detergent.
- Submerge the Truman Cell in the soapy water and let it soak for about 10 minutes.
- Rinse the cell thoroughly with clean water and allow it to air dry completely before reinserting it into the air purifier.
Cleaning the Truman Cell regularly will ensure optimal performance and longevity of your Oreck XL Air Purifier. If you encounter any issues with the Truman Cell, refer to the troubleshooting section in the user manual.
Next, we will discuss step 6: removing and replacing the charcoal filter in the Oreck XL Air Purifier.
Step 6: Removing and Replacing the Charcoal Filter in the Oreck XL Air Purifier
When it comes to the charcoal filter in the Oreck XL Air Purifier, there are a few key points to consider.
First and foremost is the lifespan of the filter itself. It’s important to know how long the filter will last before needing to be replaced.
Additionally, it’s crucial to be aware of the availability of replacement filters.
Charcoal Filter Lifespan
The charcoal filter in the Oreck XL air purifier typically lasts for about six months. It is an essential component of the purifier, as it helps to trap and remove odors and harmful gases from the air. To ensure the longevity and effectiveness of the filter, it is important to follow some cleaning and maintenance tips.
- Regularly vacuum the filter to remove any dust or debris.
- Avoid using water or cleaning agents on the filter, as this can damage it.
- Replace the filter when it becomes discolored or starts to emit unpleasant odors.
- Keep the purifier in a clean and dust-free environment to prevent clogging of the filter.
- Consider purchasing an extra replacement filter to have on hand for easy replacement.
By following these cleaning and maintenance tips, you can prolong the lifespan of the charcoal filter in your Oreck XL air purifier and ensure that it continues to provide clean and fresh air in your home.
Now, let’s move on to discuss the availability of replacement filters for the Oreck XL air purifier.
Replacement Filter Availability
Replacement filters for the Oreck XL air purifier are readily available online and in select retail stores. Maintaining a clean and efficient air purifier is essential for optimal performance and air quality. Regular filter replacement is a crucial part of filter maintenance. By replacing the filters as recommended by the manufacturer, you can ensure that your air purifier continues to effectively remove pollutants and allergens from the air. Here is a table highlighting the availability of replacement filters for the Oreck XL air purifier:
| Store | Online | In-Store |
|---|---|---|
| Oreck.com | Yes | No |
| Amazon | Yes | Yes |
| Walmart | Yes | Yes |
| Home Depot | Yes | No |
As you can see, replacement filters are conveniently available online through the Oreck website, Amazon, and various retailers such as Walmart and Home Depot. Prioritizing filter replacement will ensure that your Oreck XL air purifier continues to provide clean and fresh air for you and your family.
Cleaning Charcoal Filter?
When it comes to cleaning the charcoal filter in your Oreck XL air purifier, there are a few important techniques to keep in mind. Proper filter maintenance is crucial for ensuring optimal air purification performance and prolonging the lifespan of your unit.
Here are some key points to consider:
- Start by unplugging the air purifier and removing the charcoal filter from the unit.
- Gently tap the filter against a hard surface to dislodge any loose dirt and debris.
- Use a soft brush or vacuum cleaner with a brush attachment to remove remaining dust and particles from the filter.
- If the filter is heavily soiled, you may need to wash it with mild detergent and warm water. Be sure to rinse it thoroughly and allow it to dry completely before reinstallation.
- Regularly inspect the filter for signs of damage or wear and replace it if necessary.
Step 7: Reassembling the Filters in the Oreck XL Air Purifier
To reassemble the filters in your Oreck XL Air Purifier, simply slide the HEPA filter back into place and secure the pre-filter with the tabs.
It is important to ensure that the HEPA filter is properly aligned and seated in its designated slot. Once the HEPA filter is secure, take the pre-filter and align it with the tabs on the sides of the purifier. Gently press the pre-filter down until it clicks into place.
Make sure that the pre-filter is snugly fitted to prevent any air leakage. If you encounter any difficulties during this process, double-check that the filters are correctly aligned and try again.
Proper filter reassembly is crucial for the effective operation of your Oreck XL Air Purifier.
Step 8: Putting the Front Cover Back on the Oreck XL Air Purifier
After aligning the filters correctly, you can easily put the front cover back on the Oreck XL Air Purifier. This is one of the final steps in reassembling the purifier and getting it ready for use. Here are the steps to guide you through putting the front cover back on:
- Hold the front cover with the Oreck logo facing outwards.
- Align the tabs on the cover with the corresponding slots on the main unit.
- Gently push the cover towards the unit until you hear a click, indicating that it is securely in place.
- Ensure that the cover is flush with the unit on all sides.
- Give the cover a slight tug to confirm that it is properly attached.
Tips for Maintaining and Cleaning Your Oreck XL Air Purifier After Disassembling
One way to ensure your Oreck XL Air Purifier stays in top condition is by regularly cleaning and maintaining it after disassembling.
Proper filter maintenance is crucial for the optimal performance of your air purifier. Start by removing the filters and inspecting them for any signs of damage or excessive dirt buildup. If the filters are dirty, gently vacuum them or rinse them with water until clean. Allow the filters to dry completely before reinserting them.
Additionally, troubleshoot common issues such as a noisy fan or a malfunctioning control panel. Check for any loose connections or obstructions that may be causing the problem. If necessary, refer to the user manual or contact customer support for further assistance.
Frequently Asked Questions
Can I Clean the Filters Without Taking Apart the Oreck XL Air Purifier?
No, you cannot clean the filters without taking apart the Oreck XL Air Purifier. Regular cleaning is necessary for optimal performance. Follow the maintenance tips provided in the user manual for proper filter cleaning and replacement.
How Often Should I Take Apart and Clean My Oreck XL Air Purifier?
I take apart and clean my Oreck XL Air Purifier regularly to properly maintain it. This includes cleaning the fan blades to ensure optimal performance. It’s important to follow the manufacturer’s instructions for safe disassembly and cleaning.
Are There Any Specific Cleaning Products I Should Use for the Filters?
When cleaning my Oreck XL Air Purifier, I prefer using specific cleaning products recommended by the manufacturer. However, there are alternative cleaning methods available if you prefer a different approach.
Can I Wash the Truman Cell in Water?
Yes, you can wash the Truman cell of the Oreck XL Air Purifier in water. However, there are pros and cons to consider. While water can effectively remove dirt and debris, it may not fully eliminate certain contaminants. Additionally, improper drying can lead to mold growth.
Is It Necessary to Replace the Charcoal Filter Every Time I Clean the Oreck XL Air Purifier?
If the charcoal filter is still in good condition, it is not necessary to replace it every time you clean the Oreck XL air purifier. To properly clean the filter without replacing it, follow these steps.
Is the process of removing the filter from the Therapure Air Purifier similar to taking apart the Oreck XL Air Purifier?
Yes, removing the filter Therapure Air Purifier is similar to taking apart the Oreck XL Air Purifier. Both require careful attention to detail to ensure the proper removal and replacement of filters. It is important to follow the manufacturer’s instructions for both air purifiers to maintain their effectiveness.
Conclusion
After disassembling the Oreck XL Air Purifier, I was able to truly understand its inner workings and the importance of regular maintenance.
The process of taking it apart was straightforward with the right tools, and accessing and replacing the filters was a breeze.
This hands-on experience allowed me to investigate the theory behind the purifier’s effectiveness and confirm its quality.
With proper cleaning and maintenance, the Oreck XL Air Purifier will continue to provide clean and fresh air for years to come.