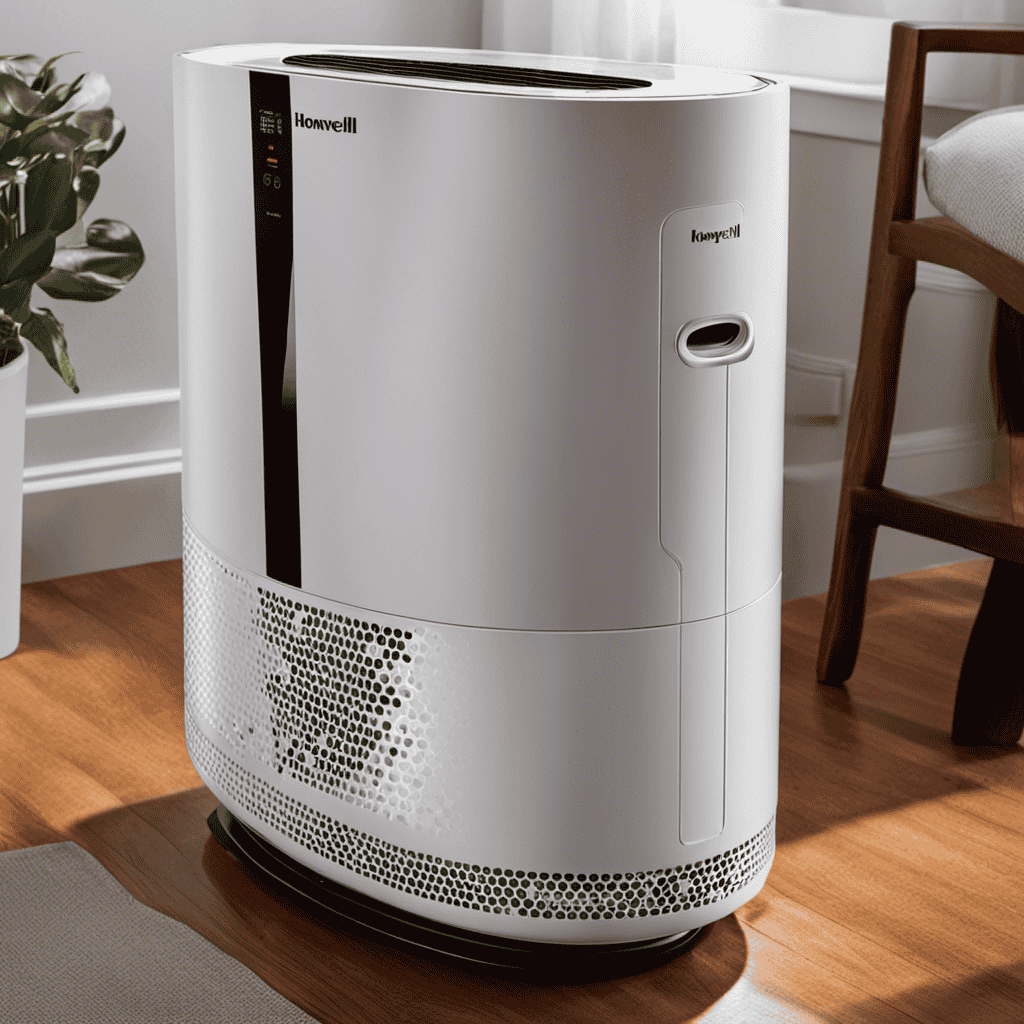
I understand completely – there you are, comfortably seated in your living room, appreciating the clean air thanks to your Honeywell air purifier, when out of the blue, the Check Filter indicator begins to blink. It’s both annoying and bewildering, yet there’s no need to worry! This piece will walk you through every step necessary to deactivate that irritating light and ensure your air purifier continues to function effectively.
From understanding the light’s purpose to troubleshooting tips, I’ve got you covered. So let’s dive in and get that Check Filter light turned off once and for all.
Key Takeaways
- The Check Filter light on a Honeywell Air Purifier indicates when to replace the filter.
- Cleaning and replacing the filter regularly is important for maintaining the air purifier’s effectiveness.
- The cleaning frequency of the pre-filter and HEPA filter depends on air quality and usage.
- Honeywell offers genuine replacement filters and following the manufacturer’s instructions is crucial for proper maintenance and filter replacement.
Understanding the Check Filter Light on Your Honeywell Air Purifier
The Check Filter light on my Honeywell air purifier is a helpful feature that indicates when it’s necessary to replace the filter. Understanding the cleaning frequency and filter lifespan is crucial to maintain the air purifier’s efficiency.
The cleaning frequency depends on various factors such as the air quality in your environment and the usage of the purifier. It is recommended to clean the pre-filter every three months to remove larger particles and prolong the lifespan of the main HEPA filter.
The HEPA filter usually lasts between six to twelve months, depending on the level of pollutants in the air. However, it is essential to regularly check the filter for dirt and debris to ensure optimal performance.
When the Check Filter light illuminates, it’s time to replace the filter to maintain clean and fresh air in your home.
Locating the Filter on Your Honeywell Air Purifier
To find the filter on your Honeywell air purifier, you’ll want to start by locating the front panel. Here is a step-by-step guide to help you locate the filter easily:
-
Turn off and unplug the air purifier for safety.
-
Locate the front panel on the air purifier. It is usually located on the top or front of the device.
-
Remove the front panel by gently pulling it towards you or by pressing the release buttons, if applicable.
-
Once the front panel is removed, you will see the filter compartment. The filter is typically located behind a plastic cover or grille.
Remember to refer to your specific model’s cleaning schedule and filter replacement guide for detailed instructions on how to clean or replace the filter.
Regularly cleaning or replacing the filter is essential for maintaining the performance and efficiency of your Honeywell air purifier.
Removing the Filter From Your Honeywell Air Purifier
When it comes to maintaining the efficiency and performance of your Honeywell air purifier, it’s crucial to understand the proper filter removal process.
This involves carefully detaching the filter from its designated compartment, ensuring that no damage is caused to the unit.
Once the filter has been removed, it’s important to clean it thoroughly to remove any accumulated dirt and debris.
Proper Filter Removal
First, make sure you unplug the air purifier before attempting to remove the filter. This is crucial for your safety and to prevent any electrical mishaps.
Here are the steps to properly remove the filter for replacement or maintenance:
- Locate the filter compartment on your Honeywell air purifier. It is usually on the front or back of the unit.
- Open the compartment by either sliding or lifting the cover, depending on the model.
- Carefully remove the old filter by pulling it out from the compartment. Be cautious not to damage the filter or surrounding components.
- Dispose of the old filter according to local regulations and guidelines.
Now that you have successfully removed the filter, it’s time to move on to the next step: cleaning the filter.
Cleaning the Filter
Now that you’ve successfully removed the filter, it’s important to clean it thoroughly before replacing it.
Proper filter maintenance is crucial for the efficient operation of your air purifier. A dirty filter can hinder the airflow and reduce its ability to remove pollutants from the air effectively. Signs of a dirty filter include decreased airflow, increased noise, and a decrease in overall air quality.
To clean the filter, follow these steps:
- Gently tap the filter to remove any loose dust and debris.
- Use a soft brush or vacuum cleaner with a brush attachment to remove the remaining dirt.
- If the filter is washable, rinse it under running water until the water runs clear. Do not use any cleaning agents or detergents.
Once the filter is clean and dry, you can replace it back into the air purifier. This will ensure that your air purifier continues to operate at its best and helps maintain clean and healthy air in your living space.
Replacing the Filter
After cleaning the filter, it’s time to replace it back into the air purifier. Here is the step-by-step guide for replacing the filter on your Honeywell air purifier:
- Ensure that the air purifier is turned off and unplugged from the power source.
- Locate the filter compartment on the air purifier. It is usually at the back or side of the unit.
- Open the compartment by removing the cover or door. Some models may have a latch or a release button.
- Take out the old filter and dispose of it properly.
- Place the new filter into the compartment, making sure it fits securely.
- Close the compartment and secure the cover or door.
- Plug in the air purifier and turn it on.
By following these steps, you can easily replace the filter in your Honeywell air purifier. This regular maintenance ensures optimal performance and clean air in your home.
Now, let’s move on to the next section about cleaning or replacing the filter on your Honeywell air purifier.
Cleaning or Replacing the Filter on Your Honeywell Air Purifier
To clean or replace the filter on your Honeywell air purifier, you can start by unplugging the device and removing the front cover. Once the cover is off, locate the filter compartment. Honeywell air purifiers typically use a combination of pre-filters, HEPA filters, and activated carbon filters to remove airborne particles and odors. Cleaning techniques for these filters may vary depending on the model. Some filters can be vacuumed or rinsed, while others may need to be replaced entirely. When it comes to filter replacement options, Honeywell offers a range of genuine replacement filters that are specifically designed for their air purifiers. These filters are designed to capture even the smallest particles, ensuring clean and fresh air in your home. Remember to follow the manufacturer’s instructions for proper filter maintenance and replacement to maintain optimal performance.
| Filter Type | Cleaning Technique | Replacement Frequency |
|---|---|---|
| Pre-filter | Vacuum or rinse | Every 3 months |
| HEPA filter | Vacuum or replace | Every 12 months |
| Carbon filter | Replace | Every 3-6 months |
Resetting the Check Filter Light on Your Honeywell Air Purifier
When it comes to resetting the filter light on your Honeywell air purifier, there are a few steps you can follow to ensure a successful process.
Firstly, locate the reset button on your air purifier, often found on the control panel or near the filter compartment.
Press and hold the reset button for a few seconds until the filter light resets or turns off.
If the filter light does not reset, it may indicate a problem with the filter or the air purifier itself, requiring further troubleshooting.
Resetting Filter Light Process
You can reset the filter light on your Honeywell air purifier by following these steps:
- Turn off the air purifier and unplug it from the power outlet.
- Remove the filter from the air purifier according to the filter replacement instructions provided by Honeywell.
- Clean the filter using a vacuum cleaner or rinse it under running water, depending on the cleaning frequency recommended by Honeywell.
- Allow the filter to dry completely before placing it back into the air purifier.
By regularly cleaning and replacing the filter, you can ensure the efficiency and longevity of your Honeywell air purifier.
Now that you have reset the filter light, let’s move on to troubleshooting any issues related to the filter light.
Troubleshooting Filter Light
First, make sure the power cord is securely plugged into the outlet.
Troubleshooting the filter light on your Honeywell air purifier can help resolve common filter light issues. When the filter light is on, it indicates that the filter needs to be replaced or cleaned.
Start by checking if the filter is properly installed, making sure it is securely in place. If the filter is dirty, gently vacuum it or wash it with mild soap and water. Allow the filter to dry completely before reinstalling it.
If the filter light remains on after cleaning or replacing the filter, try resetting the filter light by holding down the filter light button for 3 seconds.
If the issue persists, contact Honeywell customer support for further assistance.
Troubleshooting Tips for the Check Filter Light on Your Honeywell Air Purifier
To troubleshoot the check filter light on your Honeywell air purifier, start by unplugging the device from the power source. This will ensure your safety while working on the air purifier. Once the device is unplugged, follow these troubleshooting tips to resolve the issue:
-
Check the filter: Remove the filter from the air purifier and inspect it for any signs of dirt or damage. Clean or replace the filter if necessary.
-
Reset the filter indicator: Some Honeywell air purifiers have a reset button specifically for the filter light. Press and hold this button for a few seconds to reset the filter indicator.
-
Check the air flow: Ensure that there are no obstructions blocking the air flow into or out of the air purifier. This can cause the filter light to illuminate.
-
Contact customer support: If none of the above steps resolve the issue, it may be a technical problem. Reach out to Honeywell customer support for further assistance.
By following these troubleshooting tips, you can effectively address the check filter light issue on your Honeywell air purifier.
Now, let’s move on to maintenance tips to keep the check filter light off on your Honeywell air purifier.
Maintenance Tips to Keep the Check Filter Light off on Your Honeywell Air Purifier
Now, let’s explore some maintenance tips to ensure the check filter light stays off on your Honeywell air purifier.
Proper maintenance techniques are crucial for prolonging the lifespan of your Honeywell air purifier and preventing common issues with air filters.
First, make sure to regularly clean or replace the air filter according to the manufacturer’s instructions. This will help maintain optimum performance and prevent the accumulation of dust and debris.
Additionally, keep the air purifier in a clean environment and away from sources of dirt and pollutants. Regularly dust and vacuum the surrounding area to minimize the amount of particles that can clog the filter.
Final Thoughts on Turning off the Check Filter Light on Your Honeywell Air Purifier
Remember, regular maintenance is key to keeping your Honeywell air purifier running smoothly and preventing any issues with the filter indicator.
Here are some final thoughts on troubleshooting the check filter light and dealing with common filter issues:
-
Check for filter clogs: If the check filter light is on, it could be due to a clogged filter. Remove the filter and inspect it for any dirt or debris. Clean or replace the filter if necessary.
-
Reset the filter indicator: After cleaning or replacing the filter, make sure to reset the filter indicator. Refer to the instruction manual for specific steps on how to reset the filter indicator on your Honeywell air purifier model.
-
Ensure proper installation: Sometimes, the check filter light may come on if the filter is not properly installed. Double-check that the filter is securely in place and that all connections are tight.
-
Schedule regular filter replacements: To prevent filter issues and keep the check filter light off, it is important to replace the filter at recommended intervals. This will ensure optimal performance and clean air in your home.
Frequently Asked Questions
What Is the Purpose of the Check Filter Light on a Honeywell Air Purifier?
Regular filter maintenance is crucial for optimal air purifier performance. The check filter light on a Honeywell air purifier serves as a reminder to clean or replace the filter. It helps ensure clean air and prevents issues like reduced airflow or a decrease in purifying efficiency.
Can I Use My Honeywell Air Purifier Without a Filter?
No, it is not recommended to use a Honeywell air purifier without a filter. Doing so can lead to decreased air quality, increased allergens, and damage to the unit. It is important to follow the manufacturer’s guidelines for proper usage.
How Often Should I Clean or Replace the Filter in My Honeywell Air Purifier?
Cleaning and replacing the filter in my Honeywell air purifier is crucial. Regular maintenance ensures optimal performance and clean air. It is recommended to clean the filter every 3 months and replace it every 12 months.
Can I Reset the Check Filter Light Without Cleaning or Replacing the Filter?
Yes, you can temporarily disable the check filter light without cleaning or replacing the filter. However, it is not recommended as it may compromise the effectiveness of your Honeywell air purifier. Also, using a generic filter may void the warranty and reduce performance.
Are There Any Alternative Methods to Turning off the Check Filter Light on a Honeywell Air Purifier?
There are alternative methods and troubleshooting tips available for turning off the check filter light on a Honeywell air purifier. These methods can help reset the light without cleaning or replacing the filter.
Conclusion
In conclusion, properly maintaining and managing the Check Filter Light on your Honeywell Air Purifier is crucial for optimal performance.
By understanding the function of the light, locating and removing the filter, and regularly cleaning or replacing it, you can ensure clean and fresh air in your home.
Remember to reset the light and troubleshoot any issues that may arise.
Follow these maintenance tips to keep the Check Filter Light off and enjoy the benefits of a well-functioning Honeywell Air Purifier.
