If you’re looking to learn how to access and change the air filter in your Honeywell air purifier, you’re in the right place. This guide will walk you through each stage of the process, making sure you’re equipped with the right tools and know-how to get the job done right.
With clear instructions and detailed explanations, you’ll be able to maintain the optimal performance of your air purifier effortlessly.
Let’s get started!
Key Takeaways
- Tools required: screwdriver and pair of pliers
- Properly fasten the back panel to ensure correct functioning of the air purifier
- Carefully remove and discard the old air filter
- Testing the air purifier after replacing the back air filter helps identify potential problems or malfunctions

VENTS-US Frigate ERV 80 R - Whole House Energy Recovery Ventilation System, Up to 100 CFM - Continuous Supply of Fresh Air While Exhausting Equal Amounts of Stale Air
Whole-Home Ventilation: Brings in fresh air and exhausts stale air at up to 100 CFM, maintaining healthy indoor...
As an affiliate, we earn on qualifying purchases.
Tools Required for Opening the Back of Honeywell Air Purifier
To open the back of your Honeywell air purifier, you’ll need a screwdriver and a pair of pliers. These tools are essential for accessing the air filter compartment and replacing the filter. Here is a step-by-step process to guide you through the task:
-
Locate the screws on the back panel of the air purifier.
-
Use the screwdriver to remove the screws, ensuring they are completely loosened.
-
Once the screws are removed, carefully pry open the back panel using the pair of pliers.
-
Take your time and be gentle to avoid damaging any internal components.
-
With the back panel removed, you can now access the air filter compartment.
-
Remove the old filter and replace it with a new one, following the manufacturer’s instructions.
-
Once the new filter is in place, reattach the back panel by aligning it properly and securing it with the screws.

AC Infinity CLOUDWAY Whole House EC Fan T10, 1200 CFM with Temperature Humidity Controller, WiFi Integrated App Control – Ceiling Mount House Attic Vent Fan, Exhaust Home Ventilation System
A whole house attic fan designed to cool and ventilate entire homes by exhausting hot air from indoor...
As an affiliate, we earn on qualifying purchases.
Locating the Back Panel of Honeywell Air Purifier
To begin the discussion on the back panel location and air filter replacement process of the Honeywell Air Purifier, I would like to provide some technical information.
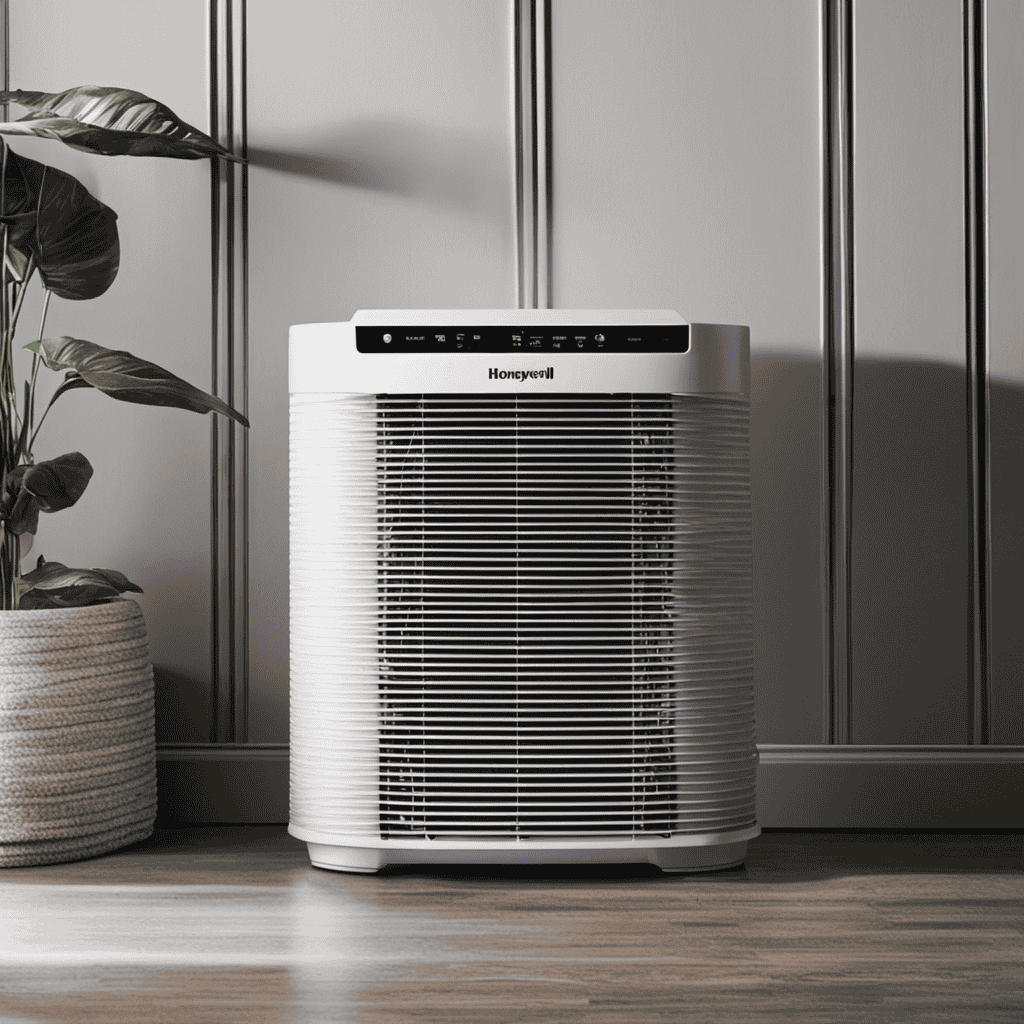
The back panel of the air purifier can be easily located by turning the device around and identifying the section with the manufacturer’s logo.
Once the back panel is accessed, the air filter replacement process is straightforward. It involves removing the old filter and inserting a new one in its place.
Back Panel Location
The back panel of the Honeywell air purifier is where the air filter is located. To access the back panel, you will need to remove it from the unit.
First, ensure that the air purifier is turned off and unplugged from the power source. Then, locate the screws or clips holding the back panel in place. Use a screwdriver or your fingers to loosen and remove them.
Once the screws or clips are removed, gently pull the back panel away from the unit. If you are experiencing issues with your air purifier, troubleshooting can often be done by inspecting the back panel for any loose connections or debris.
Now that you have successfully removed the back panel, let’s move on to the air filter replacement process.
Air Filter Replacement Process?
After removing the back panel, you can proceed with replacing the air filter in the Honeywell air purifier. To clean the air filter, you will need a few tools: a screwdriver, a soft brush, and a vacuum cleaner.
The air filter replacement process is straightforward and can be completed in just a few steps. First, turn off the air purifier and unplug it from the power source. Then, locate the air filter compartment, which is typically located behind the back panel. Use the screwdriver to remove the screws holding the panel in place.
Once the panel is removed, carefully take out the old air filter and discard it. Use the soft brush to remove any dust or debris from the filter compartment. Finally, insert the new air filter and secure the back panel with the screws.
Now you can plug in the air purifier and enjoy cleaner air in your space.
To open the back panel of the Honeywell air purifier, follow these simple steps.

VENTS-US Frigate HRV 120s Heat Recovery Ventilator – Whole House Ventilation Fan with Up to 118 CFM and Freeze Protection
HVI Certified Whole-House Air Exchange: A complete system that ensures continuous, balanced fresh air supply and stale air...
As an affiliate, we earn on qualifying purchases.
Step-by-Step Guide to Opening the Back Panel of Honeywell Air Purifier
To access the air filter of my Honeywell Air Purifier, I first need to remove the back panel. This can be done by following a few simple steps.
Once the back panel is removed, I can easily replace the air filter and ensure that my air purifier continues to function effectively.
Accessing Air Filter
First, you’ll need to remove the back panel of the Honeywell air purifier to access the air filter. Here are some steps to help you with accessing the air filter and troubleshooting any issues with your air purifier:
- Locate the latch or screws on the back panel of the air purifier.
- Use a screwdriver or your fingers to loosen and remove the screws or open the latch.
Once the back panel is removed, you will see the air filter. Carefully remove the old air filter by pulling it out from its slot. Inspect the air filter for any dirt, dust, or damage. If needed, replace it with a new one.
Removing Back Panel
To access the back panel, you can use a screwdriver or your fingers to loosen and remove the latch or screws.
When removing the back panel of a Honeywell air purifier, there are a few common mistakes to avoid.
Firstly, make sure to disconnect the power source before attempting to remove the back panel. This will prevent any electrical accidents from occurring.
Secondly, be careful not to force the panel open or use excessive pressure, as this can cause damage to the unit. Instead, gently apply pressure and follow the manufacturer’s instructions for removing the panel.
Additionally, it is important to avoid touching any internal components or wires while removing the panel to prevent any damage or injury.
VENTS-US Frigate ERV 150 Ventilation System – 180 CFM Whole House Fresh Air Intake and Humidity Exhaust for Balanced Indoor Comfort, Includes Washable Filters and Anti-Freeze Protection
Balanced Ventilation with Energy Savings – Brings in fresh, filtered outdoor air while removing stale indoor air using...
As an affiliate, we earn on qualifying purchases.
Removing the Old Air Filter From Honeywell Air Purifier
Start by unplugging the Honeywell air purifier and turning it around to access the back panel. Once you have done that, follow these steps to remove the old air filter:
- Locate the tabs on the sides of the back panel.
- Gently press and release the tabs to unlock the panel.
- Carefully lift the panel to expose the air filter compartment.
- Locate the air filter inside the compartment.
- Grasp the edges of the air filter and pull it straight out.
Remember to handle the old air filter with care to avoid spreading any trapped particles.
Regular air filter removal and replacement is essential for proper air purifier maintenance. Once the old filter is removed, you can now proceed to install a new filter and secure the back panel back in place.
Selecting and Installing a Replacement Air Filter for Honeywell Air Purifier
Once you’ve chosen and acquired a replacement filter, it’s time to proceed with the installation process.
Choosing the right replacement air filter for your Honeywell air purifier is crucial to ensure optimal performance and air quality. Start by referring to the user manual or the manufacturer’s website for the specific model and filter type required. Honeywell offers a range of filter options, including HEPA filters for capturing allergens and activated carbon filters for removing odors.
When installing the replacement filter, make sure to follow the instructions provided by Honeywell. This may involve removing the old filter, inserting the new one correctly, and securing it in place.
Remember to regularly check and replace the air filter as recommended by the manufacturer to maintain the longevity of your Honeywell air purifier.
Securing the Back Panel of Honeywell Air Purifier
Make sure you securely fasten the back panel of your Honeywell air purifier to ensure proper functioning. Securing the back panel is an important step in maintaining the integrity of your air purifier.
Here are five key points to keep in mind when securing the back panel:
- Align the back panel with the designated slots on the air purifier body.
- Gently push the panel towards the air purifier until it clicks into place.
- Ensure that all edges of the back panel are flush with the body of the air purifier.
- Double-check that there are no gaps or loose areas between the panel and the air purifier.
- Give the back panel a light tug to confirm that it is securely fastened.
By properly securing the back panel, you can prevent any air leakage and ensure that your air purifier operates efficiently.
Now, let’s move on to testing the air purifier after replacing the back air filter.
Testing the Air Purifier After Replacing the Back Air Filter
To ensure that the air purifier is functioning properly, you should now test it after replacing the back air filter. Testing the air purifier’s performance after filter replacement is a crucial step in troubleshooting common issues with Honeywell air purifiers. Here is a table outlining the steps to follow during the testing process:
| Step | Action |
|---|---|
| 1 | Power on the air purifier |
| 2 | Set the fan speed to the highest setting |
| 3 | Observe the airflow from the air outlet |
| 4 | Check if the purifier effectively removes dust and allergens |
| 5 | Ensure that the air quality indicator shows a clean air environment |
Frequently Asked Questions
How Do I Clean the Front Panel of the Honeywell Air Purifier?
To clean the front panel of the Honeywell air purifier, first, disconnect the power. Gently remove the panel by pressing the release buttons on the sides. Wipe the panel with a damp cloth and let it dry before reattaching. Follow these cleaning instructions for maintenance tips.
Can I Use Any Brand of Air Filter as a Replacement for the Honeywell Air Purifier?
I can’t use any brand of air filter as a replacement for my Honeywell air purifier. It’s important to use a genuine Honeywell filter to ensure proper function and maintain the warranty.
Is It Necessary to Unplug the Air Purifier Before Opening the Back Panel?
Yes, it is necessary to unplug the air purifier before opening the back panel. This ensures safety and prevents any electrical accidents. Always prioritize safety when handling electronic devices.
How Often Should I Replace the Air Filter in the Honeywell Air Purifier?
I replace the air filter in my Honeywell air purifier every six months. This ensures optimal performance and clean air. It’s important to follow the manufacturer’s guidelines for filter replacement frequency.
Are There Any Specific Safety Precautions I Should Take When Opening the Back Panel of the Honeywell Air Purifier?
When opening the back panel of the Honeywell air purifier, it’s important to take safety precautions. Make sure the unit is unplugged, wear protective gloves, and follow the manufacturer’s instructions carefully.
Conclusion
In conclusion, replacing the back air filter of a Honeywell air purifier is a straightforward process that can greatly improve the performance of your purifier.
By following the step-by-step guide and using the appropriate tools, you can easily open the back panel, remove the old filter, and install a new one.
Remember, ‘Out with the old, in with the new’ – this simple adage captures the satisfaction of improving the air quality in your home.
Enjoy the fresh and clean air provided by your Honeywell air purifier!