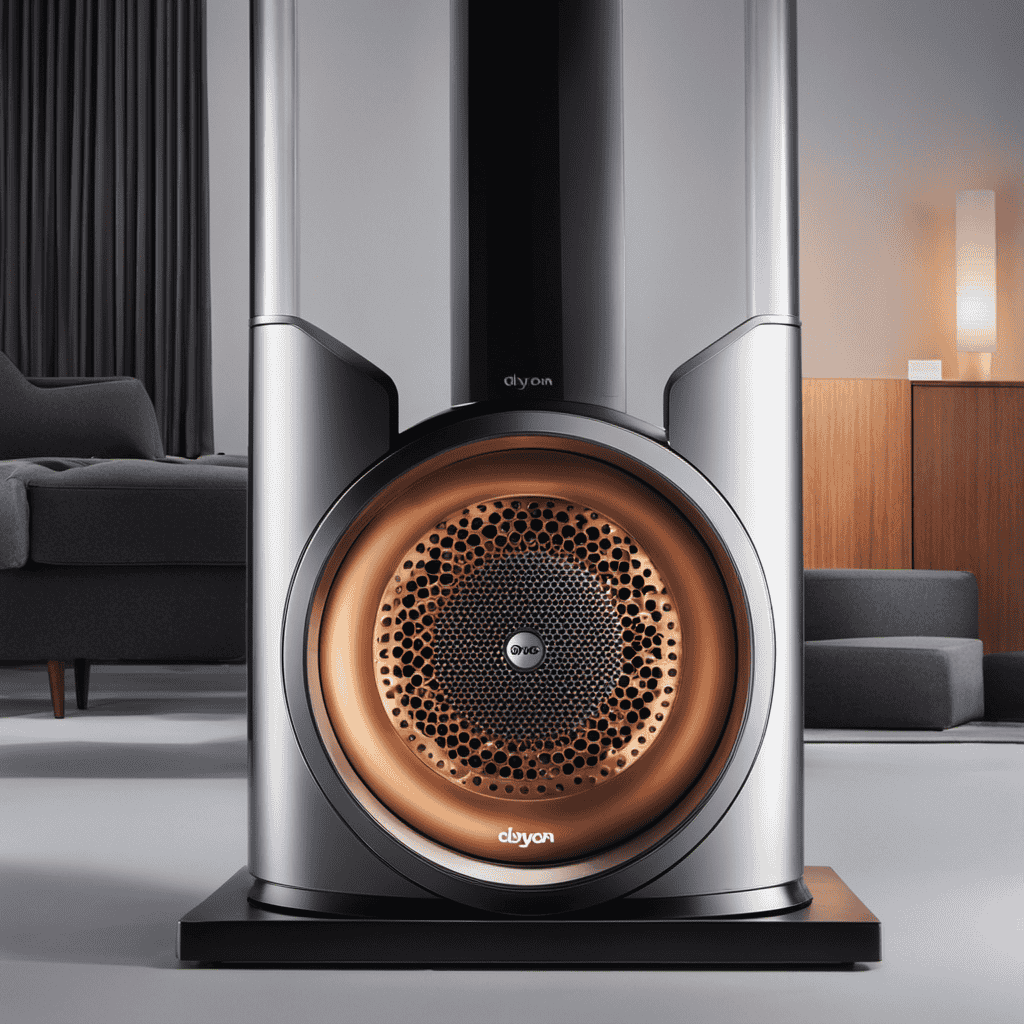
I have an incredible solution to meet all your air purifying requirements! Prepare to enjoy the pinnacle of purity and freshness in the air with the Iwave Air Purifier.
In this step-by-step guide, I will show you exactly how to install this incredible device. From gathering the necessary tools to finalizing and testing the installation, I will walk you through the entire process.
So, let’s get started and transform your indoor air quality like never before!
Key Takeaways
- The Iwave Air Purifier uses advanced technology to remove impurities from the air.
- Regular maintenance, including cleaning the filter and keeping the unit well-ventilated, is essential for optimal performance.
- Choose a central location for installation to ensure effective air circulation.
- Test the unit after installation and monitor for proper functionality, including checking for error codes and improvements in air quality.

Garden Tool Organizer, Yard Tool Tower Rack for Garage Organization and Storage, Up to 35 Long-Handled Tools/Rakes/Brooms, Heavy Duty Steel Garden Tool Stand for Shed, Outdoor, Black
- Large Capacity Tool Slots: Holds up to 35 tools in compact design
- Versatile Tool Compatibility: Stores gardening, cleaning, and yard tools
- Height-Adjustable Feet: Suitable for uneven ground surfaces
As an affiliate, we earn on qualifying purchases.
Understanding the Iwave Air Purifier
The Iwave Air Purifier is an innovative device that uses advanced technology to remove impurities from the air. It offers numerous benefits for those looking to improve the air quality in their homes.
First and foremost, an air purifier helps to remove allergens such as dust, pollen, and pet dander, which can greatly benefit individuals with allergies or respiratory issues. Additionally, it eliminates unpleasant odors and harmful pollutants, promoting a healthier living environment.
To ensure the optimal performance of the Iwave Air Purifier, regular maintenance is essential. It is recommended to clean the filter regularly and replace it as needed. Additionally, keeping the unit in a well-ventilated area and avoiding placing it near heat sources or direct sunlight will help prolong its lifespan.
With proper maintenance, the Iwave Air Purifier will continue to provide clean and fresh air for years to come.
Now that we understand the benefits and maintenance tips, let’s move on to gathering the necessary tools and supplies.
Gathering the Necessary Tools and Supplies
First, make sure you’ve got all the tools and supplies you need to get started.
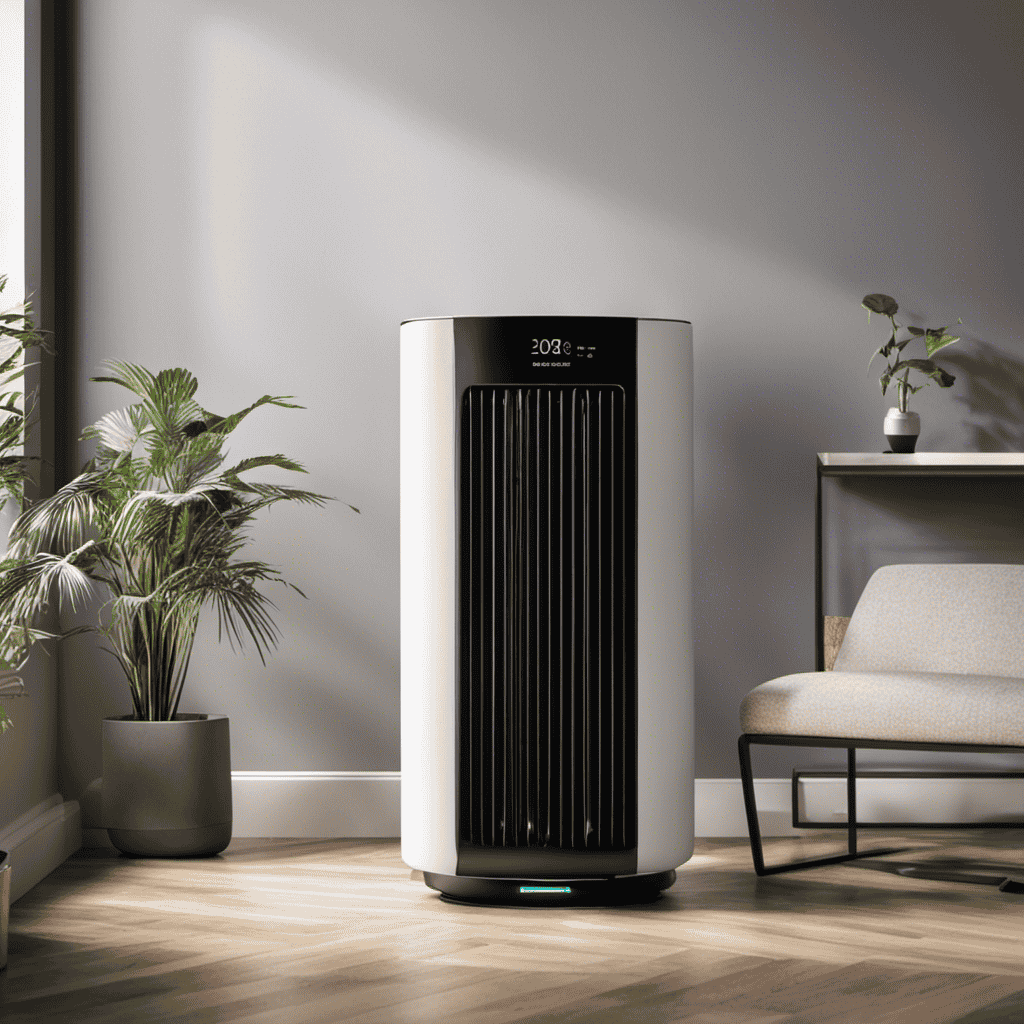
Installing an iWave air purifier requires careful consideration of the location and proper ventilation.
To choose the right location, take into account the size of the room and the layout. You want to place the air purifier in a central area where it can effectively circulate clean air throughout the room.
Additionally, ensure that the location allows for easy access to the unit for maintenance and cleaning.
Proper ventilation is crucial for the iWave air purifier to work efficiently. Avoid placing the unit near obstructions such as curtains or furniture that may impede the airflow.
Also, make sure there is adequate space around the air purifier for optimal performance.
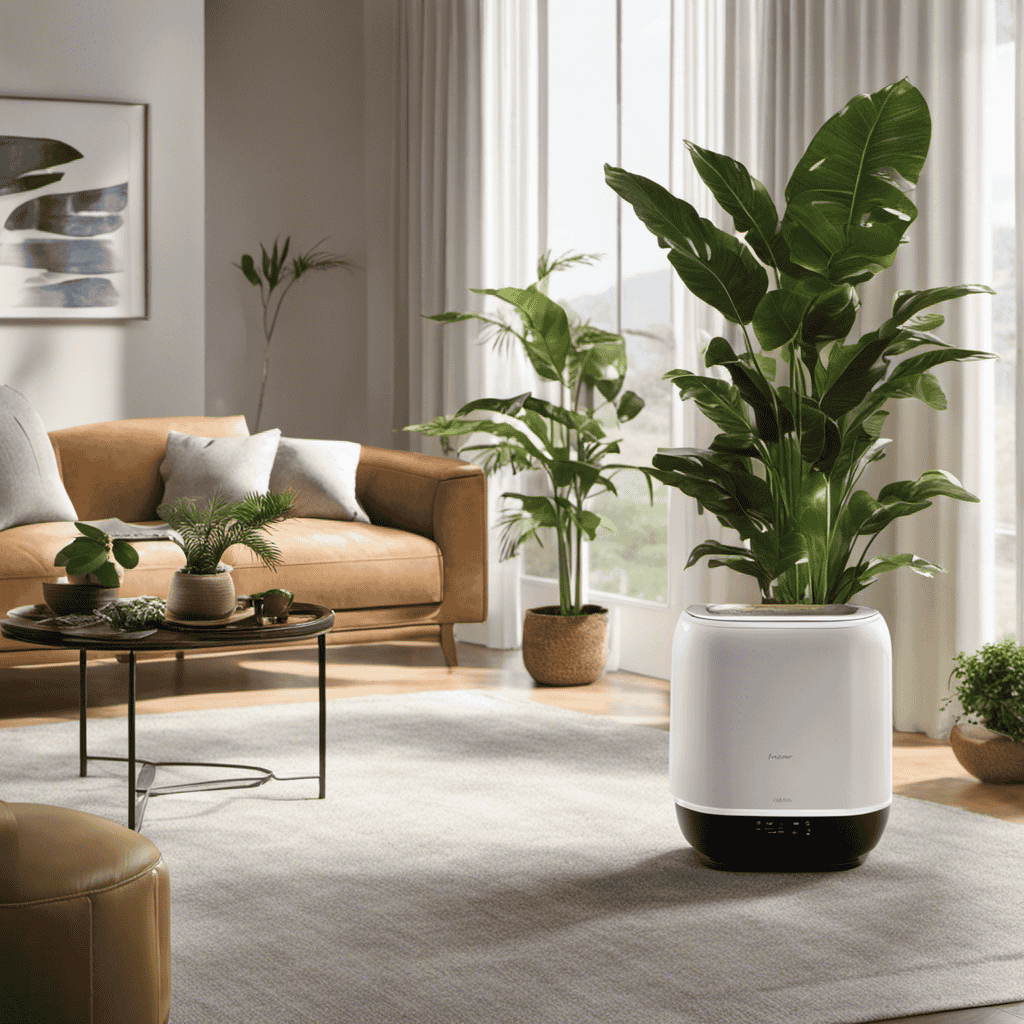
Preparing the Installation Area
Choose a suitable location in the room for optimal installation of the iWave air purifier by considering the size and layout.
Start by preparing the space where the air purifier will be installed. Clear any clutter or obstructions to ensure proper airflow.
Next, measure the air quality in the room using an air quality monitor. This will help you determine if there are any specific areas that require more attention. Look for areas with high levels of pollutants or allergens.
Once you have chosen the installation location and assessed the air quality, you are ready to proceed with the step-by-step installation process.
Step-by-Step Installation Process
Once you’ve cleared the area and measured the air quality, you’re ready to start the step-by-step installation process. Here’s how to install your iwave air purifier:
-
Mounting the unit: Select a suitable location on the supply side of your HVAC system. Ensure there is enough space for the unit to fit properly. Use the provided mounting bracket and screws to securely attach the iwave unit.
-
Wiring the unit: Connect the iwave unit’s power cord to a nearby electrical outlet. Make sure to follow the manufacturer’s instructions and adhere to local electrical codes. Double-check all connections for proper tightness.
-
Testing the unit: Turn on your HVAC system and monitor the iwave unit to ensure it is functioning properly. Check for any error codes or unusual behavior. If any issues arise, consult the installation troubleshooting section of the user manual.
Remember to regularly clean and maintain your iwave air purifier for optimal performance. Refer to the maintenance tips provided by the manufacturer to keep your unit running smoothly.
Finalizing and Testing the Iwave Air Purifier Installation
After securely attaching the iwave unit and connecting it to a nearby electrical outlet, it’s time to turn on your HVAC system and monitor the unit for proper functionality.
To test the effectiveness of the iwave air purifier, follow these steps:
- Ensure that the HVAC system is set to the ‘On’ position.
- Set the thermostat to a comfortable temperature.
- Listen for any unusual noises or vibrations coming from the iwave unit. If you notice anything out of the ordinary, immediately turn off the HVAC system and consult the troubleshooting guide.
- Check the iwave unit for any error codes or warning lights. Refer to the user manual for guidance on interpreting these indicators.
- Monitor the air quality in your home. If you notice a significant improvement in air freshness and a reduction in allergens, dust, and odors, then the iwave air purifier is functioning effectively.
In case of any common issues or troubleshooting needs, refer to the user manual or contact the manufacturer’s customer support for assistance.
Frequently Asked Questions
How Often Should I Clean the Filters in the Iwave Air Purifier?
I replace the filters in my iwave air purifier every 3 months. Regularly cleaning or replacing the filters helps maintain optimal performance and ensures clean air in my home. The benefits of using an air purifier include reducing allergens and improving indoor air quality.
Can the Iwave Air Purifier Be Used in a Large Room or Is It Only Suitable for Small Spaces?
I’ve found that the iwave air purifier is ideal for large rooms and small spaces alike. Its powerful filtration system ensures optimal air quality, making it a great choice for any size room.
Is It Possible to Adjust the Fan Speed on the Iwave Air Purifier?
Yes, you can adjust the fan speed on the iwave air purifier. One of the features of this purifier is the ability to customize the fan speed according to your needs and preferences.
Does the Iwave Air Purifier Produce Any Noise While Operating?
Yes, the iwave air purifier does produce some noise while operating. However, the noise level is minimal and should not be a major concern for most users. The sound production is designed to be quiet and not disruptive.
How Long Is the Warranty Period for the Iwave Air Purifier?
The warranty period for the iwave air purifier is 1 year. It’s important to regularly clean the filters to ensure optimal performance. Cleaning frequency may vary depending on usage and environmental conditions.
Conclusion
In conclusion, installing the Iwave Air Purifier was a breeze. With the right tools and supplies in hand, I carefully followed the step-by-step process.
As I sealed the last connection, a sense of satisfaction washed over me, knowing that I had taken a significant step towards improving the air quality in my home.
Just like a skilled conductor brings harmony to an orchestra, the Iwave Air Purifier orchestrates clean and fresh air, ensuring a healthier environment for my family.