
As I started on my mission to clean the air in my home, I discovered that setting up an air purifier was not just a straightforward job. It demanded accuracy, expertise, and a bit of finesse.
In this article, I will guide you through the step-by-step process of how to install an air purifier with ease. From finding the perfect location to connecting the power, I’ll cover it all.
So, let’s dive in and breathe in the fresh, clean air together.
Key Takeaways
- The air purifier should be positioned in a central location, taking into consideration room size and airflow patterns, while avoiding obstacles and electrical appliances.
- Regular cleaning and replacement of filters is essential for optimal performance.
- Proper installation of filters involves identifying filter slots, removing old filters, and securely sliding in new filters.
- Air purifiers with smart features, such as Wi-Fi connectivity and app control, offer remote monitoring and control, as well as customizable settings and energy efficiency features.

LEVOIT Air Purifier for Home Allergies Pet Hair in Bedroom, Covers Up to 1073 ft² by 56W High Torque Motor, AHAM VERIFIDE, 3-in-1 Filter with HEPA Sleep Mode, Remove Dust Smoke Odor, Core300-P, White
WHY CHOOSE AHAM VERIFIDE AIR PURIFIERS: AHAM (Association of Home Appliance Manufacturers) is an ANSI-accredited organization that sets...
As an affiliate, we earn on qualifying purchases.
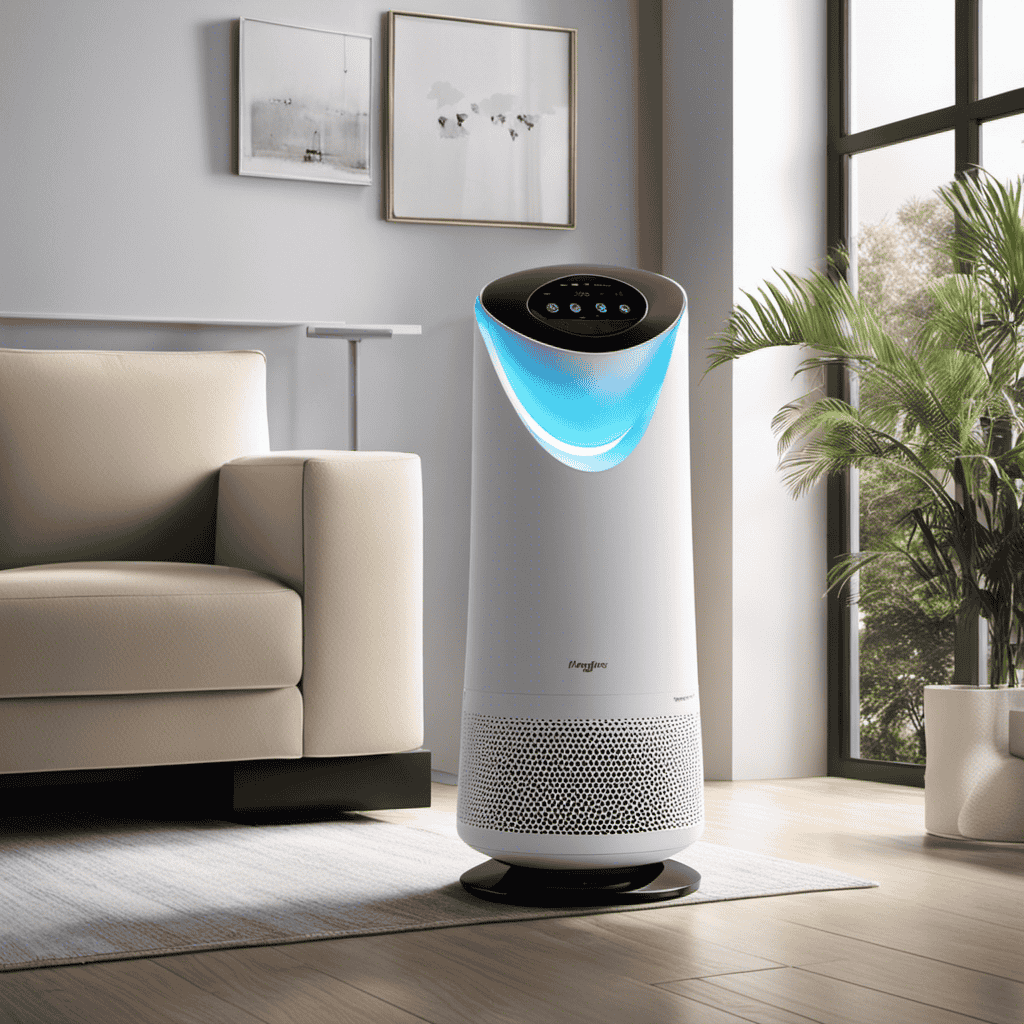
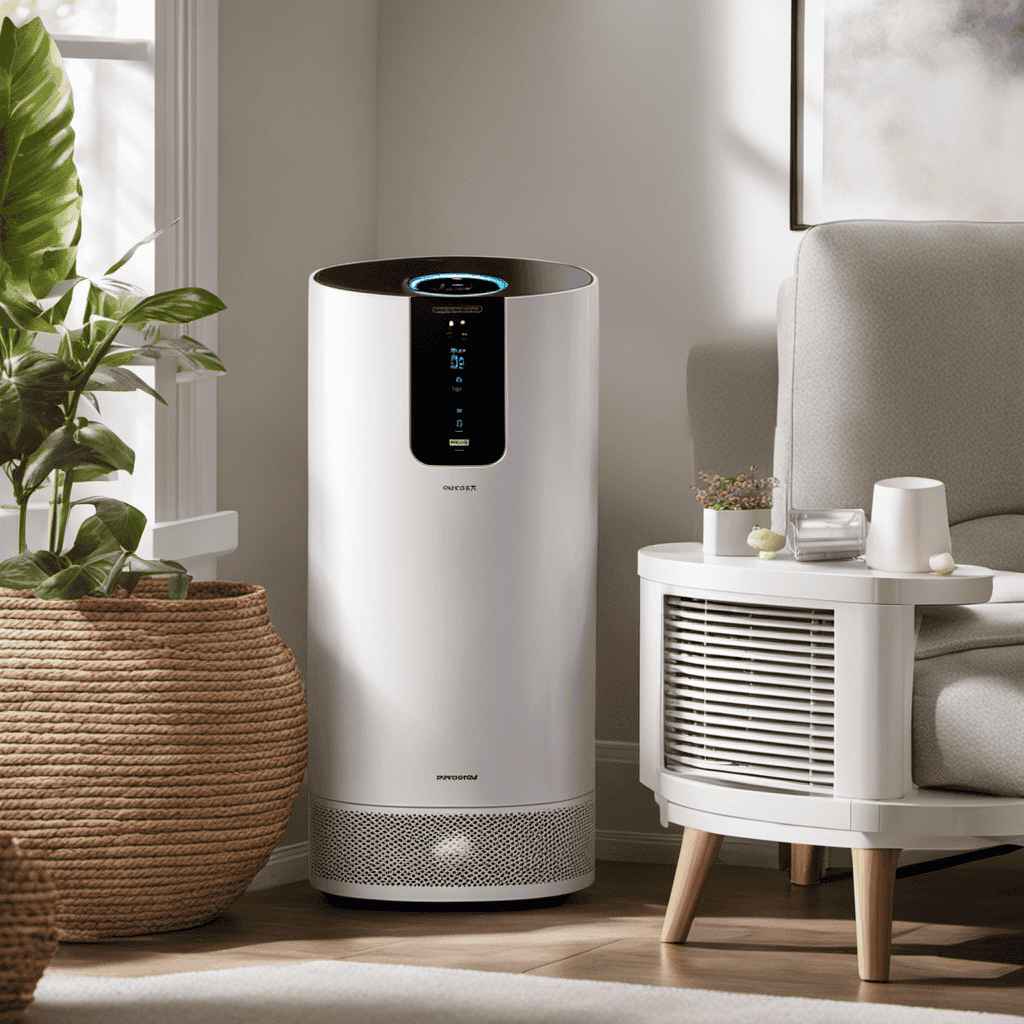
Location and Positioning
To ensure optimal effectiveness, you’ll want to place your air purifier in a central location within the room. This allows for better air circulation and maximum coverage. When selecting a spot, consider the size of the room and the airflow patterns.
Avoid placing the air purifier near obstacles such as furniture, curtains, or walls, as they can obstruct the airflow and reduce its efficiency. Additionally, make sure the air purifier is at least a few feet away from any electrical appliances to prevent interference.
Regular maintenance is also essential for the long-term benefits of air purifiers. Clean the filters regularly and replace them as recommended by the manufacturer. This will ensure that your air purifier continues to effectively remove pollutants and allergens from the air, providing you with clean and fresh indoor air.

KNKA Air Purifier for Home Bedroom Large Room Up to 1,695 Ft² in 1 Hr, HEPA Air Cleaner with Washable Pre-Filter, AHAM VERIFIDE, AQI Display, ECO Mode, Pet Mode for Pets, Dust, Pollen, APH4000
𝐀𝐇𝐀𝐌 𝐕𝐞𝐫𝐢𝐟𝐢𝐞𝐝 & 𝐇𝐢𝐠𝐡 𝐂𝐀𝐃𝐑 𝐕𝐚𝐥𝐮𝐞: Certified by the Association of Home Appliance Manufacturers, this air purifier provides...
As an affiliate, we earn on qualifying purchases.
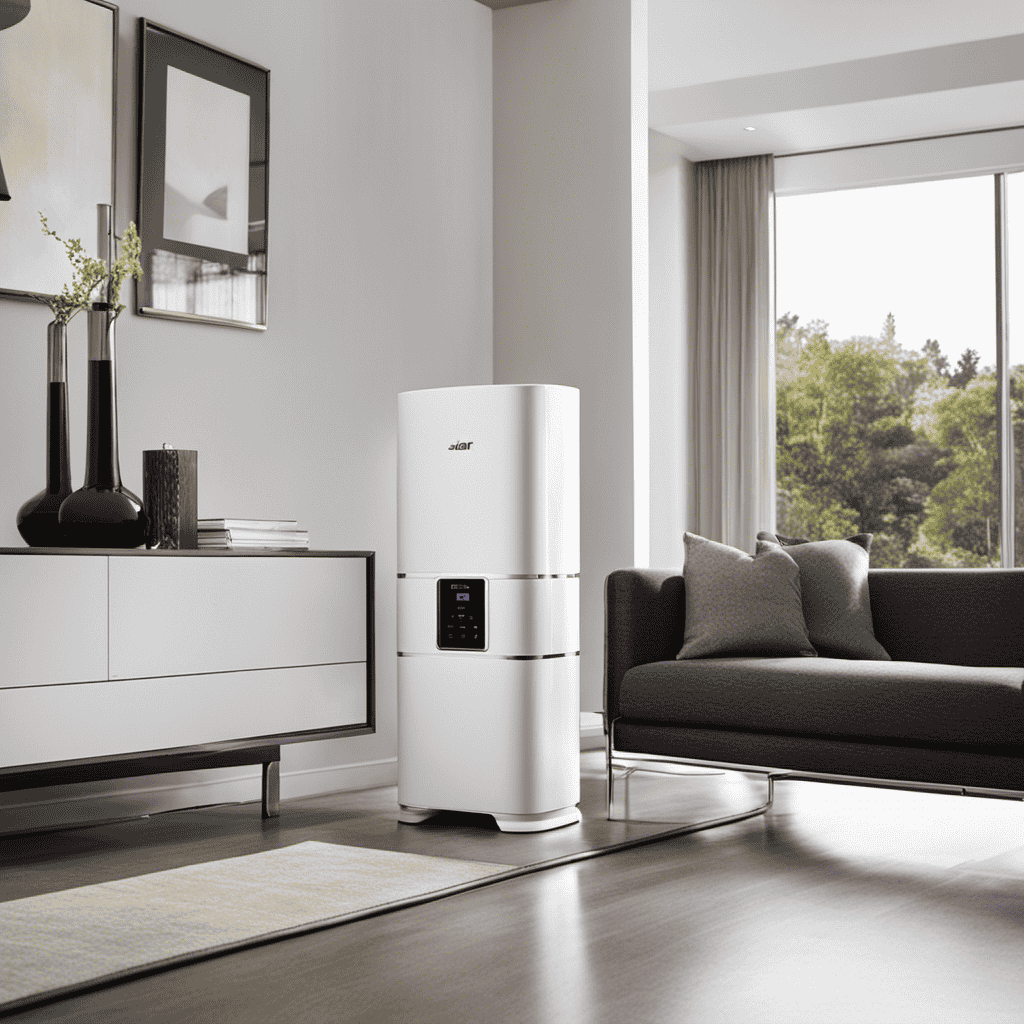
Unboxing and Assembly
First, take the air purifier out of the box and start assembling it according to the instructions. The installation process is straightforward and can be completed in a few simple steps.
Begin by connecting the filters securely in place, making sure they are properly aligned. Then, attach the pre-filter and main filter to the designated slots. Once the filters are in place, connect the power cord to an electrical outlet.
The air purifier should now be ready for use. If you encounter any issues during the assembly process, here are some troubleshooting tips: double-check the alignment of the filters, ensure all connections are secure, and consult the instruction manual for further guidance.
With proper installation, your air purifier will effectively improve the air quality in your space.

Air Purifiers for Home Large Room, Cover Up to 2600 Ft² with Washable Filters, Powerful Turbo Mode, PM2.5 Air Quality Display, 22dB Sleep Mode, Air Cleaner for Pets, HAP607, Bright White
𝐓𝐑𝐈𝐏𝐋𝐄 𝐈𝐍𝐓𝐀𝐊𝐄, 𝐖𝐇𝐎𝐋𝐄-𝐑𝐎𝐎𝐌 𝐏𝐔𝐑𝐈𝐅𝐈𝐂𝐀𝐓𝐈𝐎𝐍: Featuring a front air inlet combined with wider dual-side air inlets, this air purifier...
As an affiliate, we earn on qualifying purchases.
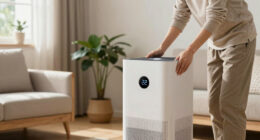
Preparing the Air Purifier
Make sure you have all the necessary tools and materials ready before you start preparing your air purifier. Here’s a step-by-step guide on how to prepare your air purifier for optimal performance:
-
Clean the air intake vents: The first step in preparing your air purifier is to clean the air intake vents. Use a soft cloth or brush to remove any dust or debris that may have accumulated on the vents. This will ensure that the air purifier can effectively filter the air.
-
Check the filters: Next, check the filters in your air purifier. If they are dirty or clogged, it’s important to clean or replace them. Dirty filters can reduce the efficiency of your air purifier and may not effectively clean the air in your home.
-
Place the air purifier in the right location: It’s important to place your air purifier in a central location in the room, away from obstacles such as furniture or curtains. This will allow the air purifier to circulate and clean the air effectively.
-
Plug in and power on: Finally, plug in your air purifier and power it on. Make sure it is set to the appropriate settings for your needs.
By following these steps, you can ensure that your air purifier is properly prepared and ready to clean the air in your home.
Now, let’s move on to the next section and learn how to install the filters.

LEVOIT Air Purifiers for Home Large Room Up to 1875 Ft² with Washable Pre-Filter, AHAM VERIFIDE, Air Quality Monitor, HEPA Sleep Mode for Allergies, Pet Hair in Bedroom, Vital 200S-P, White
𝐖𝐇𝐘 𝐂𝐇𝐎𝐎𝐒𝐄 𝐀𝐇𝐀𝐌 𝐕𝐄𝐑𝐈𝐅𝐈𝐃𝐄 𝐏𝐑𝐎𝐃𝐔𝐂𝐓𝐒: AHAM (Association of Home Appliance Manufacturers) is an ANSI-accredited organization that sets strict...
As an affiliate, we earn on qualifying purchases.
Installing the Filters
Once you have cleaned the intake vents and checked the filters, it’s time to insert them into the designated slots.
Replacing filters is a crucial part of air purifier maintenance, as it ensures that the purifier continues to function effectively in removing pollutants from the air.
Begin by identifying the filter slots on your air purifier. Usually, there are labeled indicators or instructions in the user manual to guide you.
Take out the old filters and discard them properly.
Next, align the new filters correctly and slide them into the slots. Make sure they fit snugly and securely. Double-check that they are properly seated and that there are no gaps or loose connections. This step is essential for optimal performance.
Regularly replacing filters is a key maintenance tip to keep your air purifier running efficiently and maintaining clean, fresh air in your space.
Connecting Power and Controls
To begin, plug in the power cord and turn on the air purifier using the control panel.
Here are some troubleshooting tips and power supply options to help you with your air purifier installation:
-
Check the power cord: Ensure that the power cord is securely plugged into the air purifier and the power outlet. If the purifier doesn’t turn on, try using a different outlet to rule out any issues with the power supply.
-
Verify the control panel settings: Make sure that the air purifier is set to the desired fan speed and mode. Some purifiers have different settings for different air quality levels or specific features like sleep mode or timer.
-
Clean the filters: If the air purifier is not functioning optimally, it could be due to clogged filters. Remove and clean the filters according to the manufacturer’s instructions to enhance the purifier’s performance.
-
Contact customer support: If you have tried the troubleshooting tips and the air purifier still doesn’t work, reach out to the manufacturer’s customer support for further assistance.
Remember to always refer to the user manual for specific instructions regarding your air purifier model.
Setting up Additional Features
When it comes to setting up additional features on your air purifier, there are a few key points to consider.
First, advanced purification options provide you with a range of settings to customize the level of air purification based on your specific needs. You can adjust the filtration system to target specific pollutants or allergens, ensuring that your air is as clean and healthy as possible.
Additionally, customizable settings and controls allow you to personalize your air purifier to fit your preferences and lifestyle. You can set timers, adjust fan speeds, and even connect to smart home systems for seamless integration.
Advanced Purification Options
You can enhance the air purification process by choosing advanced options. Here are some key features to consider when selecting an air purifier:
-
HEPA filtration: Look for an air purifier with a high-efficiency particulate air (HEPA) filter. This type of filter can capture particles as small as 0.3 microns, including dust, pollen, pet dander, and mold spores.
-
Activated carbon filter: An activated carbon filter can help remove odors, chemicals, and volatile organic compounds (VOCs) from the air. This is especially beneficial for those with sensitivities or allergies.
-
UV-C light: Some air purifiers come with UV-C light technology, which can help kill airborne viruses and bacteria. This added layer of protection can be particularly useful during flu season or in households with immune-compromised individuals.
-
Smart features: Consider an air purifier with smart features such as Wi-Fi connectivity, app control, and air quality sensors. These features allow you to monitor and control the air purifier remotely, ensuring optimal air quality at all times.
Customizable Settings and Controls
The customizable settings and controls on your air purifier allow you to personalize the purification process according to your preferences. With smart technology, you can easily adjust the settings using a smartphone app or voice commands.
The energy efficiency feature helps optimize the purifier’s performance while minimizing power consumption. You can schedule the purifier to turn on and off at specific times, ensuring optimal air quality when you need it most.
Additionally, the customizable controls allow you to select different fan speeds, adjust the intensity of the purification process, and even choose specific pollutants to target. By tailoring these settings to your unique needs, you can create a personalized and efficient purification experience.
Now, let’s explore how to test and troubleshoot your air purifier for any issues that may arise.
Testing and Troubleshooting
If there’s an issue with your air purifier, try resetting it by unplugging it for a few minutes and then plugging it back in. Troubleshooting common issues can save you time and money by avoiding unnecessary repairs or replacements.
Here are some maintenance and cleaning tips to keep your air purifier running smoothly:
-
Check the filter: A clogged or dirty filter can hinder the performance of your air purifier. Clean or replace the filter regularly to ensure optimal airflow.
-
Clean the exterior: Dust and debris can accumulate on the exterior of the unit, reducing its efficiency. Use a soft cloth or brush to remove any dirt or grime.
-
Monitor the sensors: Some air purifiers have built-in sensors to detect air quality. Make sure these sensors are clean and properly functioning for accurate readings.
-
Regularly inspect the fan: The fan is responsible for circulating the air. Clean any debris that may have accumulated around the fan blades to prevent blockages and maintain efficient airflow.
Conclusion
In conclusion, installing an air purifier is a straightforward process that can greatly improve the air quality in your home. By following the steps outlined in this article, you can ensure that your air purifier is properly positioned, assembled, and connected to power.
One example of the benefits of using an air purifier is the case of a family suffering from allergies. After installing an air purifier, they noticed a significant reduction in their allergy symptoms, allowing them to breathe easier and enjoy a healthier home environment.