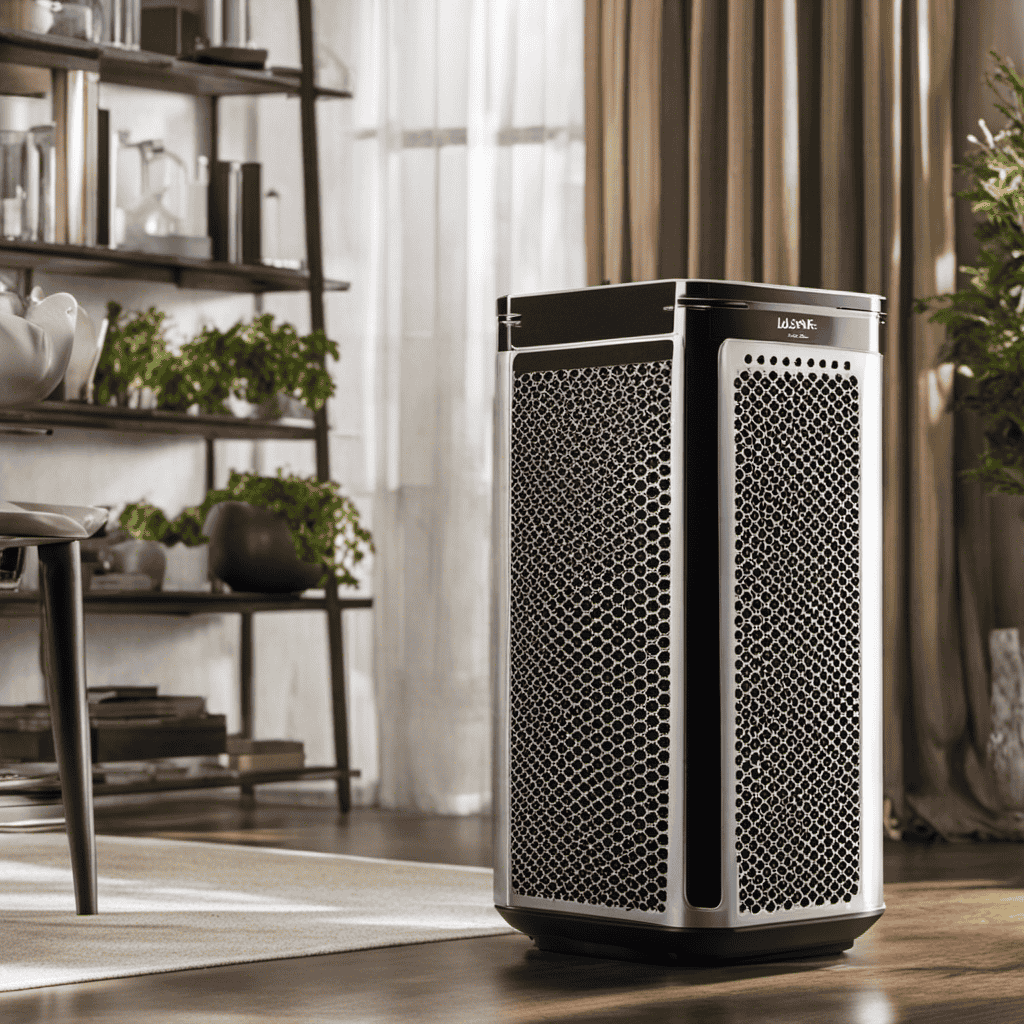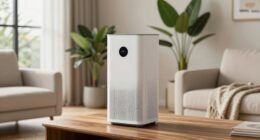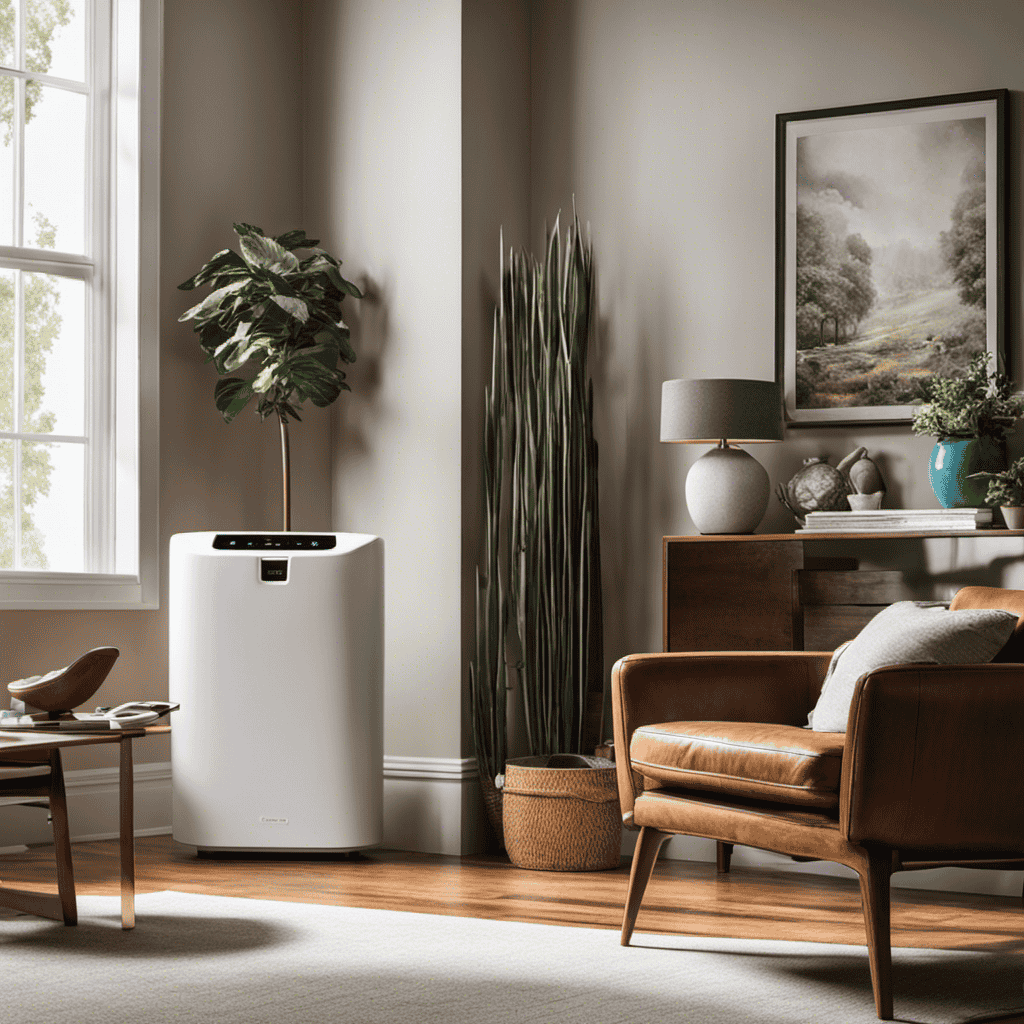
As a proud owner of the Doctor’s Choice Air Purifier, I can confidently say that taking off the front cover is a straightforward and essential task. With just a few steps and the correct tools, you can ensure your air purifier is operating at peak performance.
In this article, I will guide you through the process, ensuring that your front cover is removed, cleaned, and reattached securely.
Don’t let dust and debris hinder the performance of your air purifier any longer – let’s get started!
Key Takeaways
- Gather necessary tools: screwdriver, soft cloth or brush, mild cleaning solution or gentle soap and water mixture, clean, dry towel
- Identify release tab options or screw removal techniques
- Gently push or unscrew the release tabs or screws
- Clean the surface of the device and the cover before reattaching
Step 1: Gather the Necessary Tools
To remove the front cover of your Doctor’s Choice air purifier, you’ll need to gather the necessary tools first. The cleaning process is simple and requires just a few items.
Firstly, grab a screwdriver. This will help you remove any screws that may be securing the cover in place.
Next, have a soft cloth or brush on hand to wipe away any dust or debris that may have accumulated over time.
Additionally, it’s a good idea to have a mild cleaning solution or gentle soap and water mixture to give the cover a thorough cleaning.
Lastly, make sure you have a clean, dry towel to dry the cover before reattaching it.
With these tools in hand, you’ll be ready to remove and clean the front cover of your Doctor’s Choice air purifier.
Step 2: Locate the Release Tabs or Screws
First, find the release tabs or screws to begin removing the front cover of your Doctor’s Choice air purifier. This step is crucial in order to access and clean the filters inside. The release tab options or screws may vary depending on the specific model of your air purifier. To determine the appropriate method, refer to the user manual provided by the manufacturer. Below is a table that outlines two common release tab options and two screw removal techniques that you may encounter:
| Release Tab Options | Screw Removal Techniques |
|---|---|
| Push and Slide | Phillips Screwdriver |
| Pull and Lift | Flathead Screwdriver |
| Hex Key |
Once you have identified the release tabs or screws, you can proceed to the next step of removing the front cover carefully.
Step 3: Remove the Front Cover Carefully
Once you’ve located the release tabs or screws, you can now proceed to carefully removing the front cover. This step is crucial in air purifier maintenance to ensure the unit is clean and functioning properly.
To remove the front cover, follow these steps:
- Gently push or unscrew the release tabs or screws, depending on the model of your air purifier.
- Slowly pull the front cover towards you, being cautious not to damage any internal components.
- Set aside the front cover in a safe place to prevent any damage or misplacement.
Taking the time to remove the front cover properly allows you to access the filters and other parts that require cleaning or replacement. It is essential to follow the manufacturer’s instructions for your specific air purifier model to maintain its performance and prolong its lifespan.
In the next step, we will discuss how to clean the front cover to remove any accumulated dirt and debris.
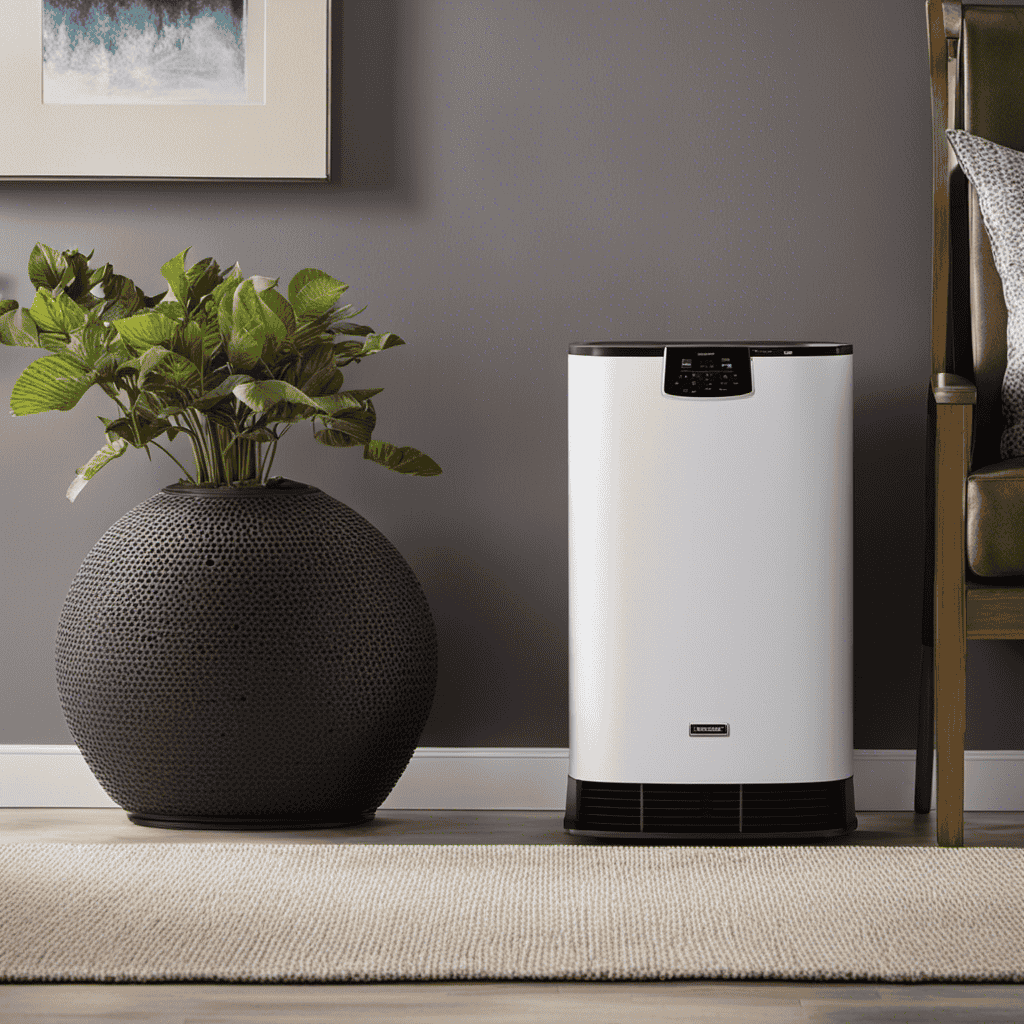
Step 4: Clean the Front Cover
After you’ve taken the front cover off, it’s time to clean it to remove any dirt and debris that may have accumulated. Cleaning the front cover of your Doctor’s Choice air purifier is an important step in maintaining its effectiveness.
There are a few different cleaning methods you can use, depending on the material of the cover. For plastic or metal covers, a gentle wipe with a damp cloth should suffice. If the cover is fabric, you may need to vacuum it or use a lint roller to remove any dust or pet hair.
It’s also a good idea to check the manufacturer’s instructions for any specific cleaning recommendations. By regularly cleaning the front cover, you can ensure that your air purifier continues to function optimally and provide clean, fresh air for your home.
Step 5: Reattach the Front Cover Securely
To reattach the front cover securely, make sure it aligns properly with the body of the device. This is an important step to ensure the proper functioning of your Doctor’s Choice air purifier.
Here are some tips to help you secure the front cover effectively:
-
Clean the surface: Before reattaching the front cover, clean the surface of the device and the cover itself to remove any dust or debris. This will ensure a better fit and prevent any blockage in the air intake.
-
Align the tabs: Look for the tabs on the front cover and align them with the corresponding slots on the body of the device. Make sure they fit snugly for a secure attachment.
-
Secure the screws: If your air purifier has screws to secure the front cover, use a screwdriver to tighten them gently. Be careful not to overtighten, as this may damage the cover or the device.
Conclusion
In conclusion, removing the front cover of a Doctor’s Choice air purifier is a simple task that can be done with the right tools and careful handling. By following the steps outlined in this article, you can easily clean the front cover and maintain the effectiveness of your air purifier.
Did you know that according to a study by the Environmental Protection Agency, indoor air can be up to 5 times more polluted than outdoor air? Taking the time to clean your air purifier can significantly improve the air quality in your home and promote a healthier living environment.