After years of working as an HVAC technician, I have realized that maintaining optimal air quality requires embracing the idea that ‘change is the only constant’.
And one crucial aspect of this maintenance is knowing how to change the filter on a Honeywell Febreze air purifier.
In this article, I will guide you through the step-by-step process, providing you with the necessary tools, safety precautions, and detailed instructions.
So, let’s dive in and ensure your air purifier continues to work efficiently and effectively.
Key Takeaways
- Locate the filter compartment at the back or side of the air purifier and refer to the user manual for specific instructions.
- Purchase the correct replacement filter for your specific Honeywell Febreze air purifier model and use a screwdriver to remove the front panel and access the filter compartment.
- Turn off the air purifier, unplug it from the power source, wear gloves, and place a drop cloth underneath to catch debris before replacing the filter.
- Gently remove the old filter without damaging it, dispose of it in a sealed plastic bag, and carefully install the new filter by aligning the tabs and ensuring it is securely seated.

LEVOIT Air Purifier for Home Allergies Pet Hair in Bedroom, Covers Up to 1073 ft² by 56W High Torque Motor, AHAM VERIFIDE, 3-in-1 Filter with HEPA Sleep Mode, Remove Dust Smoke Odor, Core300-P, White
WHY CHOOSE AHAM VERIFIDE AIR PURIFIERS: AHAM (Association of Home Appliance Manufacturers) is an ANSI-accredited organization that sets...
As an affiliate, we earn on qualifying purchases.
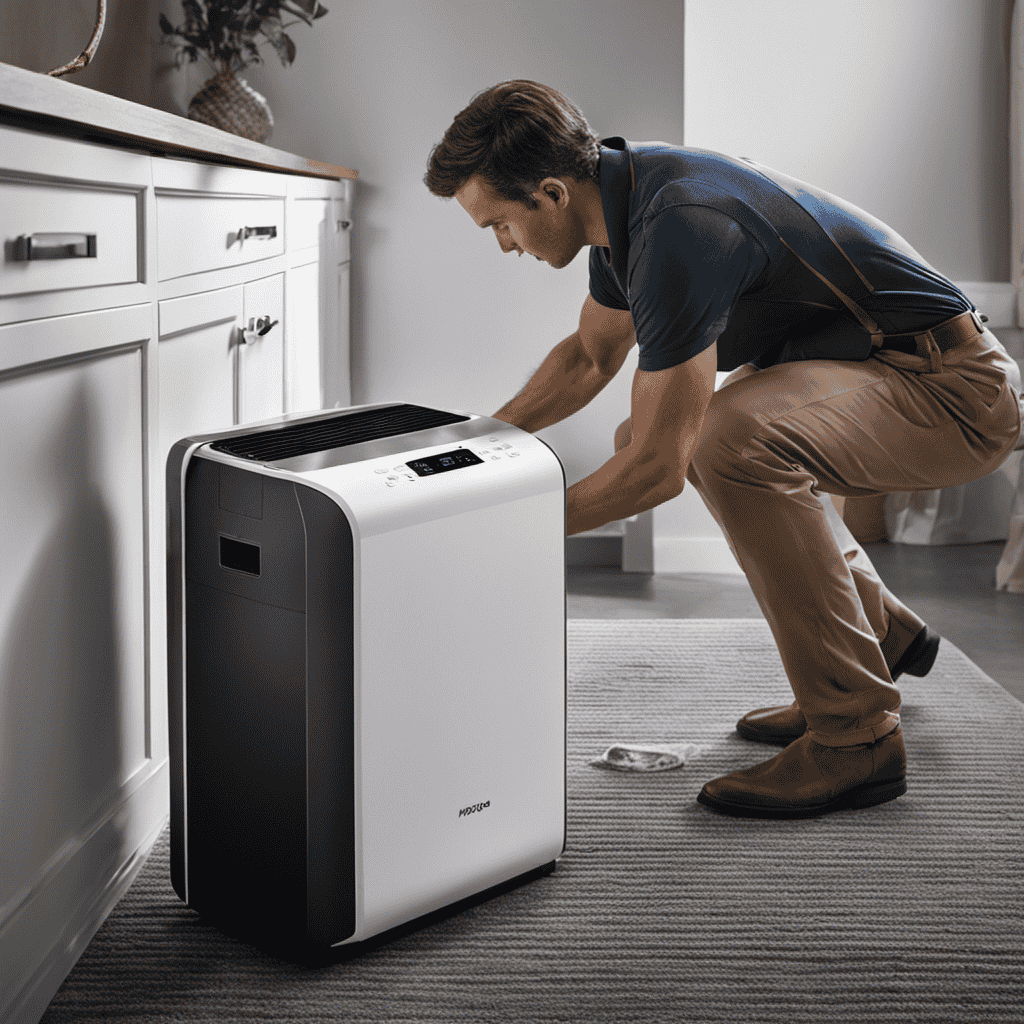
Step-By-Step Guide to Changing the Filter
First, you’ll need to locate the filter compartment on your Honeywell Febreze air purifier. One common mistake is not knowing where the filter is located, which can lead to difficulties in changing it.
The filter compartment is usually located at the back or side of the air purifier. To troubleshoot, refer to the user manual for specific instructions on finding the filter compartment.
Once located, carefully remove the compartment cover by following the manufacturer’s guidelines. Take note of any tabs or latches that need to be released. Gently pull out the old filter and dispose of it properly. Avoid touching the filter with bare hands to maintain its cleanliness.
With the old filter removed, you can now transition into the next section about the required tools and materials.

KNKA Air Purifier for Home Bedroom Large Room Up to 1,695 Ft² in 1 Hr, HEPA Air Cleaner with Washable Pre-Filter, AHAM VERIFIDE, AQI Display, ECO Mode, Pet Mode for Pets, Dust, Pollen, APH4000
𝐀𝐇𝐀𝐌 𝐕𝐞𝐫𝐢𝐟𝐢𝐞𝐝 & 𝐇𝐢𝐠𝐡 𝐂𝐀𝐃𝐑 𝐕𝐚𝐥𝐮𝐞: Certified by the Association of Home Appliance Manufacturers, this air purifier provides...
As an affiliate, we earn on qualifying purchases.
Required Tools and Materials
To change the filter on your Honeywell air purifier, you’ll need a few tools and materials. Here’s what you’ll need:
-
Replacement Filter: Make sure to purchase the correct filter for your specific Honeywell febreze air purifier model. Using the wrong filter can affect the purifier’s effectiveness and potentially damage the unit.
-
Screwdriver: Most Honeywell air purifiers require a screwdriver to remove the front panel and access the filter compartment. Check the user manual or the manufacturer’s website to determine the type of screwdriver needed.
-
Cleaning Cloth: Before installing the new filter, it’s important to clean the air purifier’s exterior and interior surfaces. A soft, lint-free cloth is recommended to avoid scratching the unit.
By having these tools and materials ready, you can ensure a smooth and successful filter replacement process.
Now, let’s move on to the safety precautions before replacing the filter.

Air Purifiers for Home Large Room up to 2200sq.ft, MOOKA Air purifier for Home Pets with Washable Filter, PM 2.5 Display Air Quality Sensor Air Cleaner for Bedroom, Dorm room, Pets, Office PR1 (White)
MORE AIR INTAKE & HIGH-EFFICIENCY: This is the 2024 latest MOOKA PR1 HEPA air purifiers for home. To...
As an affiliate, we earn on qualifying purchases.
Safety Precautions Before Replacing the Filter
Before you start replacing the filter, it’s important to take some safety precautions. As an HVAC technician, I understand the importance of preventing allergies and avoiding air pollution. To ensure your safety and the effectiveness of your Honeywell Febreze air purifier, follow these steps:
| Safety Precautions |
|---|
| Turn off the air purifier and unplug it from the power source. |
| Wear gloves to avoid direct contact with dust, allergens, or any contaminants on the filter. |
| Place a drop cloth or old newspaper underneath the purifier to catch any debris that may fall during the replacement. |
| If you have respiratory issues, consider wearing a face mask to further protect yourself from inhaling any particles. |

LEVOIT Air Purifiers for Bedroom Home Dorm, AHAM VERIFIDE, 3-in-1 Filter Cleaner With Aroma Pad, Filters Smoke, Allergens, Pet Dander, Odor, Dust, Office, Desktop, Core Mini-P, White
𝗪𝗛𝗬 𝗖𝗛𝗢𝗢𝗦𝗘 𝗔𝗛𝗔𝗠 𝗩𝗘𝗥𝗜𝗙𝗜𝗗𝗘 𝗔𝗜𝗥 𝗣𝗨𝗥𝗜𝗙𝗜𝗘𝗥𝗦: AHAM (Association of Home Appliance Manufacturers) is an ANSI-accredited organization that sets...
As an affiliate, we earn on qualifying purchases.
Removing the Old Filter
Once you’ve turned off and unplugged the device, it’s time to carefully remove the old filter. Here are three steps to help you with the process of replacing filters and maintaining air quality in your Honeywell Febreze air purifier:
-
Locate the filter compartment: The filter compartment is usually located at the back or on the side of the air purifier. Look for a latch or a release button to open it.
-
Remove the old filter: Once the compartment is open, gently pull out the old filter. Be cautious not to damage it or scatter any trapped particles.
-
Dispose of the old filter: Place the old filter in a plastic bag to contain any dust or debris. Seal the bag tightly and dispose of it properly.
Now that you’ve successfully removed the old filter, let’s move on to the next step of installing the new filter.
SUBSEQUENT SECTION: ‘Installing the New Filter’
Installing the New Filter
Now that you know where the filter compartment is located, it’s time to carefully install the new filter.
To ensure optimal performance and air quality, follow these steps precisely.
Begin by removing the new filter from its packaging, being careful not to damage or tear it.
Align the filter tabs with the slots in the filter compartment and gently push the filter in until it clicks into place.
Make sure the filter is securely seated and flush against the compartment walls.
If you encounter any resistance or difficulty during installation, double-check that you have the correct filter size and model for your air purifier.
Additionally, make sure the filter compartment is clean and free from any debris or obstructions.
Regularly cleaning and maintaining the air purifier’s filter will help extend its lifespan and ensure efficient operation.
Conclusion
In conclusion, changing the filter on a Honeywell Febreze air purifier is a straightforward process. It can be done by following a few simple steps. By ensuring you have the necessary tools and materials, taking safety precautions, and carefully removing and installing the old and new filters, you can maintain the optimal performance of your air purifier.
Remember, ‘out with the old, in with the new’ is not just an idiom, but a practical approach to ensuring clean and fresh air in your home. Trust your technical expertise and confidently tackle this task to improve your indoor air quality.