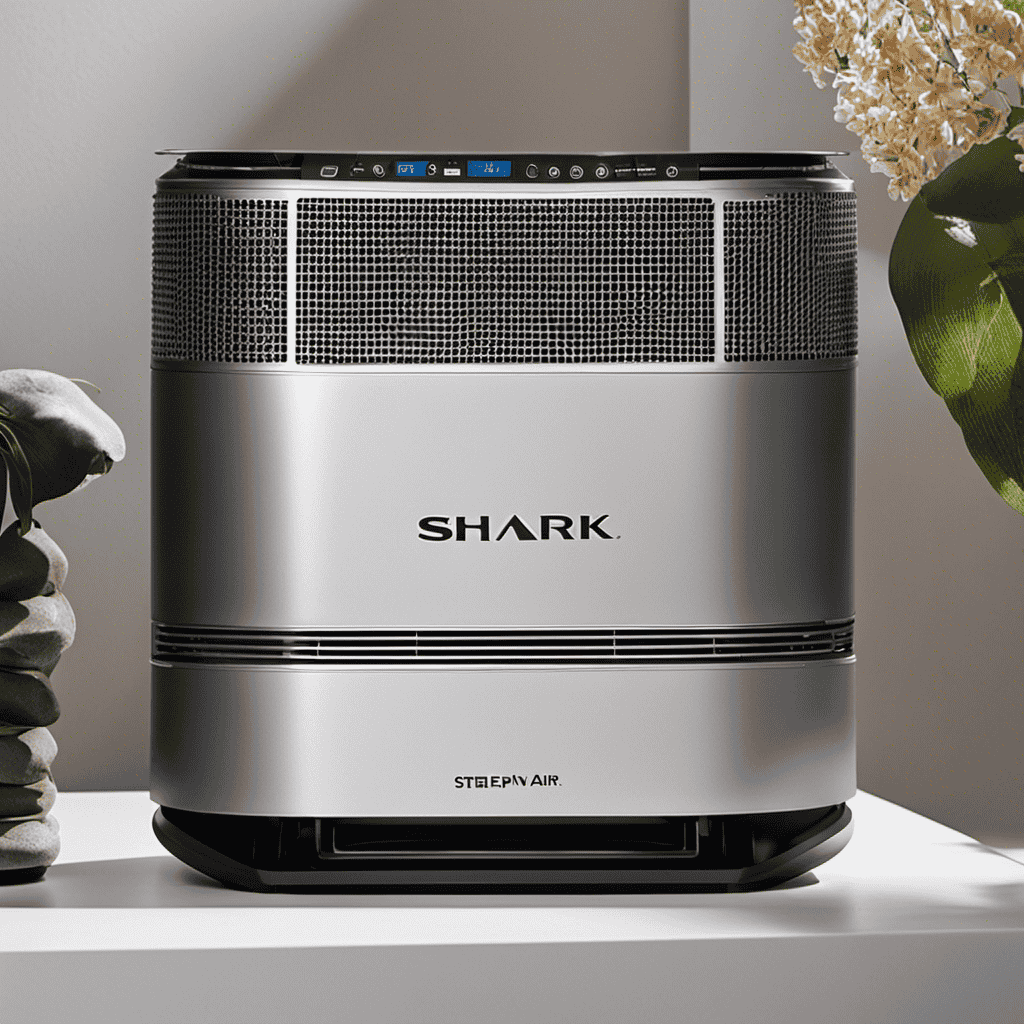
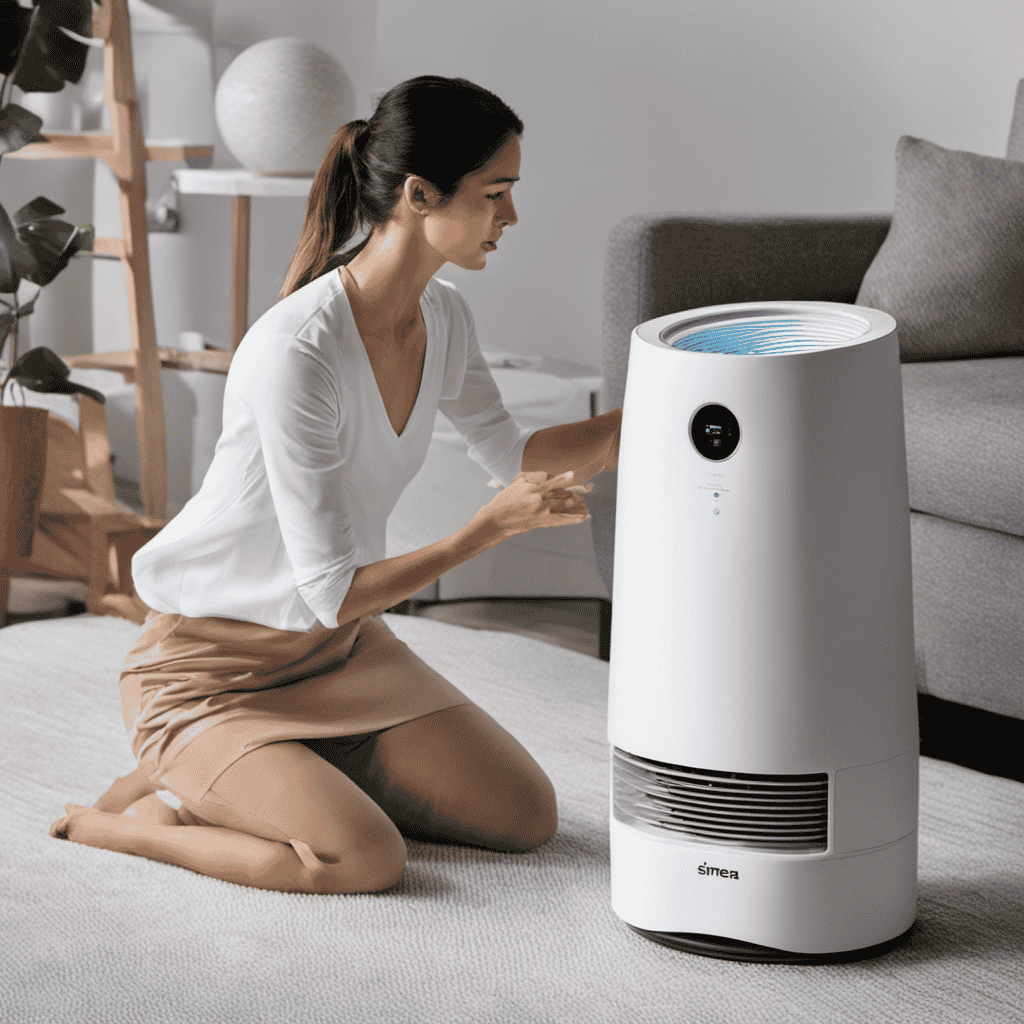
I understand that cleaning an air purifier can seem overwhelming, but I assure you it is simpler than you may believe. This guide will provide you with a detailed, step-by-step explanation on how to clean your Shark Air Purifier.
We’ll cover everything from gathering the necessary supplies to maintaining and regularly cleaning the purifier.
So, put aside any doubts or hesitations, because by the end of this article, you’ll have all the knowledge you need to keep your Shark Air Purifier running smoothly and efficiently.
Key Takeaways
- The Shark Air Purifier captures and removes airborne particles like dust, pollen, pet dander, and smoke.
- Proper cleaning techniques include vacuuming or rinsing the filters, wiping the exterior with a soft cloth dampened with mild detergent solution, using a soft brush or compressed air to remove dust from fan blades, and cleaning the UV-C lamp with a soft cloth dampened with alcohol.
- Regular maintenance, such as inspecting and replacing worn-out components, cleaning filters and vents, checking fan blades for dust or debris buildup, and inspecting the power cord for damage, is necessary to ensure the purifier’s efficiency.
- The recommended cleaning frequency for the Shark Air Purifier is every 3 to 6 months, although more frequent cleaning may be needed in highly polluted areas or with frequent use. Regular cleaning prevents the accumulation of dust and allergens, ensuring continued clean and fresh air.

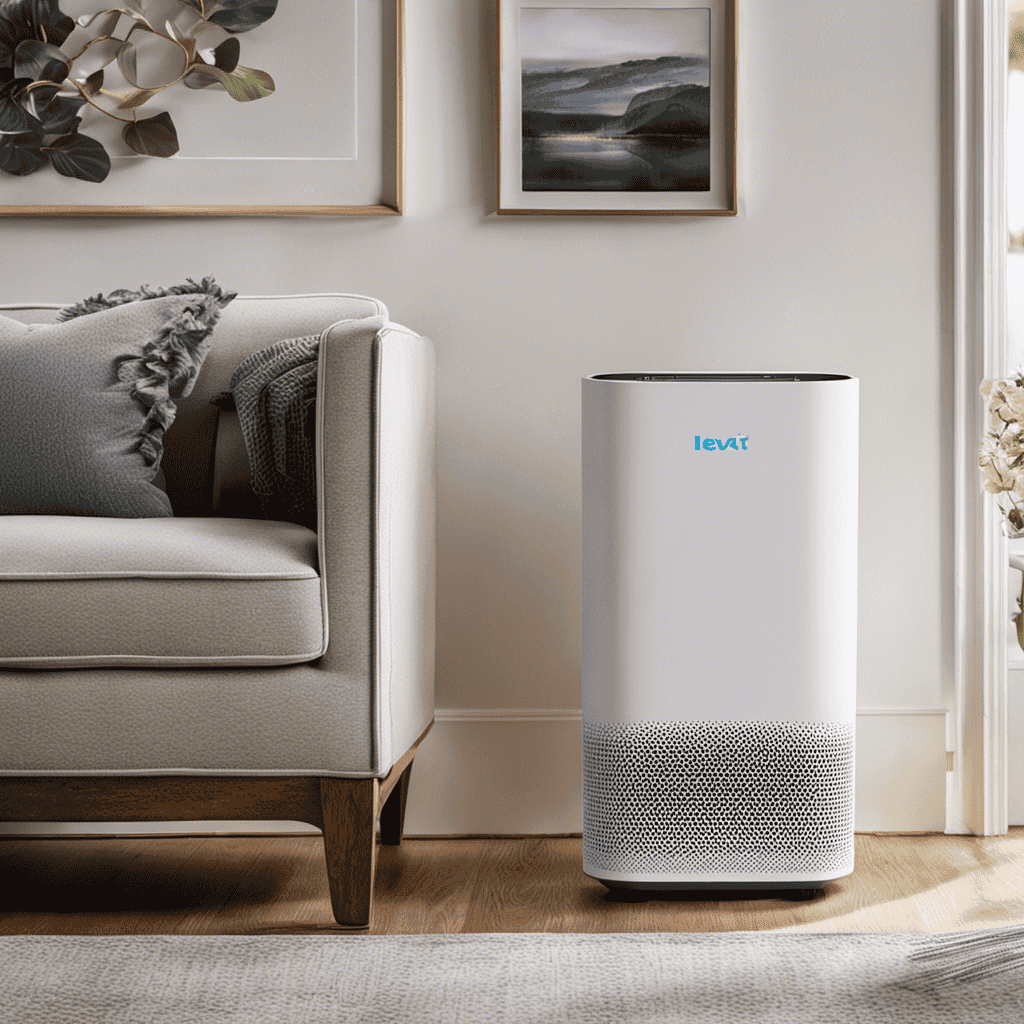
LEVOIT Air Purifier for Home Allergies Pet Hair in Bedroom, Covers Up to 1073 ft² by 56W High Torque Motor, AHAM VERIFIDE, 3-in-1 Filter with HEPA Sleep Mode, Remove Dust Smoke Odor, Core300-P, White
WHY CHOOSE AHAM VERIFIDE AIR PURIFIERS: AHAM (Association of Home Appliance Manufacturers) is an ANSI-accredited organization that sets...
As an affiliate, we earn on qualifying purchases.
Understanding the Shark Air Purifier
To understand the Shark Air Purifier, you’ll need to familiarize yourself with its various features and functions. This powerful device is designed to improve indoor air quality by capturing and removing airborne particles, such as dust, pollen, pet dander, and smoke. By using a combination of mechanical filtration and ionization technology, the Shark Air Purifier can effectively reduce allergens and odors in your home.
Understanding the benefits of this purifier can help you make the most of its capabilities. Additionally, it’s important to troubleshoot common problems that may arise. Some common issues include a clogged filter, a noisy fan, or a malfunctioning sensor. By understanding how to address these problems, you can ensure that your Shark Air Purifier continues to provide clean and fresh air for you and your family.

KNKA Air Purifier for Home Bedroom Large Room Up to 1,695 Ft² in 1 Hr, HEPA Air Cleaner with Washable Pre-Filter, AHAM VERIFIDE, AQI Display, ECO Mode, Pet Mode for Pets, Dust, Pollen, APH4000
𝐀𝐇𝐀𝐌 𝐕𝐞𝐫𝐢𝐟𝐢𝐞𝐝 & 𝐇𝐢𝐠𝐡 𝐂𝐀𝐃𝐑 𝐕𝐚𝐥𝐮𝐞: Certified by the Association of Home Appliance Manufacturers, this air purifier provides...
As an affiliate, we earn on qualifying purchases.
Gathering the Necessary Cleaning Supplies
When it comes to maintaining a clean and healthy living environment, having the right cleaning tools is essential.
In this discussion, we will explore the key points of essential cleaning tools, proper cleaning techniques, and maintenance tips and tricks.
Essential Cleaning Tools
You’ll need a few essential cleaning tools to effectively clean your Shark air purifier.
To start, a soft, lint-free cloth is crucial for wiping down the exterior of the purifier and removing any dust or dirt.
Additionally, a small brush with soft bristles will help you clean the vents and other hard-to-reach areas.
For a more thorough cleaning, a vacuum cleaner with a brush attachment can be used to remove any trapped particles from the filters.
It’s important to note that using water or any cleaning solutions on the filters is not recommended, as it may damage them. Instead, refer to the manufacturer’s instructions for specific cleaning techniques and recommended products.
Remember to clean your air purifier regularly to maintain its performance and prolong its lifespan.
Proper Cleaning Techniques
For proper maintenance, it’s important to regularly wipe down the exterior of your purifier with a soft cloth. However, proper cleaning techniques extend beyond just the exterior. To ensure the effectiveness of your Shark air purifier, it’s crucial to clean the filters and other internal components regularly. Here are some effective cleaning methods to follow:
-
Filter Cleaning: Gently vacuum or rinse the filters to remove dust and debris.
-
Exterior Cleaning: Wipe the exterior with a soft cloth dampened with a mild detergent solution.
-
Fan Cleaning: Use a soft brush or compressed air to remove dust from the fan blades.
-
UV-C Lamp Cleaning: Carefully wipe the UV-C lamp with a soft cloth dampened with alcohol.
-
Air Intake Cleaning: Remove the front grille and clean any dust or debris from the air intake area.
Maintenance Tips and Tricks
To keep your device running smoothly, regularly inspect and replace any worn-out components. Understanding maintenance is crucial for ensuring the longevity and optimal performance of your shark air purifier. Here are some troubleshooting tips to help you maintain your device effectively.
Firstly, make sure to clean the filters regularly. Clogged filters can hinder the airflow and reduce the purifier’s efficiency. Follow the manufacturer’s instructions on how to clean and replace the filters.
Additionally, check the fan blades for any dust or debris buildup. Clean them gently using a soft cloth or brush to prevent any damage to the blades.
Furthermore, inspect the power cord for any fraying or damage. Replace it immediately if you notice any signs of wear and tear to avoid electrical hazards.

Air Purifiers for Home Large Room up to 2200sq.ft, MOOKA Air purifier for Home Pets with Washable Filter, PM 2.5 Display Air Quality Sensor Air Cleaner for Bedroom, Dorm room, Pets, Office PR1 (White)
MORE AIR INTAKE & HIGH-EFFICIENCY: This is the 2024 latest MOOKA PR1 HEPA air purifiers for home. To...
As an affiliate, we earn on qualifying purchases.
Turning Off and Unplugging the Shark Air Purifier
When it’s time to turn off and unplug the Shark Air Purifier, make sure you press the power button and then remove the plug from the outlet.
Turning on and setting up the Shark Air Purifier is a simple process. First, find a suitable location for the purifier, ensuring it has enough space to circulate the air efficiently. Then, plug the purifier into a power outlet. Once plugged in, press the power button to turn it on.
If you experience any power issues, such as the purifier not turning on, make sure the power cord is securely plugged in and try a different outlet. If the problem persists, consult the user manual or contact customer support for further assistance.
Now, let’s move on to the next section about removing and cleaning the pre-filter.

LEVOIT Air Purifiers for Bedroom Home Dorm, AHAM VERIFIDE, 3-in-1 Filter Cleaner With Aroma Pad, Filters Smoke, Allergens, Pet Dander, Odor, Dust, Office, Desktop, Core Mini-P, White
𝗪𝗛𝗬 𝗖𝗛𝗢𝗢𝗦𝗘 𝗔𝗛𝗔𝗠 𝗩𝗘𝗥𝗜𝗙𝗜𝗗𝗘 𝗔𝗜𝗥 𝗣𝗨𝗥𝗜𝗙𝗜𝗘𝗥𝗦: AHAM (Association of Home Appliance Manufacturers) is an ANSI-accredited organization that sets...
As an affiliate, we earn on qualifying purchases.
Removing and Cleaning the Pre-Filter
Now that the Shark Air Purifier is turned off and unplugged, it’s time to move on to the next step: removing and cleaning the pre-filter.
The pre-filter is an essential part of the air purification system, as it captures larger particles like dust and pet hair, extending the life of the HEPA filter.
To remove the pre-filter, locate the release tabs on the sides of the purifier and gently pull it out. Once removed, you can rinse the pre-filter under running water to remove any trapped debris.
Make sure to let it dry completely before placing it back into the purifier. Regular pre-filter maintenance is crucial for optimal performance of your air purifier.
Now that we have cleaned the pre-filter, let’s move on to the next step: cleaning the HEPA filter.
Cleaning the HEPA Filter
When it comes to cleaning the HEPA filter, it’s important to follow proper cleaning techniques to ensure its effectiveness in removing airborne particles.
Regular maintenance is crucial, and the frequency of cleaning depends on factors such as air quality and usage.
Additionally, it’s important to troubleshoot common issues that may arise, such as a decrease in performance or strange odors, to ensure the optimal functioning of the HEPA filter in your air purifier.
Proper Cleaning Techniques
To properly clean your Shark air purifier, make sure to follow these techniques.
Cleaning your air purifier regularly is essential to maintain its efficiency and effectiveness in removing pollutants from the air. Here are some proper cleaning techniques that you should keep in mind:
-
Regular Dusting: Use a soft, dry cloth or a vacuum cleaner with a brush attachment to remove dust and debris from the exterior surfaces of the air purifier.
-
Washing the Filters: Depending on the model, some filters can be washed with water and mild detergent. Make sure to rinse them thoroughly and let them dry completely before reinserting them.
-
Cleaning the Sensor: Use a soft, dry cloth to gently wipe the sensor area of the air purifier to remove any dust or dirt that may affect its performance.
-
Maintaining the Air Intake: Regularly check and clean the air intake vents of your air purifier to ensure proper airflow and prevent clogs.
Frequency of Cleaning
Make sure you regularly clean the filters and air intake vents of your Shark air purifier to maintain its efficiency and effectiveness in removing pollutants from the air.
Proper cleaning techniques and a maintenance schedule are crucial to keep your air purifier working optimally. The frequency of cleaning will depend on various factors such as the air quality in your environment and the usage of the purifier.
As a general guideline, it’s recommended to clean the filters and air intake vents every 3 to 6 months. However, if you live in a highly polluted area or if you use the purifier frequently, you may need to clean them more often.
Regular cleaning will prevent the accumulation of dust, allergens, and other particles, ensuring that your Shark air purifier continues to provide you with clean and fresh air.
Troubleshooting Common Issues
If you’re experiencing issues with your device, try resetting it by unplugging it for a few minutes and then plugging it back in. Troubleshooting common issues is essential to optimizing the performance of your shark air purifier.
Here are a few common issues you may encounter and how to resolve them:
-
No power: Ensure the power cord is securely plugged in and the outlet is working. If the problem persists, check the fuse or circuit breaker.
-
Loud noises: Clean the fan blades and check for any loose parts. If the noise continues, there may be a mechanical issue that requires professional assistance.
-
Poor air quality: Check and replace the filters regularly. Clean the air intake vents and ensure there are no obstructions.
-
Odor issues: Clean the filters and consider using odor-neutralizing products specifically designed for air purifiers.
Cleaning the Activated Carbon Filter
When cleaning the activated carbon filter of your Shark air purifier, simply remove it from the unit and gently tap it to dislodge any loose particles.
The activated carbon filter is responsible for trapping and removing odors from the air, ensuring that the air you breathe is fresh and clean. Over time, the filter can become clogged with particles and lose its effectiveness.
Cleaning the filter regularly is essential to maintain its performance. In addition to tapping the filter, you can also rinse it with water to remove stubborn dirt and debris. However, make sure to let it dry completely before reinstalling it into the air purifier.
Cleaning the activated carbon filter is just one step in ensuring the optimal performance of your Shark air purifier.
Next, let’s move on to cleaning the UV-C germicidal lamp.
Cleaning the UV-C Germicidal Lamp
Now that we have learned how to clean the activated carbon filter in our Shark air purifier, let’s move on to the next step: cleaning the UV-C germicidal lamp.
This lamp plays a crucial role in disinfecting the air purification system by killing harmful bacteria and viruses. To ensure its effectiveness, regular cleaning is necessary.
Here’s how you can clean the UV-C lamp:
- Turn off and unplug the air purifier.
- Gently remove the UV-C lamp from its holder.
- Use a soft cloth or cotton swab dampened with isopropyl alcohol to wipe the lamp’s surface.
- Be thorough and make sure to clean both sides of the lamp.
Cleaning the Fan and Air Intake Vents
To keep your fan and air intake vents free from dust and debris, regularly vacuum them using a small brush attachment. This ensures that your air purifier functions optimally and maintains good air flow.
Start by unplugging the unit and locating the fan blades. Gently brush off any visible dirt or dust using the small brush attachment. Be careful not to apply too much pressure as this can damage the fan blades.
Next, locate the air intake vents and carefully vacuum them to remove any accumulated dirt and debris. Pay extra attention to the areas where the air enters the unit.
Once you have finished cleaning the fan blades and air intake vents, plug the unit back in and enjoy cleaner, fresher air.
Cleaning the Exterior of the Shark Air Purifier
When it comes to maintaining the performance and longevity of your Shark Air Purifier, there are a few key points to keep in mind.
Firstly, regularly cleaning the filter is crucial for ensuring optimal air quality.
Secondly, removing dust buildup from the unit’s interior components is important for preventing clogs and maintaining efficiency.
Lastly, wiping down the surfaces of the air purifier helps to eliminate any accumulated dirt or grime, keeping it looking and functioning its best.
Cleaning the Filter
First, let’s see how to clean the filter on the Shark air purifier. Cleaning the filter is an essential step in maintaining the effectiveness of the purifier. Here are some important things to keep in mind:
- Remove the filter from the purifier carefully.
- Check the filter for any visible dirt or debris.
- Gently tap the filter to remove loose particles.
- Rinse the filter under cold water to remove stubborn dirt.
- Allow the filter to air dry completely before reinserting it into the purifier.
Understanding the different filters is crucial as it helps in troubleshooting common issues. The Shark air purifier typically uses a combination of pre-filter, HEPA filter, and activated carbon filter. If you notice reduced airflow or a drop in performance, it could indicate a clogged or dirty filter. Regular cleaning and replacement of filters as per the manufacturer’s instructions will ensure the optimal functioning of your Shark air purifier.
Removing Dust Buildup
Removing dust buildup is important to maintain the efficiency of the filter on the Shark air purifier. Dust can accumulate on the surface of the filter, reducing its ability to capture airborne particles effectively. To prevent this, regular cleaning is necessary.
One important aspect of maintenance is cleaning the sensor, which helps the purifier detect the air quality and adjust its settings accordingly. Dust can interfere with the sensor’s accuracy, so it is crucial to keep it clean.
Additionally, wiping down surfaces around the purifier can also help prevent dust buildup. This includes the exterior of the purifier, as well as nearby furniture and shelves.
By taking these steps, you can ensure that your Shark air purifier functions optimally and provides clean, fresh air for your home.
Now, let’s move on to the next step: wiping down surfaces.
Wiping Down Surfaces
After removing the dust buildup from my shark air purifier, the next step is to wipe down all the surfaces. I grab a microfiber cloth and lightly dampen it with a cleaning solution. Here are the steps I follow for this process:
- Gently wipe the exterior of the air purifier, including the control panel and buttons.
- Carefully clean the air intake vents, making sure to remove any trapped dirt or debris.
- Wipe down the filters, being cautious not to damage them. If needed, refer to the manufacturer’s instructions for proper cleaning techniques.
- Lastly, thoroughly dry all the surfaces with a clean, dry cloth to prevent any moisture from damaging the purifier.
Once all the surfaces are clean and dry, it’s time to move on to reassembling and testing the shark air purifier.
Reassembling and Testing the Shark Air Purifier
Once you’ve finished cleaning, it’s time to reassemble and test the Shark Air Purifier.
To ensure proper reassembly, follow these tips.
Start by placing the filters back into their designated slots. Make sure they fit securely and are aligned correctly.
Next, reattach the front panel by aligning the tabs with the corresponding slots and snapping it into place. Double-check that all the screws are tightened properly.
Once reassembled, it’s crucial to test the air purifier before regular use.
Plug it in and turn it on. Listen for any unusual sounds and check if the fan is running smoothly. Also, verify that the indicator lights are functioning correctly.
Additionally, check the airflow to ensure it’s being properly circulated.
Is the Process of Cleaning a Coway Air Purifier Similar to Cleaning a Shark Air Purifier?
Yes, the process of cleaning your Coway air purifier is similar to cleaning a Shark air purifier. Both require regular maintenance, including cleaning the filters and exterior surfaces. It’s important to follow the manufacturer’s instructions for proper cleaning and to keep the air purifier functioning effectively.
Maintaining and Regularly Cleaning the Shark Air Purifier
To keep your Shark Air Purifier working effectively, it’s important to regularly maintain and clean it. Proper maintenance ensures optimal performance and prolongs the lifespan of the purifier. Here are some key steps to follow:
-
Replace filters: Regularly check and replace the filters as recommended by the manufacturer. This helps to maintain clean and fresh air quality.
-
Clean the exterior: Wipe the exterior of the purifier with a soft, damp cloth to remove dust and dirt buildup.
-
Vacuum the vents: Use a vacuum cleaner with a brush attachment to remove debris from the air vents. This helps to improve airflow and prevent clogging.
-
Check the sensors: Periodically check the sensors to ensure they are clean and functioning properly. Clean them gently using a soft cloth if necessary.
Frequently Asked Questions
Can I Use Any Cleaning Solution to Clean the Filters of the Shark Air Purifier?
Yes, you can use cleaning solutions specifically designed for shark air purifiers to clean the filters. However, it is important to follow the manufacturer’s instructions. Alternatively, you can also try alternative methods for cleaning the filters.
How Often Should I Clean the Shark Air Purifier?
I clean my Shark air purifier regularly to ensure optimal performance. It is recommended to clean the filters every 3-6 months, depending on usage. Follow the manufacturer’s instructions on how to properly clean the Shark air purifier.
Can I Wash the Pre-Filter Instead of Vacuuming It?
I tried washing the pre-filter of my Shark Air Purifier instead of vacuuming it, but it didn’t remove all the dirt and debris. Vacuuming is the recommended method for cleaning the pre-filter effectively.
How Do I Clean the UV-C Germicidal Lamp Without Damaging It?
To clean the UV-C germicidal lamp without damaging it, follow these cleaning tips and lamp maintenance steps. First, ensure the purifier is unplugged. Then, gently wipe the lamp with a soft cloth or use compressed air to remove dust and debris.
Can I Use Compressed Air to Clean the Fan and Air Intake Vents?
Yes, you can use compressed air to clean the fan and air intake vents of the Shark Air Purifier. However, it’s important to follow the manufacturer’s guidelines and use alternative cleaning methods if recommended.
Conclusion
In conclusion, cleaning the Shark Air Purifier is a simple yet important task to ensure its optimal performance. By following the steps outlined in this article, you can maintain a clean and healthy environment in your home.
Remember, ‘cleanliness is next to godliness,’ so make sure to regularly clean and maintain your air purifier to reap the full benefits.
With a little effort and dedication, your Shark Air Purifier will continue to provide you with fresh and clean air for years to come.