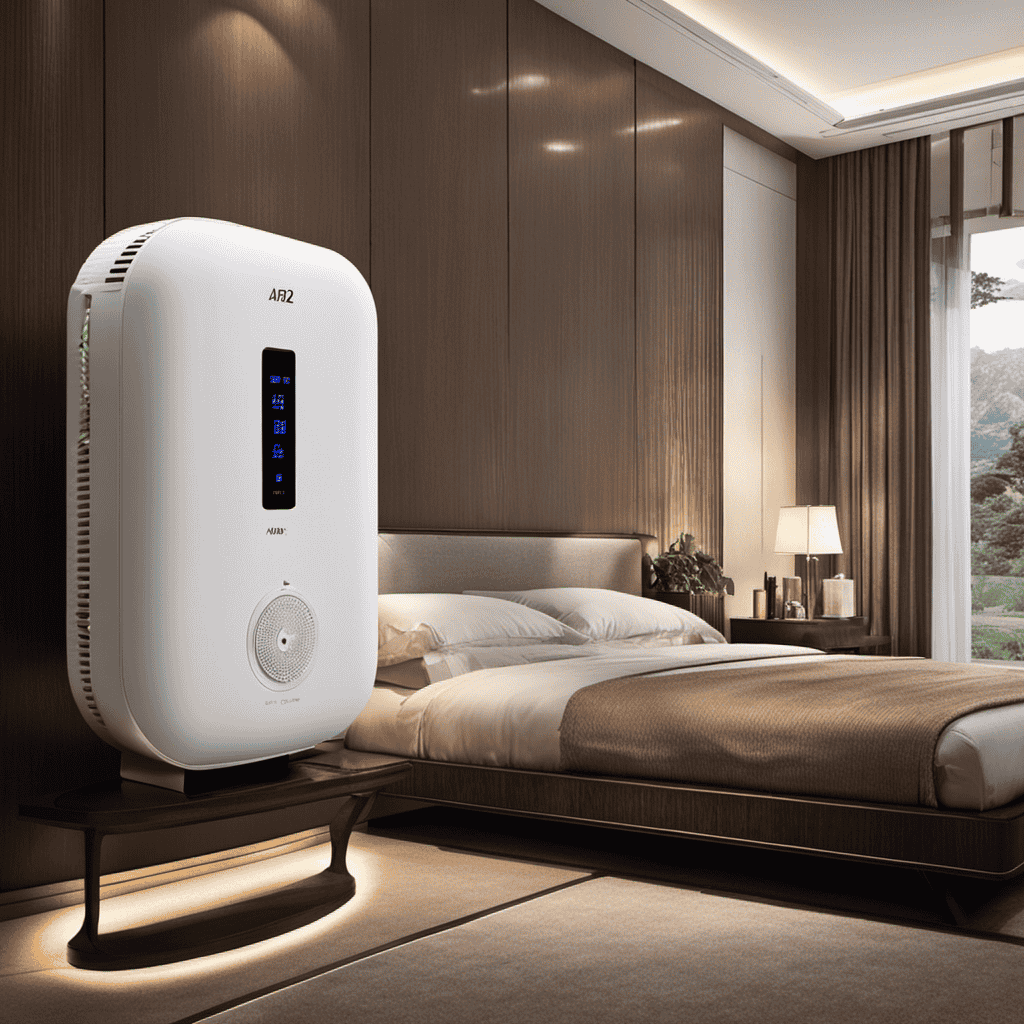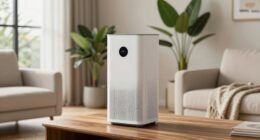
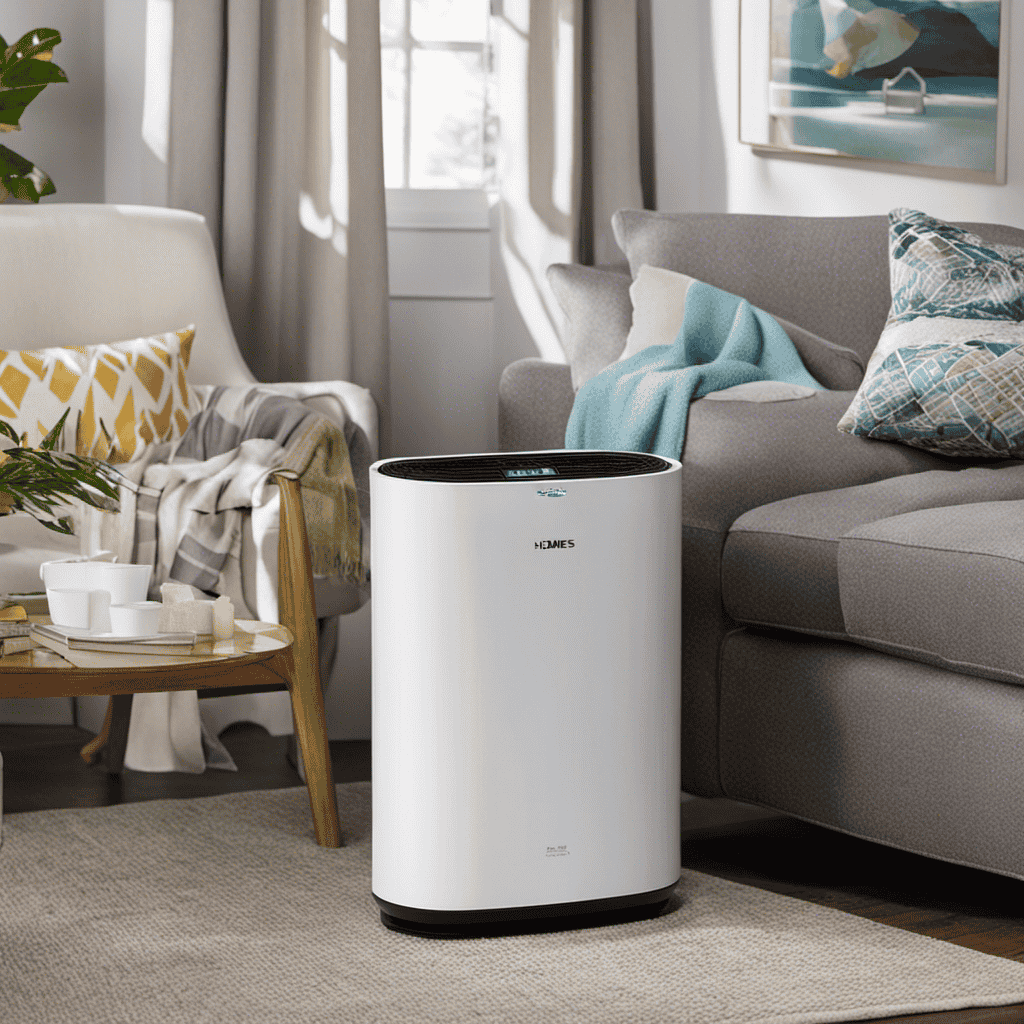
I’ve always been concerned about the air quality in my home, so when I discovered that the Levoit Air Purifier can be connected to Wi-Fi, I was thrilled.
With this feature, I can remotely monitor and control the purifier, ensuring that my air is always clean and fresh.
In this article, I’ll guide you through the step-by-step process of connecting your Levoit Air Purifier to Wi-Fi. It’s an easy and convenient way to enhance your air purification experience.
Key Takeaways
- Check the compatibility of your Levoit air purifier with wifi and consider other options if necessary.
- Gather necessary equipment and information before starting the setup process.
- Troubleshoot connectivity issues by resetting the home network router, updating firmware, and adjusting Wi-Fi channel.
- Download and install the Levoit Smart App to customize settings, monitor and control the purifier remotely, and enhance the experience with smart features and voice control.
Checking the Compatibility of Your Levoit Air Purifier
You’ll want to check if your Levoit Air Purifier is compatible with wifi before attempting to connect it.
To do this, first, locate the model number of your air purifier. You can find this information on the bottom or back of the unit.
Once you have the model number, visit the Levoit website and navigate to the support section. Here, you can search for your specific model and check its compatibility with wifi.
If your air purifier is compatible, you can proceed with the connection process. However, if it is not compatible, you may need to consider other options or models that offer wifi connectivity.
It is always important to check compatibility to avoid any frustration or disappointment during the setup process.
Gathering the Necessary Information and Equipment
First, make sure you have all the information and equipment needed to set up your Levoit air purifier with your home’s WiFi network. To ensure a smooth setup process, here are three essential steps to follow:
-
Checking for firmware updates: Before connecting your Levoit air purifier to WiFi, it’s crucial to check for any available firmware updates. This ensures that you have the latest software installed, providing optimal performance and security.
-
Setting up a guest network: If you want to connect your air purifier to a guest network, make sure you have the necessary login credentials. Guest networks provide a separate WiFi network for visitors, keeping your main network secure while allowing guests to connect their devices.
-
Gathering the equipment: In addition to the Levoit air purifier, ensure that you have your WiFi network name (SSID) and password ready. You will also need a smartphone or tablet with the Levoit Smart app installed to facilitate the setup process.
Now that you have all the necessary information and equipment, let’s move on to powering on your Levoit air purifier.
Powering On Your Levoit Air Purifier
When it comes to setting up your Levoit Air Purifier, there are a few key points to keep in mind.
First, you’ll need to go through the initial setup process, which involves powering on the purifier and following the on-screen instructions.
Next, you’ll want to connect your purifier to your home network, allowing you to control it remotely and access additional features.
Lastly, if you encounter any connectivity issues, there are troubleshooting steps you can take to ensure a stable and reliable connection.
Initial Setup Process
To start the initial setup process, simply make sure the Levoit air purifier is plugged into a power source. Once that’s done, follow these steps to ensure a smooth and hassle-free setup:
-
Checking device compatibility: Before proceeding, make sure your smartphone or tablet meets the minimum requirements for connecting to the Levoit air purifier. Check the Levoit website or user manual for the list of compatible devices.
-
Connecting to Wi-Fi: Open the Levoit app on your device and follow the on-screen instructions to connect your air purifier to your Wi-Fi network. Make sure you have the correct Wi-Fi credentials handy. If you encounter any issues during this step, try restarting your router or moving closer to it for a stronger signal.
-
Troubleshooting initial setup errors: If the setup process fails or you experience any errors, try resetting the air purifier by unplugging it for a few seconds and then plugging it back in. You can also try restarting your device or reinstalling the Levoit app.
Connecting to Home Network
Make sure you have the correct Wi-Fi credentials handy before proceeding with the setup process.
To connect your Levoit air purifier to your home network, follow these steps:
- Turn on your air purifier and locate the control panel.
- Press the ‘Wi-Fi’ button on the control panel to enter the Wi-Fi setup mode.
- On your smartphone or computer, go to the Wi-Fi settings and select the network named ‘Levoit Air Purifier.’
- Open a web browser and enter ‘192.168.1.1’ in the address bar.
- You will be prompted to enter the Wi-Fi credentials for your home network, including the network name (SSID) and password.
Once you have entered the correct credentials, your Levoit air purifier will connect to your home network, allowing you to control it remotely and access additional features.
In order to ensure the security of your home network, it is recommended to set up a guest network for your air purifier. This will prevent unauthorized access to your main network and protect your personal information.
Now that your Levoit air purifier is connected to your home network, let’s move on to troubleshooting any potential connectivity issues.
Troubleshooting Connectivity Issues
If you’re experiencing connectivity issues, try resetting your home network router. Here are three troubleshooting steps to help optimize your Wi-Fi performance:
-
Check the placement of your router: Make sure it is positioned in a central location, away from walls and obstructions. This will help ensure a strong and stable Wi-Fi signal throughout your home.
-
Update your router’s firmware: Outdated firmware can lead to network errors and performance issues. Check your router manufacturer’s website for any available updates and follow the instructions to install them.
-
Adjust your Wi-Fi channel: If you’re experiencing interference from neighboring networks, changing your Wi-Fi channel can help improve your connection. Access your router’s settings and look for the wireless channel settings. Experiment with different channels to find the one with the least interference.
Accessing the Wi-Fi Setup Menu on Your Levoit Air Purifier
When it comes to setting up Wi-Fi on your Levoit Air Purifier, there are a few key steps to follow.
First, you’ll need to access the Wi-Fi setup menu on the device. This can usually be done through the purifier’s control panel or a dedicated app.
Once you’re in the setup menu, you’ll be guided through the process of connecting to your home network by entering your Wi-Fi password and selecting the appropriate network.
Wi-Fi Setup Process
To connect your Levoit air purifier to Wi-Fi, you’ll need to follow these steps:
-
Ensure that your Wi-Fi network is working properly. Before starting the setup process, make sure that your Wi-Fi network is functioning correctly. Troubleshoot any network errors or connectivity issues that may be affecting your signal strength.
-
Place the air purifier near your router. To optimize Wi-Fi signal strength, position your Levoit air purifier close to your router. This will help ensure a stable and strong connection during the setup process.
-
Follow the instructions in the user manual. Consult the user manual that came with your Levoit air purifier for specific instructions on how to connect it to Wi-Fi. The manual will provide step-by-step guidance on accessing the Wi-Fi setup menu and connecting to your network.
Troubleshooting Connectivity Issues
After successfully setting up my Levoit air purifier on Wi-Fi, I encountered some connectivity issues. Troubleshooting device compatibility is the first step I took. I made sure that my air purifier is compatible with my home network by checking the system requirements and compatibility list provided by Levoit. I also made sure that my Wi-Fi router supports the required network protocols (such as 2.4GHz or 5GHz).
Next, I troubleshooted the network settings. I restarted both my air purifier and Wi-Fi router to refresh the connection. I also checked if my Wi-Fi signal was strong enough in the area where the air purifier is located. If the signal was weak, I considered using a Wi-Fi range extender or relocating my router for better coverage. Additionally, I ensured that there were no firewall settings or MAC address filtering that could be blocking the air purifier from connecting to the network.
Connecting Your Smartphone or Tablet to the Levoit Air Purifier’s Wi-Fi Network
First, make sure your smartphone or tablet is connected to the same Wi-Fi network that you want to connect your Levoit Air Purifier to.
To connect your smartphone or tablet to the Levoit Air Purifier’s Wi-Fi network, follow these steps:
-
Open the settings on your smartphone or tablet and navigate to the Wi-Fi settings.
-
Find the name of the Wi-Fi network that corresponds to your Levoit Air Purifier. It should be labeled with the model number or a similar identifier.
-
Tap on the network name and enter the password, if prompted. The password can usually be found on the bottom of the purifier or in the user manual.
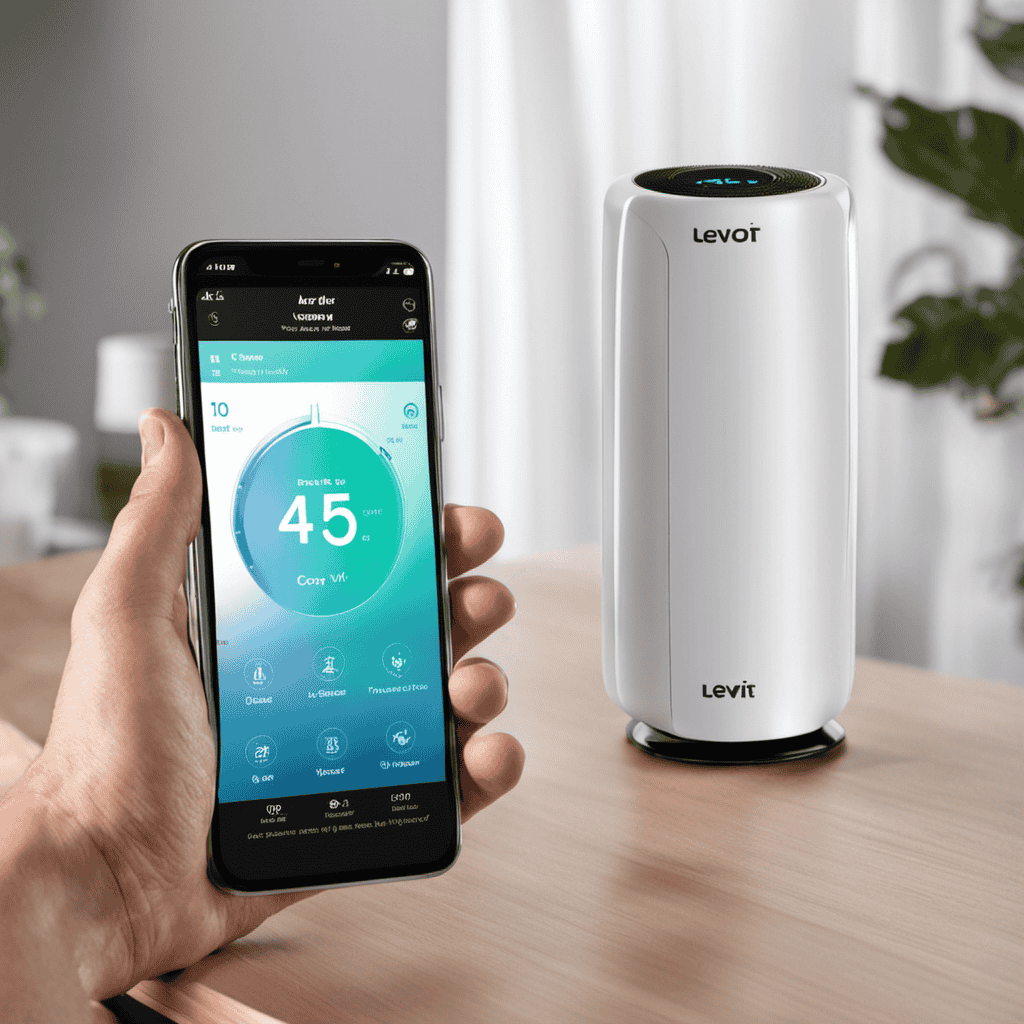
By connecting your device to the purifier’s Wi-Fi network, you will be able to control and monitor the purifier remotely using the Levoit Smart App.
Once your device is connected, you can proceed to launch the app and start enjoying the full functionality of your Levoit Air Purifier.
Launching the Levoit Smart App on Your Device
When it comes to using the Levoit Smart App, there are two important steps to consider: the app installation process and connecting to your home network.
To start, you’ll need to download and install the app from either the App Store or Google Play Store, depending on your device.
Once the app is installed, you’ll need to connect your smartphone or tablet to your home network in order to control your Levoit Air Purifier remotely.
App Installation Process
To connect your Levoit air purifier to WiFi, you’ll need to start by downloading and installing the app. The app allows you to control and monitor your air purifier remotely, enhancing your convenience and comfort. Here are the steps to install the app and get started:
-
Check network requirements: Ensure that your smartphone or tablet meets the minimum system requirements for the Levoit Smart App. This includes having a compatible operating system and sufficient storage space.
-
Download the app: Visit the App Store or Google Play Store on your device and search for the Levoit Smart App. Tap on the app and select ‘Install’ to begin the download process.
-
Troubleshoot app installation: If you encounter any issues during installation, try restarting your device, clearing cache and data, or updating your operating system. You can also reach out to Levoit customer support for further assistance.
By following these steps, you will have successfully installed the Levoit Smart App on your device, bringing you one step closer to connecting your air purifier to your home network.
Now, let’s move on to the next section and learn how to connect your Levoit air purifier to your home network.
Connecting to Home Network
Once you’ve installed the app, you’ll be able to easily connect your Levoit air purifier to your home network. Smart home integration is a great feature that allows you to control your air purifier remotely and create a more convenient and comfortable living environment. However, it’s important to ensure network security when connecting your air purifier to your home network. Here are some tips to keep your network secure:
| Network Security Tips |
|---|
| 1. Change the default password of your air purifier. |
| 2. Enable two-factor authentication for added security. |
| 3. Keep your app and firmware up to date to protect against vulnerabilities. |
| 4. Set up a guest network for your smart devices to isolate them from your main network. |
| 5. Regularly monitor your network for any suspicious activity. |
Creating a Levoit Account or Logging In
First, you’ll need to create a Levoit account or log in to your existing one. Here are the steps to get started:
- Visit the Levoit website or open the Levoit app on your smartphone.
- Click on the ‘Sign Up’ button if you don’t have an account yet. Fill in your details, such as your name and email address, and create a password.
- If you already have an account, simply click on the ‘Log In’ button and enter your email and password.
If you encounter any issues while logging in, such as forgetting your password or not receiving the verification email, don’t worry. Levoit provides troubleshooting options on their website or app to help you resolve these problems.
Now that you have successfully created your Levoit account or logged in, let’s move on to the next step of adding your Levoit air purifier to the app.
Adding Your Levoit Air Purifier to the App
After successfully logging in, you can easily add your Levoit air purifier to the app. To ensure a smooth connection, it is important to troubleshoot any issues that may arise during the process. The Levoit app provides a user-friendly interface that allows you to optimize the air purification settings of your air purifier. Here is a helpful table to guide you through the process:
| Step | Action |
|---|---|
| 1 | Open the Levoit app |
| 2 | Tap on the ‘+’ icon to add a device |
| 3 | Select ‘Air Purifier’ from the device list |
| 4 | Follow the on-screen instructions to connect your air purifier to the app |
Selecting Your Home Wi-Fi Network
When it comes to setting up and connecting devices to Wi-Fi, there are two key points to keep in mind: finding your Wi-Fi credentials and troubleshooting any connectivity issues that may arise.
Finding your Wi-Fi credentials is essential as it allows you to input the correct information when connecting your device to the network.
In case you encounter any connectivity issues, troubleshooting steps can help identify and resolve the problem, ensuring a smooth and uninterrupted connection.
Finding Wi-Fi Credentials
To find the Wi-Fi credentials, check the back of your router for the necessary information. It typically includes the network name (SSID) and the password. Once you have located these details, you can proceed with connecting your Levoit air purifier to the Wi-Fi network.
To connect your air purifier to the Wi-Fi, follow these steps:
- Power on your Levoit air purifier and ensure it is within range of your Wi-Fi signal.
- Access the settings menu on the air purifier’s control panel or the accompanying mobile app.
- Select the option to connect to a Wi-Fi network and enter the SSID and password when prompted.
By following these steps, you should be able to successfully connect your Levoit air purifier to your Wi-Fi network and enjoy the benefits of remote control and monitoring.
In the next section, we will discuss troubleshooting connectivity issues to ensure a seamless connection.
Troubleshooting Connectivity Issues
If you’re experiencing connectivity issues, try restarting your router to see if that resolves the problem.
Troubleshooting network connectivity can be frustrating, but there are a few steps you can take to optimize your Wi-Fi signal strength.
First, check the placement of your router. Make sure it’s in a central location and not obstructed by walls or other objects.
Next, ensure that your router’s firmware is up to date. Manufacturers often release updates that can improve performance and address connectivity issues. You can usually find firmware updates on the manufacturer’s website.
Additionally, consider adjusting your router’s channel settings. Wi-Fi signals can overlap with neighboring networks, causing interference. Changing the channel can help reduce this interference and improve your connection.
Entering Your Wi-Fi Password
Make sure you’ve double-checked your wi-fi password before entering it into the Levoit air purifier. This step is crucial for a successful connection. To ensure you have the correct password, consider resetting your wi-fi password if necessary.
Here are three important things to keep in mind when entering your wi-fi password:
-
Check for typos: Double-check every character of your password to ensure there are no typos or errors. Even a single incorrect character can prevent the air purifier from connecting to your network.
-
Use the correct case: Wi-fi passwords are case-sensitive, so make sure you enter uppercase and lowercase letters correctly. Mixing up the case can cause authentication issues and prevent the air purifier from connecting.
-
Connecting multiple devices: If you have multiple devices connected to your wi-fi network, make sure they are not using all the available connections. Some routers have a limit on the number of devices that can connect at once. If you have reached the limit, you may need to disconnect some devices before connecting the air purifier.
Confirming the Connection Between Your Levoit Air Purifier and Wi-Fi
Once you’ve successfully entered your Wi-Fi password, you can confirm the connection between your Levoit air purifier and the network. To ensure a stable and reliable connection, it’s important to check the Wi-Fi signal strength and troubleshoot any network interference.
Here’s a step-by-step guide to confirm the connection:
- Press the power button on your Levoit air purifier to turn it on.
- Make sure the device is within range of your Wi-Fi router.
- Access the settings menu on the purifier’s display panel.
- Select the ‘Wi-Fi’ option and choose your network from the available list.
- Enter your Wi-Fi password and wait for the purifier to connect.
To check the Wi-Fi signal strength, refer to the signal indicator on the display panel. If the signal is weak, try moving the purifier closer to the router or use a Wi-Fi extender. If you encounter any network interference, such as conflicting devices or crowded channels, consider changing your Wi-Fi channel or contacting your internet service provider for assistance.
Customizing Your Levoit Air Purifier’s Settings
To customize your settings, simply navigate to the menu on the display panel and select your desired options. It’s important to note that customizing your Levoit air purifier’s settings not only enhances your experience but also contributes to smart home automation and efficient air purifier maintenance.
Here are three key settings you can customize on your Levoit air purifier:
-
Fan Speed: Adjusting the fan speed allows you to control the airflow and noise level of your air purifier. Select a higher speed for faster purification or a lower speed for quieter operation.
-
Timer: Set a timer to automatically turn your air purifier on or off at specific times. This feature helps you save energy and ensures that your air purifier operates when you need it the most.
-
Filter Reset: Keep track of your air purifier’s filter lifespan by resetting the filter indicator. This ensures that you replace the filters at the recommended intervals, maintaining optimal performance and air quality.
Monitoring and Controlling Your Levoit Air Purifier Remotely
You can easily control and monitor your Levoit air purifier from anywhere using the convenient remote control feature. The remote control allows you to adjust the settings of your air purifier without having to physically be near it. This is especially useful if you are in another room or even outside your home.
However, if you encounter any issues with the remote control, there are a few troubleshooting steps you can take. Firstly, make sure that the batteries in the remote control are properly inserted and functional. If the remote still does not work, try resetting the air purifier by unplugging it from the power source and plugging it back in.
Additionally, optimizing the performance of your air purifier can be done through the remote control as well. You can adjust the fan speed, set timers, and even enable the sleep mode for quieter operation during the night. By utilizing the remote control, you have the ability to conveniently manage your air purifier and ensure that it is operating at its best.
Troubleshooting Common Wi-Fi Connection Issues
Now that you know how to monitor and control your Levoit Air Purifier remotely, let’s discuss troubleshooting common Wi-Fi connection issues.
-
Check your internet speed: Slow internet can cause connection problems. Use an online speed test tool to determine your internet speed. If it’s significantly lower than what you’re paying for, contact your internet service provider (ISP) for assistance.
-
Ensure Wi-Fi signal strength: Weak Wi-Fi signal can lead to a poor connection. Make sure your Levoit Air Purifier is within a reasonable range of your Wi-Fi router. If it’s too far, consider moving the purifier closer or using a Wi-Fi extender.
-
Restart your devices: Sometimes, a simple restart can fix connection problems. Power off your Levoit Air Purifier, Wi-Fi router, and any devices connected to the network. Wait a few minutes, then power them back on. This can refresh the connection and resolve any temporary issues.
Enhancing Your Air Purification Experience With Smart Features
By utilizing the smart features, you can enhance your air purification experience.
The Levoit air purifier offers seamless smart home integration, allowing you to control and monitor your device from anywhere using your smartphone or tablet.
With a simple setup process, you can connect your air purifier to your home’s Wi-Fi network and access a range of convenient features.
Once connected, you can take advantage of voice control options through popular virtual assistants like Amazon Alexa or Google Assistant. This means you can adjust settings, turn on or off the purifier, or check the air quality using just your voice.
Smart home integration and voice control options provide a convenient and hands-free way to optimize your air purification experience.
Frequently Asked Questions
Can I Connect Multiple Levoit Air Purifiers to the Same Wi-Fi Network?
Yes, you can connect multiple Levoit air purifiers to the same Wi-Fi network. If you encounter any connectivity issues, try troubleshooting by resetting the devices or contacting Levoit customer support for assistance.
How Can I Change the Wi-Fi Network My Levoit Air Purifier Is Connected To?
To change the Wi-Fi network my Levoit Air Purifier is connected to, I’ll navigate to the settings menu on the purifier, select the Wi-Fi option, and follow the troubleshooting steps provided in the user manual.
Is It Possible to Control My Levoit Air Purifier Using Voice Commands?
Yes, it is possible to control my Levoit air purifier using voice commands. It’s convenient and efficient, allowing me to easily adjust settings and monitor air quality without even touching the device.
Can I Schedule the Operating Hours of My Levoit Air Purifier Through the App?
Yes, you can schedule the operating hours of your Levoit air purifier through the app. This feature allows you to customize when the purifier runs, ensuring improved indoor air quality and the benefits of using an air purifier.
What Should I Do if I Forget My Levoit Account Password?
If I forget my Levoit account password, there are alternative methods to reset it. As for connecting the air purifier to wifi, it’s important to consider any potential security risks associated with the process.
Conclusion
In conclusion, connecting your Levoit Air Purifier to Wi-Fi is a simple and convenient process.
First, you need to check compatibility and gather necessary information and equipment.
Next, access the Wi-Fi setup menu on your air purifier and follow the prompts to connect your smartphone or tablet to the purifier’s network.
Once connected, you can customize settings, monitor and control your purifier remotely, and troubleshoot any common Wi-Fi connection issues.
With these smart features, you can enhance your air purification experience and breathe cleaner, fresher air in your home.