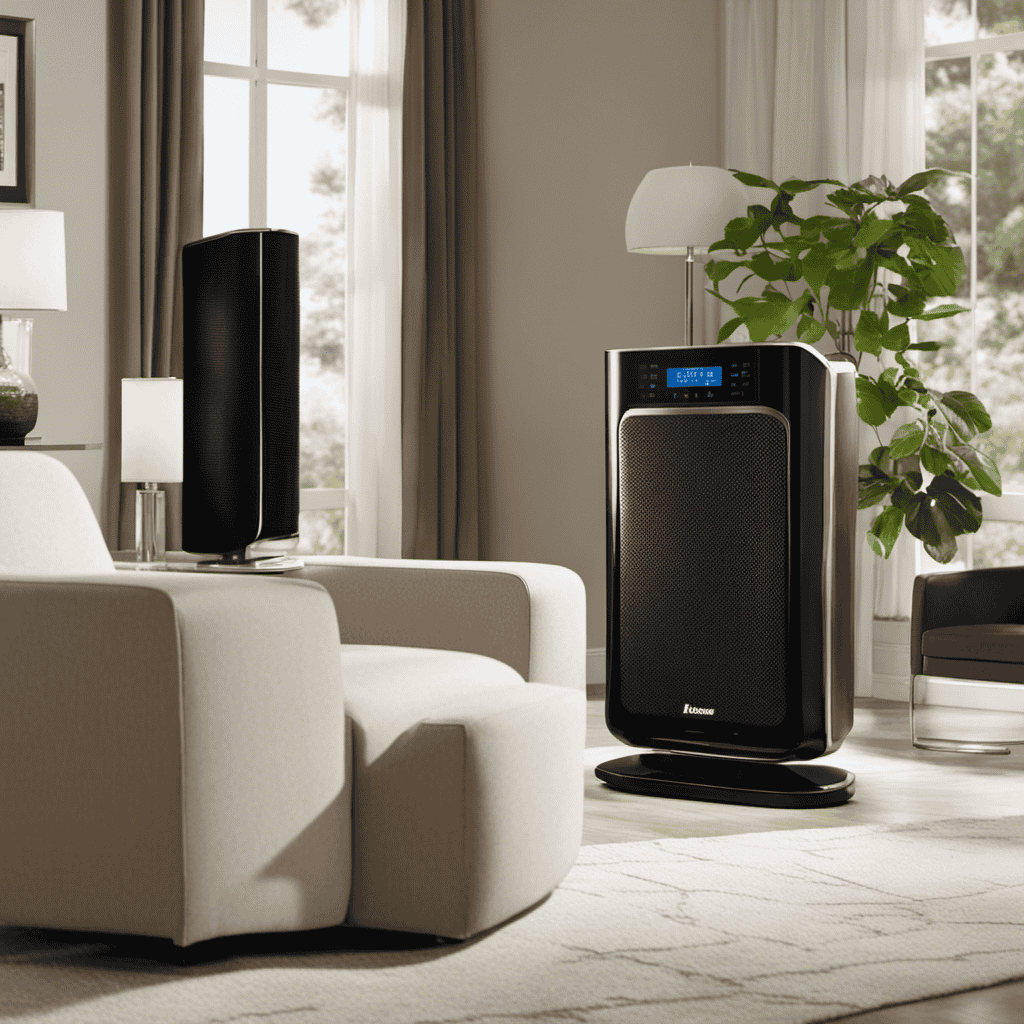
I stumbled upon a game-changing solution for improving air quality in my home – a germicidal air purifier for my AC duct.
In just a few simple steps, I was able to install this powerful device and enjoy cleaner, healthier air.
In this article, I’ll guide you through the process of choosing the right purifier, gathering the necessary tools, and installing it in your AC duct.
Get ready to breathe easier and discover the benefits of a germicidal air purifier!
Key Takeaways
- Consider the size of your space and specific contaminants when selecting a germicidal air purifier for your AC duct.
- Properly position and maintain the UV bulb in the purifier to ensure optimal germicidal coverage and effectiveness.
- Follow the manufacturer’s instructions for installation and maintenance of the germicidal air purifier to ensure its proper functioning.
- Maximize the effectiveness of the germicidal air purifier by regularly cleaning or replacing air filters, ensuring proper airflow, maintaining suitable temperature and humidity levels, and checking for obstructions or blockages in the AC duct.

COOLJOB Gardening Gloves for Men, 2 Pairs Breathable Rubber Coated for Garden Weeding Landscaping, Outside Work for Lawn Yard, Men's Large Size, Black & Red
- Breathable and Comfortable: Red and black polyester base keeps hands dry
- Flexible and Durable: Seamless knitted design with long cuffs and elastic wrist
- Rubber Coated Palm: Provides protection and non-slip grip in wet and dry conditions
As an affiliate, we earn on qualifying purchases.
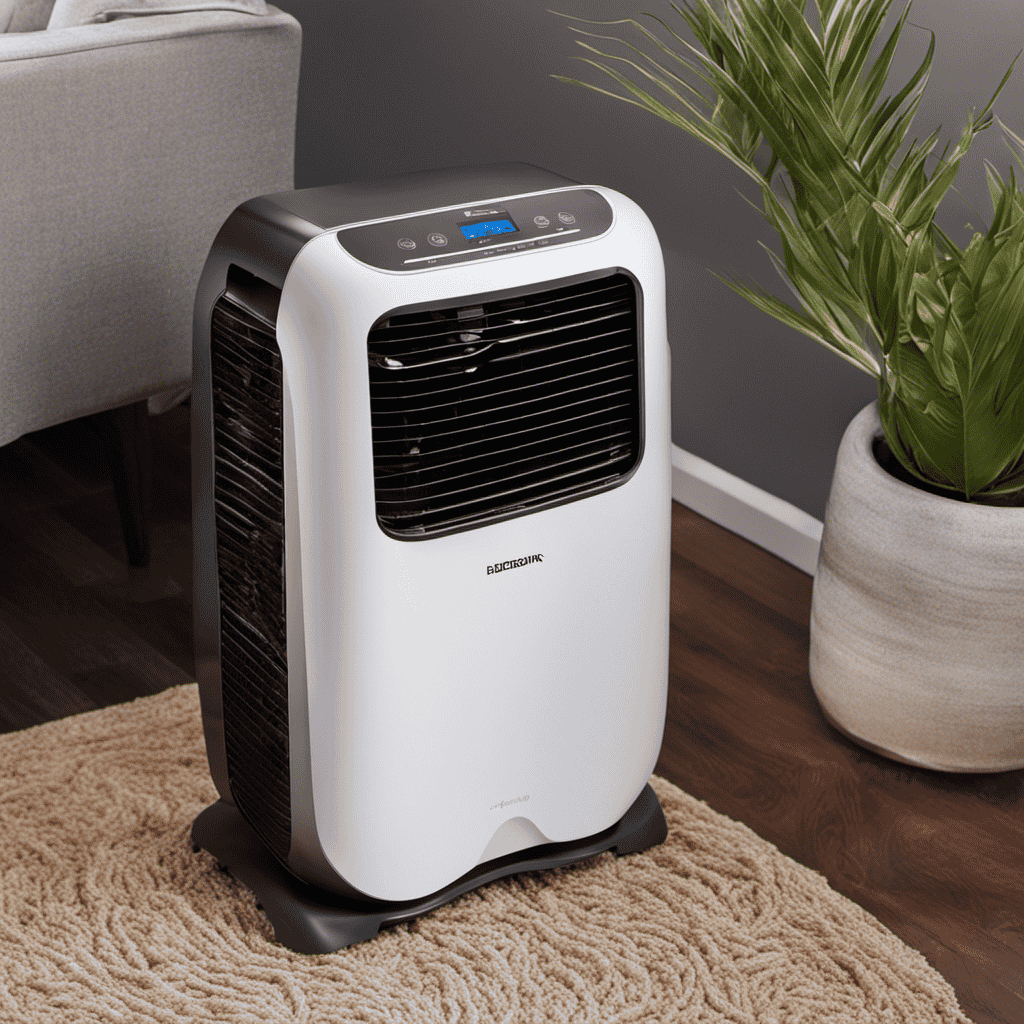
Choosing the Right Germicidal Air Purifier
To choose the right germicidal air purifier for your AC duct, you’ll want to consider factors such as the size of your space and the specific contaminants you want to target.
Germicidal air purifiers offer several benefits, including the ability to eliminate harmful bacteria, viruses, and other pathogens from the air. These purifiers use ultraviolet (UV) light technology to destroy the DNA of microorganisms, rendering them harmless.
There are different types of germicidal air purifiers available on the market, including UV-C lamps and photocatalytic oxidation (PCO) units. UV-C lamps emit short-wavelength UV radiation that kills microorganisms, while PCO units use a combination of UV light and a catalyst to break down contaminants.
Gathering the Necessary Tools and Materials
First, gather all the necessary tools and materials for the installation. Start by preparing the installation area by ensuring it is clean and free from any obstructions.
You will need a screwdriver, pliers, electrical tape, wire cutters, and a ladder. Additionally, make sure you have the germicidal air purifier unit, mounting brackets, and any required screws or fasteners.
It is essential to take safety precautions during the installation process. Wear protective gloves and goggles to prevent any injuries. Ensure the power to the AC unit is turned off before starting the installation.
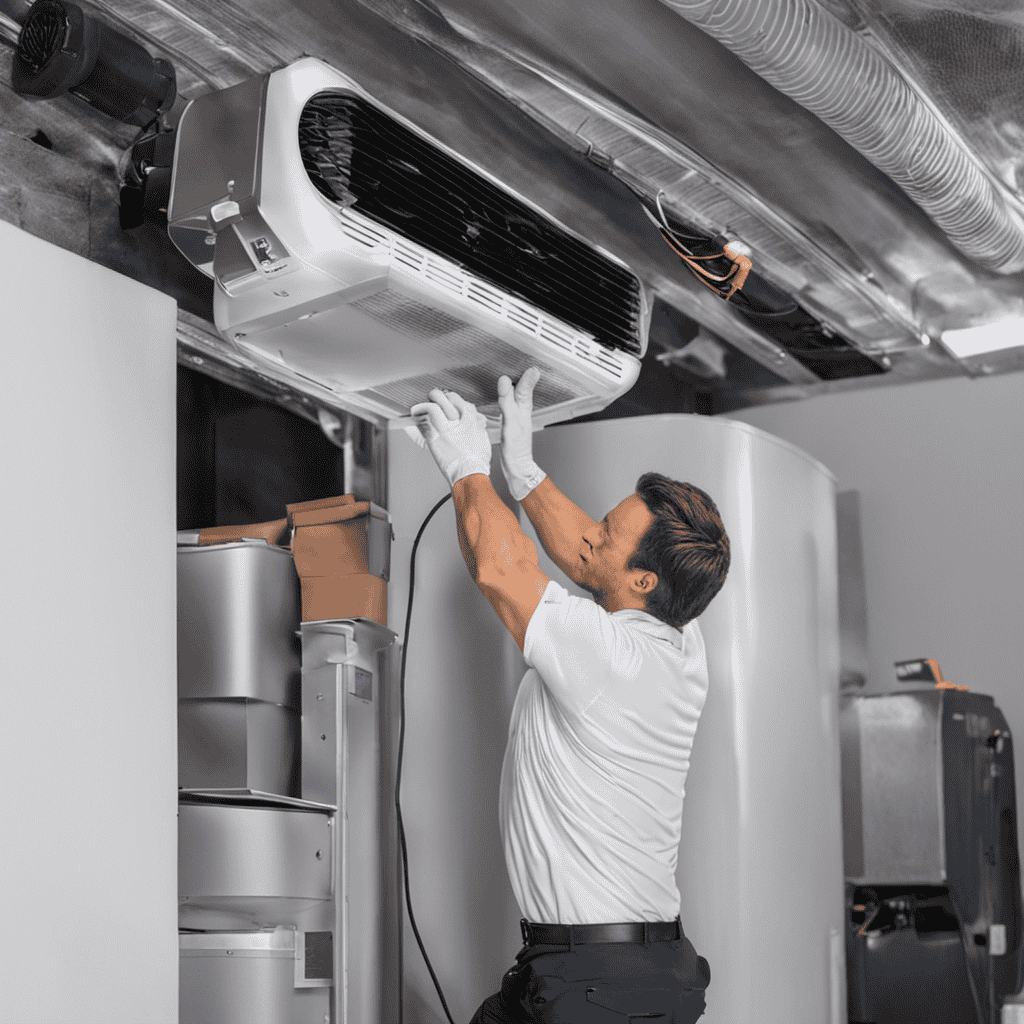
Follow the manufacturer’s instructions carefully to correctly install the germicidal air purifier in the AC duct. Double-check all connections and secure them tightly to avoid any leaks or malfunctions.
Preparing the AC Duct for Installation
Make sure you clean the AC duct thoroughly before proceeding with the installation. Preparing the AC duct is crucial to ensure proper ventilation and optimal performance of the germicidal air purifier.
Here are some steps to follow:
- Remove any obstructions or debris from the duct using a vacuum cleaner.
- Inspect the duct for any signs of damage or leaks, and make necessary repairs.
- Use a damp cloth or mild detergent to clean the interior surfaces of the duct.
- Ensure the duct is dry before installing the air purifier to prevent mold or mildew growth.
- Check the airflow direction and make sure it aligns with the intended placement of the air purifier.
Installing the Germicidal Air Purifier Mounting Bracket
When it comes to installing the mounting bracket for the germicidal air purifier, there are three key points to consider.
First, the mounting bracket should be installed securely to ensure stability and prevent any potential damage.
Second, proper bracket positioning is crucial to ensure optimal air flow and effectiveness of the purifier.
Lastly, it is important to securely fasten the bracket to the designated area to prevent any movement or vibration that could affect the purifier’s performance.
Mounting Bracket Installation
To securely attach the mounting bracket, you’ll need a screwdriver and the provided screws.
First, ensure proper bracket positioning by identifying a suitable location within the AC duct. Use a stud finder to locate a stud or beam for added stability. Once you have identified the ideal spot, mark it with a pencil.
Align the bracket with the marked spot and hold it firmly against the duct. Insert the screws into the pre-drilled holes on the bracket and tighten them using the screwdriver. Make sure the bracket is securely fastened to the duct, ensuring it can support the weight of the germicidal air purifier.
Double-check the bracket’s stability by gently shaking it. If it feels secure, you’re ready to move on to the next step.
Proper Bracket Positioning
Once you’ve identified the ideal spot, mark it with a pencil before aligning and firmly holding the bracket against the duct.
Proper bracket installation is crucial for the effective functioning of your germicidal air purifier. To ensure proper bracket positioning, follow these tips.
Firstly, make sure the bracket is securely attached to the duct, using screws or other suitable fasteners. It should be positioned in a way that allows easy access for maintenance and cleaning.
Additionally, ensure that the bracket is aligned parallel to the duct and is centered properly. This will provide stability and prevent any vibrations or movement that could affect the performance of the air purifier.
Lastly, double-check the bracket’s positioning to ensure it is level and secure before proceeding with the installation of the purifier.
Securing the Bracket
It’s important to securely attach the bracket to the duct using suitable fasteners. Proper bracket installation is crucial to ensure the stability and effectiveness of the germicidal air purifier.
Here are some key steps to follow when securing the mounting bracket:
- Use a level to ensure the bracket is perfectly horizontal.
- Mark the screw hole locations on the duct using a pencil or marker.
- Drill pilot holes into the duct at the marked locations to prevent the duct from getting damaged.
- Place the bracket over the pilot holes and align them accordingly.
- Securely fasten the bracket to the duct using appropriate screws or bolts, ensuring a tight fit.
Securing the Germicidal Air Purifier to the Mounting Bracket
Attach the germicidal air purifier to the mounting bracket securely, ensuring it is properly aligned and fastened. To achieve this, start by placing the purifier onto the bracket and aligning the mounting holes. Insert the screws through the holes and tighten them using a screwdriver or a drill, being careful not to overtighten.
Check that the purifier is level and centered on the bracket. It is crucial to follow proper mounting techniques for a successful installation. Avoid overloading the purifier by not exceeding the recommended weight limits.
Additionally, make sure the bracket is securely attached to the wall or ceiling, using appropriate anchors if necessary. By adhering to these best practices, you can ensure a safe and effective installation of the germicidal air purifier.
Connecting the Power Supply to the Germicidal Air Purifier
Now that the germicidal air purifier is securely mounted, it is time to connect the power supply and position the purifier. This step is crucial in ensuring that the purifier functions effectively and efficiently.
To connect the power supply, follow these steps:
- Locate the power cord of the germicidal air purifier.
- Plug one end of the power cord into the designated power outlet.
- Ensure that the power outlet is compatible with the voltage requirements of the purifier.
- Connect the other end of the power cord to the designated power input on the purifier.
- Double-check that the connection is secure and snug.
Next, position the purifier in a suitable location within the AC duct. Consider the following factors when choosing the placement:
- Optimal airflow path.
- Proximity to potential sources of contamination.
- Accessibility for maintenance and cleaning.
- Avoidance of obstructions or blockages.
- Compliance with any manufacturer guidelines or recommendations.
Ensuring Proper Ventilation and Airflow
To ensure proper ventilation and airflow, position the purifier in a location that allows for optimal air circulation and minimizes potential obstructions or blockages. This is crucial for improving indoor air quality and reaping the benefits of germicidal air purifiers.
When selecting the installation spot, consider placing it near the main source of air circulation, such as an air conditioning unit or a central air duct. Make sure to keep it away from any objects that could impede the airflow, such as furniture or curtains.
Additionally, avoid placing the purifier in corners or tight spaces, as this can restrict the movement of air. By strategically positioning the purifier, you can maximize its effectiveness in eliminating airborne contaminants and ensuring clean, fresh air throughout your space.
Testing the Germicidal Air Purifier for Functionality
Make sure you’re regularly checking the germicidal air purifier’s functionality to ensure it is effectively removing airborne contaminants and providing clean, fresh air. Testing the effectiveness of the purifier is crucial to maintaining a healthy indoor environment.
Here are some key testing methods and effectiveness analysis techniques to consider:
-
Visual Inspection: Check for any visible signs of damage, such as cracks or leaks, that could compromise the purifier’s performance.
-
Air Quality Monitoring: Use an air quality monitor to measure the levels of pollutants before and after the purifier to determine its effectiveness in reducing contaminants.
-
Particle Counting: Conduct particle counting tests to assess the purifier’s ability to remove microscopic particles from the air.
-
Microbial Testing: Perform microbial testing to evaluate the purifier’s efficiency in eliminating bacteria, viruses, and other harmful microorganisms.
-
Odor Assessment: Conduct odor assessments to determine if the purifier is effectively eliminating unpleasant smells.
Adjusting the Germicidal Air Purifier Settings
Adjusting the settings on your germicidal air purifier can help optimize its performance and ensure that it is effectively removing airborne contaminants. One of the key settings to adjust is the filter settings. By adjusting the filter settings, you can customize the level of air purification based on your specific needs.
To optimize the air purification process, you can adjust the filter settings to control the fan speed, duration of operation, and sensitivity level. The table below provides a breakdown of the filter settings and their impact on the air purification process.
| Filter Setting | Function | Impact |
|---|---|---|
| Fan Speed | Controls the speed of the fan that circulates air through the purifier. | Higher fan speed can provide faster air purification, but may also generate more noise. |
| Duration of Operation | Determines the length of time the purifier runs continuously. | Longer operation duration can result in more thorough air purification, but may consume more energy. |
| Sensitivity Level | Adjusts the sensitivity of the purifier to detect and remove contaminants. | Higher sensitivity can ensure more effective removal of airborne contaminants, but may also result in more frequent filter replacements. |
Regular Maintenance and Cleaning of the Germicidal Air Purifier
Regular maintenance and cleaning is essential for ensuring that your germicidal air purifier continues to function effectively and provide you with clean, healthy air. Here are some cleaning techniques to keep your air purifier in top condition:
-
Remove the filter: Start by turning off the purifier and unplugging it. Carefully remove the filter from the unit.
-
Vacuum the filter: Use a vacuum cleaner with a brush attachment to gently remove dust and debris from the filter. Be thorough, but avoid damaging the filter.
-
Wash the filter: If your filter is washable, rinse it under running water. Use a mild detergent to remove any stubborn dirt or stains. Allow the filter to dry completely before reinserting it.
-
Clean the exterior: Wipe down the exterior of the purifier with a damp cloth. Pay special attention to any vents or grilles.
-
Check the UV lamp: Regularly inspect the UV lamp and clean it if necessary. Follow the manufacturer’s instructions for proper cleaning and replacement.
Troubleshooting Common Issues With the Germicidal Air Purifier
When it comes to troubleshooting common issues with the germicidal air purifier, there are a few key points to consider.
Firstly, a lack of airflow can greatly affect the purifier’s effectiveness in removing airborne contaminants. This could be due to a clogged filter or a problem with the fan.
Secondly, a malfunctioning UV bulb can render the purifier unable to neutralize harmful bacteria and viruses, so regular inspection and replacement is crucial.
Lastly, inadequate germicidal coverage can occur if the purifier is not correctly sized for the space it is intended to clean, leading to compromised air quality.
Lack of Airflow
To improve airflow in your AC duct, make sure to clean or replace the air filters regularly. This simple maintenance task can significantly improve the efficiency of your HVAC system and enhance the overall air quality in your home.
Here are five benefits of using germicidal air purifiers to further improve air quality:
-
Eliminates airborne pollutants: Germicidal air purifiers are designed to remove harmful particles such as dust, pollen, pet dander, and mold spores from the air, reducing the risk of allergies and respiratory issues.
-
Kills germs and bacteria: These purifiers use ultraviolet (UV) light to destroy bacteria, viruses, and other microorganisms, creating a healthier environment.
-
Reduces odors: Germicidal air purifiers are effective in eliminating unpleasant odors caused by cooking, pets, or smoke, leaving your home smelling fresh.
-
Enhances sleep quality: By purifying the air and removing allergens, germicidal air purifiers can help improve sleep quality, allowing for a more restful night.
-
Protects your HVAC system: By capturing large particles before they reach your HVAC system, germicidal air purifiers help prevent clogs and damage, extending the lifespan of your equipment.
Investing in a germicidal air purifier is a great way to improve air quality and enjoy a healthier home environment.
Malfunctioning UV Bulb
If the UV bulb malfunctions, it’s important to replace it promptly to ensure the germicidal properties of the air purifier are fully functional. Troubleshooting the UV bulb is crucial to identify the issue accurately.
Start by checking if the bulb is properly connected and securely in place. Inspect the bulb for any signs of damage or discoloration, as these can indicate a malfunctioning bulb.
If the bulb appears fine, it might be worth testing the power supply to ensure it is delivering the correct voltage. If all else fails, contact the manufacturer for further assistance or to arrange a UV bulb replacement.
Neglecting to replace the malfunctioning UV bulb can result in inadequate germicidal coverage and compromise the overall effectiveness of the air purifier.
Inadequate Germicidal Coverage
The malfunctioning UV bulb can result in insufficient coverage against germs. When the UV bulb is not functioning properly, it fails to emit the necessary ultraviolet light to effectively eliminate germs and pathogens in the air. This can lead to potential health risks and compromised indoor air quality.
Improper positioning of the UV bulb can also contribute to inadequate germicidal coverage. If the bulb is not positioned correctly within the AC duct, it may not have direct contact with the airflow, reducing its effectiveness in sterilizing the air.
Similarly, incorrect installation of the germicidal air purifier can result in insufficient coverage against germs. If the unit is not installed according to the manufacturer’s instructions, it may not be able to effectively treat the air passing through the AC duct, leaving behind harmful bacteria and viruses.
To ensure proper germicidal coverage, it is crucial to regularly inspect and maintain the UV bulb, as well as follow the correct positioning and installation procedures. By doing so, you can maximize the effectiveness of your germicidal air purifier and create a healthier indoor environment.
Frequently Asked Questions
How Long Does It Take to Install a Germicidal Air Purifier in an AC Duct?
It takes about 2-3 hours to install a germicidal air purifier in an AC duct. Proper maintenance includes regularly cleaning the filters and UV lamps. The benefits of using a germicidal air purifier include improved indoor air quality and reduced allergens.
Can a Germicidal Air Purifier Be Installed in Any Type of AC Duct System?
Yes, a germicidal air purifier can be installed in any type of AC duct system. DIY installation is possible but it’s important to consider the maintenance requirements to ensure optimal performance and effectiveness.
Is It Necessary to Hire a Professional to Install a Germicidal Air Purifier, or Can It Be Done as a DIY Project?
I prefer professional installation for a germicidal air purifier. While DIY installation may be possible, a professional ensures proper placement, connection to the AC duct system, and adherence to safety guidelines.
Are There Any Potential Health Risks Associated With Using a Germicidal Air Purifier in an AC Duct?
I can discuss potential long term effects of using germicidal air purifiers in AC ducts. It is important to compare different types of germicidal air purifiers for AC ducts to ensure effectiveness and safety.
What Is the Average Lifespan of a Germicidal Air Purifier, and How Often Does It Need to Be Replaced?
The average lifespan of a germicidal air purifier depends on usage and maintenance, typically ranging from 1 to 3 years. It is recommended to replace the purifier when its UV-C lamp no longer emits sufficient ultraviolet light to effectively kill germs.
Conclusion
In conclusion, installing a germicidal air purifier in your AC duct is like giving your home a shield of protection against harmful pathogens.
By carefully selecting the right purifier and following the installation process step by step, you can ensure cleaner and healthier air for you and your loved ones.
Just like a knight protecting their castle, the purifier fights off invisible enemies, ensuring a safe haven for your family.
With regular maintenance and troubleshooting, this powerful tool will continue to serve you faithfully, keeping your home a sanctuary of fresh air.