Hey there! Are you tired of breathing in dusty air and suffering from allergies? Well, I’ve got some great news for you.
In this article, I’m going to show you how to maintain your air purifier to keep it running at its best. We’ll cover everything from cleaning the exterior surfaces to checking and cleaning the air vents.
So, get ready to say goodbye to dirty air and hello to a fresh and clean environment. Let’s dive in!
Key Takeaways
- Regular cleaning of the exterior surfaces, air vents, fan, motor, and sensors is important for maintaining an air purifier.
- Filters should be replaced every 6 to 12 months, and the pre-filter should be cleaned or replaced every 3 to 6 months.
- Proper techniques, such as using a soft cloth and mild detergent for cleaning, and precautions, such as unplugging the device before cleaning, should be followed.
- Establishing a maintenance schedule and regularly monitoring and maintaining the air purifier can ensure effective air purification and improve its longevity.

LEVOIT Top Fill Humidifiers for Bedroom, 2.5L Tank for Large Room, Easy to Fill & Clean, 28dB Quiet Cool Mist Air Humidifier for Home Baby Nursery & Plants, Auto Shut-off for Safety, 25H
𝙁𝙖𝙨𝙩 𝙃𝙪𝙢𝙞𝙙𝙞𝙛𝙞𝙘𝙖𝙩𝙞𝙤𝙣 𝘼𝙡𝙡 𝙉𝙞𝙜𝙝𝙩: Runs for up to 25 hours on low thanks to its SUPER LARGE capacity...
As an affiliate, we earn on qualifying purchases.
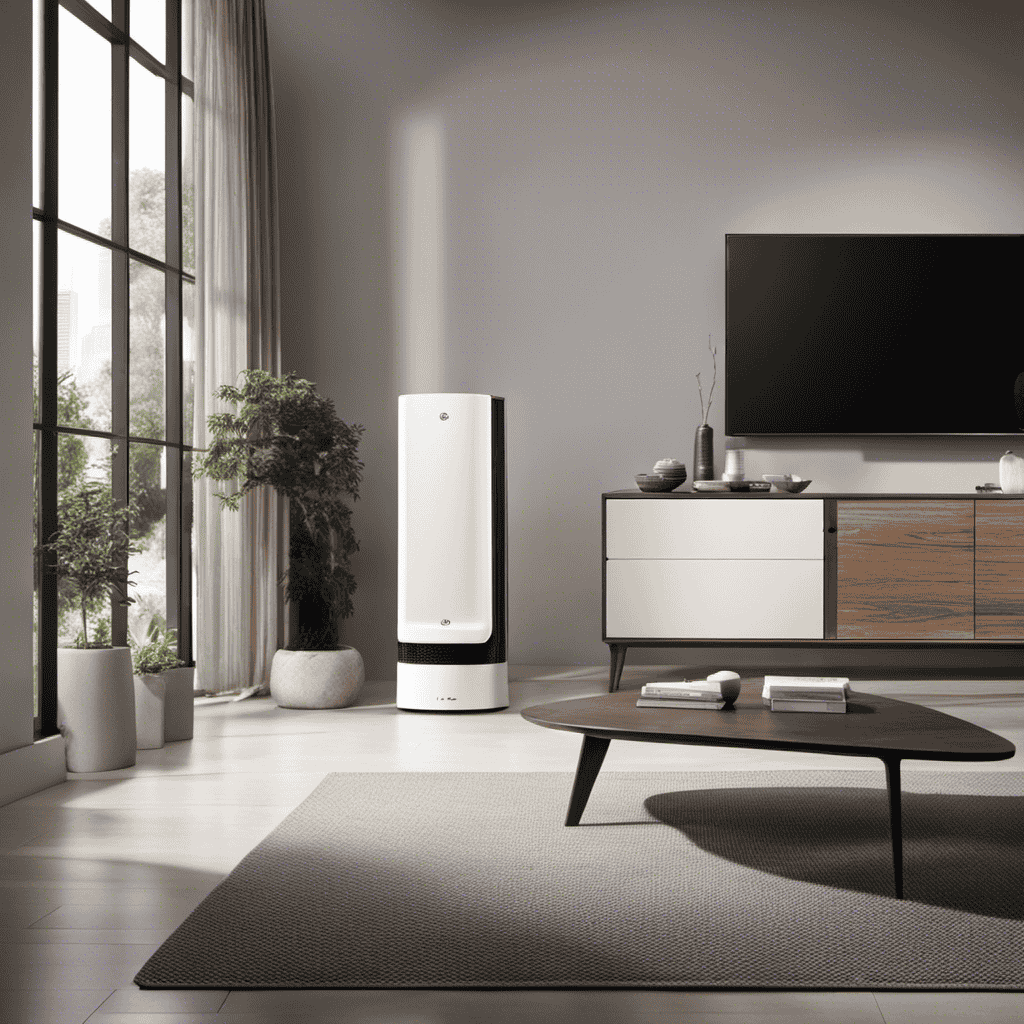
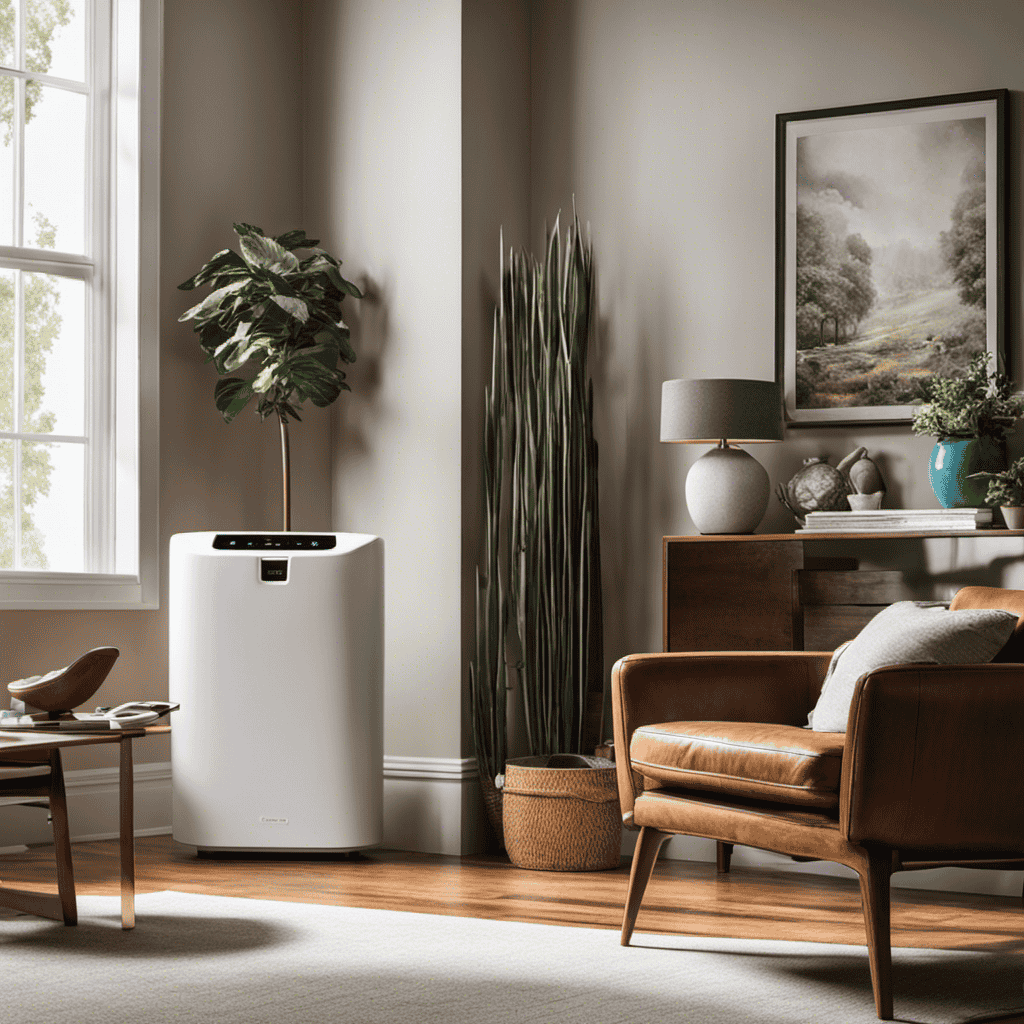
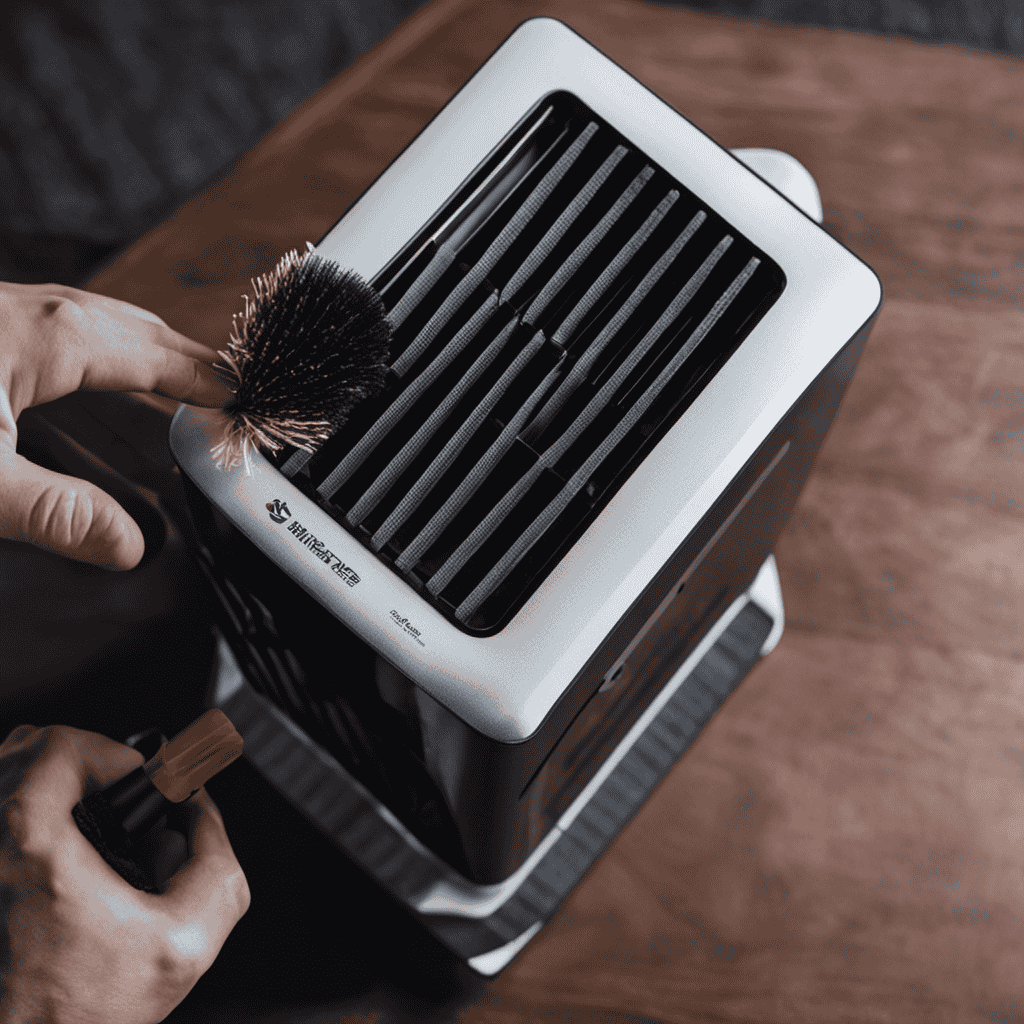
Cleaning the Exterior Surfaces
To clean the exterior surfaces of your air purifier, you’ll need to use a soft cloth and a mild detergent.
Begin by unplugging the device and removing any loose dust or debris.
Gently wipe down the exterior with the soft cloth dampened with the mild detergent solution. Be cautious not to get any water inside the unit.
Pay special attention to cleaning the air intake, which is where dust particles tend to accumulate. Use a small brush or a cotton swab to reach into any crevices or hard-to-reach areas.
Once you have thoroughly cleaned the exterior, allow it to dry completely before plugging it back in.
Now that we have cleaned the exterior surfaces, let’s move on to the next step: changing the filter.

Humidifiers for Large Room with Large Room Humidifiers
Humidifiers for Large Room with Large Room Humidifiers
As an affiliate, we earn on qualifying purchases.
Changing the Filter
When changing the filter, it’s important to follow the manufacturer’s instructions. Proper maintenance of your air purifier ensures optimal performance and clean air in your home. Cleaning the filter regularly is crucial to remove dust, allergens, and other particles from the air. To clean the filter, gently vacuum it or rinse it under running water. However, there comes a time when cleaning is no longer effective, and filter replacement is necessary. It is recommended to replace the filter every 6 to 12 months, depending on the manufacturer’s instructions and the level of air pollution in your area. By replacing the filter, you ensure that your air purifier continues to efficiently remove pollutants from the air, providing you with clean and fresh air to breathe.
Emotional Response Table:
| Emotion | Description | Example |
|---|---|---|
| Happiness | Feeling of joy and contentment | Breathing in clean air after replacing the filter |
| Relief | A sense of ease or comfort | Knowing that the air purifier is effectively removing pollutants |
| Satisfaction | Feeling of fulfillment or accomplishment | Successfully replacing the filter and maintaining the air purifier |
DREO 16L Smart Humidifier Large Room 1000 ft², 130H Cool Mist Air Humidifiers for Bedroom Plants Baby, Top Fill, Remote/Touch/Voice & APP Control, Clean Tank Technology, 30dB, RGB Light, HM755S White
130 𝙃𝙤𝙪𝙧𝙨 𝙐𝙡𝙩𝙧𝙖-𝙇𝙤𝙣𝙜 𝙍𝙪𝙣𝙩𝙞𝙢𝙚: The 16L DREO humidifiers for bedroom provides up to 130 hours of continuous humidification...
As an affiliate, we earn on qualifying purchases.
Checking and Cleaning the Air Vents
Make sure you regularly check and clean the air vents to ensure proper airflow throughout your home. Cleaning the air ducts and removing dust particles is essential for maintaining a healthy living environment.
Here are four important steps to follow when cleaning your air vents:
-
Turn off the power: Before you start cleaning, make sure to turn off the power to prevent any accidents.
-
Remove the vent covers: Use a screwdriver to remove the vent covers and set them aside.
-
Vacuum the vents: Use a vacuum cleaner with a brush attachment to remove the dust and debris from the vents.
-
Clean the vent covers: Wash the vent covers with warm soapy water and a sponge. Rinse and dry them thoroughly before reattaching.
Regularly cleaning your air vents will improve your indoor air quality and prevent dust buildup, ensuring your HVAC system operates efficiently.

Homvana 3.6L Top-Fill Cool Mist Humidifiers for Bedroom, Large Room & Plants, 23dB Ultra-Quiet, Easy-to-Clean 2-in-1 Baby Humidifier & Oil Diffuser for Congestion Relief, Lasts Up to 4 Nights (Grey)
[3-in-1 Humidifier Meets All You Expect] Cool Mist Humidifier+Aromatherapy+Mood Light, purchase for once to satisfy all you expect!...
As an affiliate, we earn on qualifying purchases.
Cleaning or Replacing the Pre-Filter
Ensure that you regularly clean or replace the pre-filter in order to keep your air purifier functioning effectively. The pre-filter is the first line of defense against larger particles and pollutants, such as dust, pet hair, and pollen. Over time, these particles can accumulate and clog the pre-filter, reducing its effectiveness and potentially damaging the air purifier. Here are some cleaning techniques and maintenance tips for your pre-filter:
| Cleaning Techniques | Maintenance Tips | Replacement Frequency |
|---|---|---|
| Vacuuming | Rinse with water | Every 3-6 months |
| Washing | Use mild detergent | |
| Brushing |
Cleaning the Fan and Motor
To keep your air purifier running smoothly, you’ll want to clean the fan and motor regularly. Here’s how you can do it:
- Unplug the air purifier and remove the front cover to access the fan and motor.
- Use a soft brush or a vacuum cleaner with a brush attachment to gently remove any dust or debris from the fan blades. Be careful not to damage the blades.
- Wipe down the motor housing with a damp cloth to remove any dirt or grime.
- If the fan or motor is excessively dirty or clogged, you may need to remove them for a more thorough cleaning. Consult the user manual or contact the manufacturer for instructions.
Regular fan maintenance and motor cleaning will ensure that your air purifier continues to operate efficiently and effectively, providing you with clean and healthy air.
Cleaning the Ionizer or Activated Carbon Filter
When it comes to maintaining an air purifier, it is crucial to pay attention to the cleaning techniques for the ionizer and the maintenance of the activated carbon filter.
Cleaning the ionizer involves removing any dirt or dust buildup using a soft brush or cloth, ensuring its proper functionality.
As for the activated carbon filter, regular replacement is necessary to ensure optimal air purification by eliminating odors and harmful gases.
Ionizer Cleaning Techniques
Make sure you’re regularly cleaning the ionizer of your air purifier to maintain its effectiveness. Here are some techniques for ionizer maintenance and troubleshooting ionizer issues:
- Power off the air purifier and unplug it from the electrical outlet before cleaning the ionizer.
- Use a soft cloth or a brush to gently remove dust and debris from the ionizer plates. Avoid using water or liquid cleaners.
- If the ionizer plates are heavily soiled, you can soak them in warm soapy water for a few minutes before gently scrubbing them.
- Once the plates are clean, dry them thoroughly before reinserting them into the air purifier.
By regularly cleaning the ionizer, you can ensure that it functions optimally, removing pollutants from the air efficiently.
Now, let’s move on to the next section about activated carbon filter maintenance.
Activated Carbon Filter Maintenance
Regularly cleaning the activated carbon filter is essential for ensuring its effectiveness in removing odors and chemical pollutants from your environment. The activated carbon filter is a crucial component of your air purifier, as it helps to trap and absorb harmful particles and gases.
Over time, the filter becomes saturated with these pollutants and loses its ability to effectively clean the air. It is recommended to replace the activated carbon filter every 6 to 12 months, depending on the manufacturer’s instructions and the level of pollution in your area.
To clean the filter, gently vacuum it or rinse it with water, making sure not to damage the carbon granules. Proper maintenance of the activated carbon filter will ensure that your air purifier continues to provide you with clean and fresh air to breathe.
Now, let’s move on to the next section about disinfecting the water tank (for air purifiers with humidification feature).
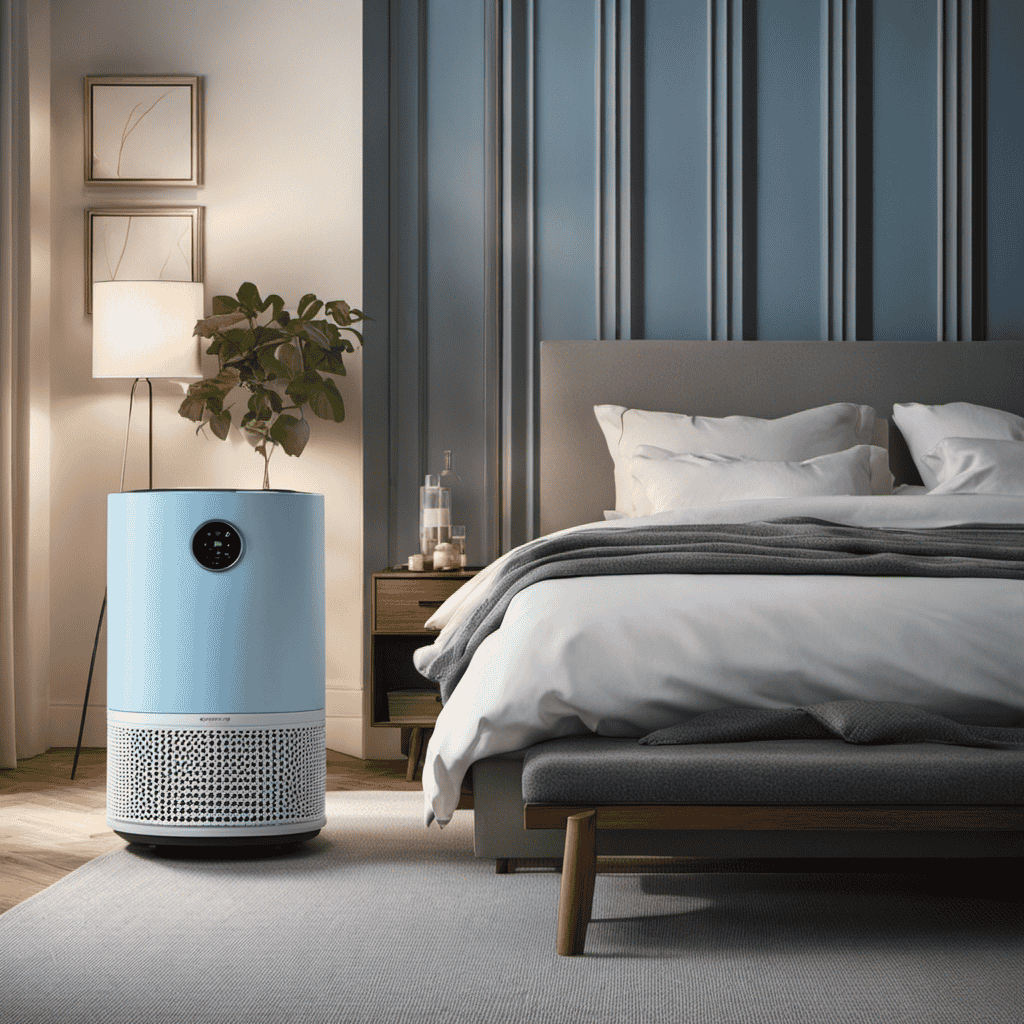
Disinfecting the Water Tank (For Air Purifiers With Humidification Feature
When it comes to maintaining an air purifier with a humidification feature, one key aspect that cannot be overlooked is the effective cleaning of the water tank.
A dirty water tank can become a breeding ground for bacteria, which can then be dispersed into the air, defeating the purpose of the air purifier.
To prevent bacterial growth, it is essential to regularly clean the water tank using proper disinfection techniques, ensuring a healthy and clean environment in your home.
Cleaning Water Tank Effectively
It’s important to regularly clean the water tank of your air purifier to ensure its effectiveness. Here are some steps to clean the water tank effectively:
-
Empty the water reservoir: Start by removing the water tank from the air purifier and emptying any remaining water. This will prevent the growth of bacteria and mold.
-
Rinse the tank: Fill the tank with warm water and gently swish it around to remove any residue or impurities. Then, empty the water and rinse again to ensure all dirt is removed.
-
Remove mineral deposits: Mineral deposits can build up over time, affecting the performance of your air purifier. To remove them, mix equal parts vinegar and water, and let it sit in the tank for 30 minutes. Then, scrub the tank with a soft brush to remove any remaining deposits.
-
Dry the tank: After cleaning, make sure to thoroughly dry the water tank before reattaching it to the air purifier. This will prevent the growth of mold or bacteria.
Regularly cleaning the water reservoir and removing mineral deposits will not only ensure the effectiveness of your air purifier but also promote cleaner and healthier air in your home.
Preventing Bacterial Growth
To prevent bacterial growth in the water tank, make sure to empty and rinse it thoroughly after each use. This step is crucial in maintaining a clean and hygienic air purifier.
Bacteria can thrive in moist environments, leading to unpleasant odors and potentially harmful mold growth. By emptying and rinsing the water tank, you eliminate any stagnant water that may serve as a breeding ground for bacteria.
It is important to use clean water during rinsing to ensure that no contaminants are left behind. Additionally, consider using a mild disinfectant solution to further prevent bacterial growth.
By taking these simple steps, you can maintain a healthy and odor-free air purifier.
Now, let’s move on to the next step – cleaning the sensors and controls.
Cleaning the Sensors and Controls
Make sure you’re regularly cleaning the sensors and controls on your air purifier to keep it functioning properly. Neglecting these components can lead to reduced performance and potential malfunctions.
Here’s a quick guide on how to clean and troubleshoot the sensors and controls:
-
Cleaning the air purifier’s display panel:
- Gently wipe the panel with a soft, lint-free cloth.
- Avoid using abrasive cleaners or solvents that may damage the screen.
- If the panel is heavily soiled, dampen the cloth with mild soap and water, then wipe it clean.
- Dry the panel thoroughly before turning the air purifier back on.
-
Troubleshooting common sensor issues:
- Check for any obstructions or blockages around the sensors.
- Ensure the air purifier is placed in an open area with good airflow.
- Reset the sensors by unplugging the unit for a few minutes and then plugging it back in.
- If the issue persists, consult the user manual or contact customer support for further assistance.
Regular maintenance of your air purifier’s sensors and controls will help ensure optimal performance and cleaner air in your space.
Regular Maintenance Schedule
Now that we’ve covered cleaning the sensors and controls of your air purifier, let’s move on to establishing a regular maintenance schedule.
To keep your air purifier running efficiently, it’s important to create an air purifier maintenance checklist. This checklist should include tasks such as cleaning or replacing filters, cleaning the exterior and interior of the unit, and checking for any signs of damage or wear.
Regularly monitoring and maintaining your air purifier will help ensure that it continues to purify the air effectively and efficiently.
Additionally, it’s important to be familiar with troubleshooting common air purifier issues. This includes understanding how to identify and resolve issues such as strange noises, poor airflow, or error messages.
Frequently Asked Questions
How Often Should I Clean the Sensors and Controls of My Air Purifier?
I clean the sensors and controls of my air purifier every 2-3 months. Regular cleaning ensures optimal performance and prevents dust buildup. It’s important to follow the manufacturer’s instructions for proper maintenance and to extend the lifespan of the unit.
Can I Use Any Type of Disinfectant to Clean the Water Tank of My Air Purifier?
I wouldn’t recommend using bleach or vinegar to clean the water tank of my air purifier. It’s best to refer to the manufacturer’s instructions for the appropriate cleaning methods to ensure proper maintenance.
Is It Necessary to Clean or Replace the Pre-Filter of My Air Purifier?
Yes, it is necessary to clean or replace the pre-filter of my air purifier. Regular maintenance ensures optimal performance and extends the lifespan of the unit. Cleaning procedures vary depending on the model.
What Should I Do if the Fan and Motor of My Air Purifier Are Not Working Properly?
If the fan and motor of my air purifier are not working properly, I would troubleshoot the issue by checking for power supply, cleaning the motor, and contacting customer support if needed. Common air purifier issues can include motor failure or fan blockage.
How Frequently Should I Follow a Regular Maintenance Schedule for My Air Purifier?
I follow a regular maintenance schedule for my air purifier to ensure optimal performance. By troubleshooting common issues and implementing tips for improving efficiency, I can keep my air purifier running smoothly.
Conclusion
In conclusion, maintaining an air purifier is like tending to a delicate garden. Just as a gardener meticulously cares for their plants, we must clean the exterior surfaces, change the filter, and check the air vents of our purifiers.
It’s like pruning and nourishing our garden to ensure it thrives. And just as a gardener tends to the soil and water, we must disinfect the water tank and clean the sensors and controls.
By following this regular maintenance schedule, our air purifiers will flourish, providing us with clean and fresh air to breathe.