
I have always been intrigued by the impact of clean air. Inhaling fresh, pure oxygen can energize the mind and refresh the body.
That’s why I decided to embark on a journey to create my own air ionizer purifier. In this article, I’ll guide you through the process of building an effective and efficient system that will help you achieve optimal air quality in your home.
Get ready to take a deep breath of satisfaction as we delve into the world of DIY air purification.
Key Takeaways
- Air ionizers use electric charges to remove particles from the air by emitting negative ions that attach to airborne particles, causing them to fall to the ground.
- Air ionizers can reduce the concentration of pollutants like dust, allergens, and bacteria, improving indoor air quality.
- Excessive levels of negative ions may have negative effects on lung function, so caution should be exercised in their use.
- Proper assembly, grounding, and adherence to safety precautions are important when building and wiring an air ionizer purifier.
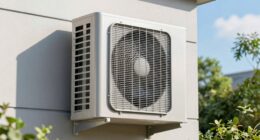
Understanding Air Ionizers
Air ionizers are devices that use electric charges to remove particles from the air, making it cleaner and healthier to breathe. They work by emitting negative ions that attach to airborne particles, causing them to become heavier and fall to the ground. This helps to reduce the concentration of pollutants such as dust, allergens, and bacteria in the air.
One of the primary health benefits of using air ionizers is improved indoor air quality, which can alleviate symptoms of allergies and respiratory conditions. However, there are also some potential drawbacks to consider. Some studies have suggested that excessive levels of negative ions may have negative effects on lung function.
Additionally, air ionizers do not remove all types of pollutants, such as chemical vapors. It is important to weigh the pros and cons before deciding whether to use an air ionizer in your home.
Gathering the Necessary Materials
To get started, you’ll need to gather all the materials necessary for this DIY ionizer purifier project. Here are the key components you’ll need:
-
Ionizing plate: This is the heart of the ionizer purifier. It emits negative ions into the air to neutralize pollutants and allergens.
-
Power supply: You’ll need a steady power source to energize the ionizing plate. Make sure to choose a power supply that matches the voltage requirements of your ionizer purifier.
-
Enclosure: To house the ionizing plate and power supply, you’ll need an enclosure that is both durable and non-conductive. This will ensure the safety of the device and prevent any electrical mishaps.
Once you have sourced these materials, the next step is to assemble the components. Follow the instructions provided with your ionizing plate and power supply to properly connect them within the enclosure. Pay attention to any grounding or safety precautions mentioned in the instructions.
With all the materials gathered and the components assembled, you are now ready to proceed with building your own air ionizer purifier.
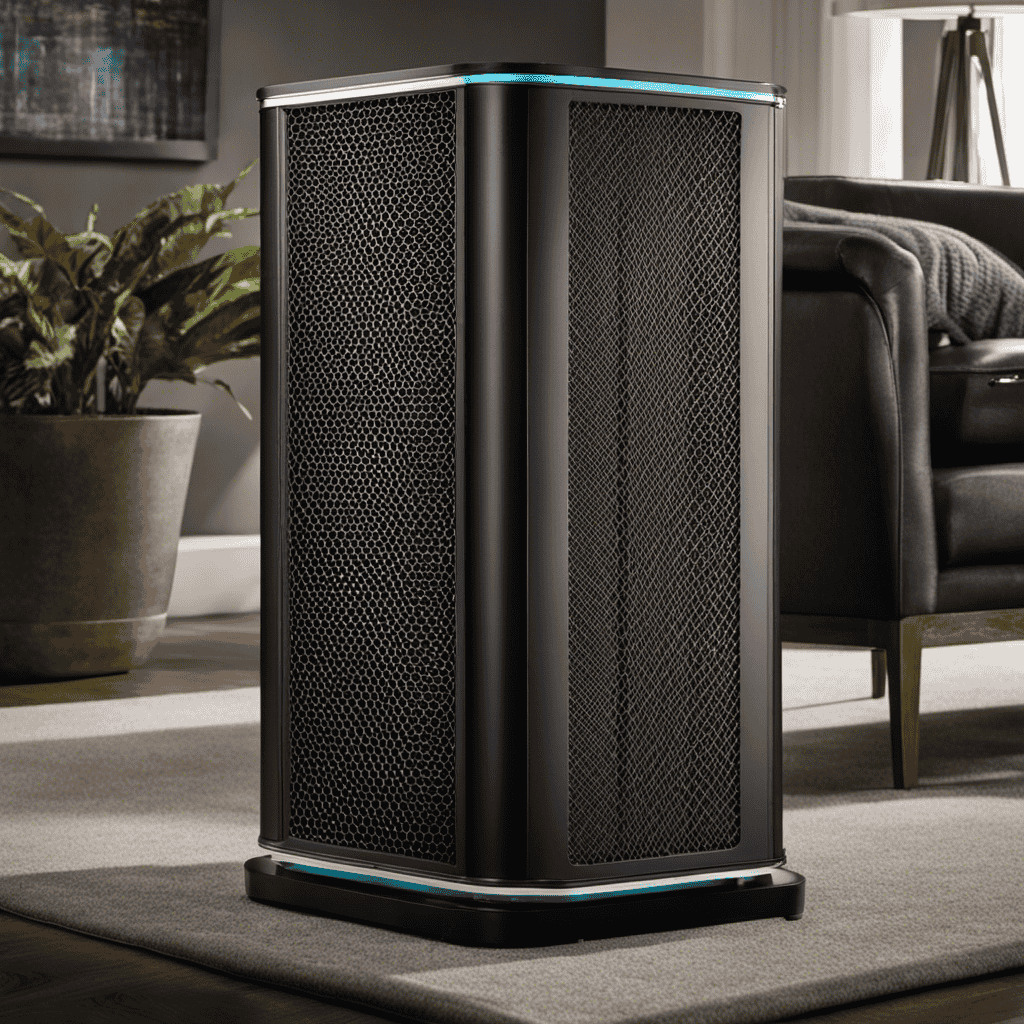
Building the Ionization Chamber
Once you’ve gathered the necessary materials, it’s time to start building the ionization chamber.
The ionization chamber is an essential component of an air ionizer purifier, as it is responsible for the ionization process. Ionization technology works by emitting negative ions into the air, which attach to positively charged particles such as dust, pollen, and pet dander. This process causes these particles to become heavy and fall out of the air, effectively purifying it.
To build the chamber, begin by selecting a suitable container, preferably made of non-conductive material such as glass or plastic. Next, create a negative ion generator using a high-voltage power supply and a sharp needle or brush. Connect the generator to the container, ensuring proper insulation. Finally, seal the chamber to prevent any leakage of ions.
Building a well-designed ionization chamber is crucial for the effective functioning of an air ionizer purifier.
Wiring the Circuitry
When it comes to wiring the circuitry for any electrical project, there are a few key points that are essential to understand.
First, having a clear and accurate circuit diagram is crucial to ensure proper connections and functionality.
Second, it is important to follow electrical safety precautions to minimize the risk of accidents or electrical hazards.
Finally, troubleshooting tips for wiring issues can help identify and resolve any problems that may arise during the process.
Understanding these essentials will help ensure a successful and safe wiring project.
Circuit Diagram Essentials
Make sure you have all the essential components for the circuit diagram of your air ionizer purifier. When it comes to circuit design, selecting the right components is crucial for the proper functioning of your device.
Here are three key components that you need to include in your circuit diagram:
-
Capacitors: These electronic components store and release electrical energy, helping to regulate the flow of current in your circuit. Choose capacitors with appropriate voltage and capacitance ratings for your specific application.
-
Resistors: Resistors limit the amount of current flowing through your circuit, preventing damage to other components. Select resistors with the correct resistance value to ensure the desired level of current flow.
-
Transistors: Transistors act as amplifiers or switches in electronic circuits. They are essential for controlling the ionization process in your air ionizer purifier.
Electrical Safety Precautions
To ensure your electrical safety, always remember to follow the necessary precautions when working with circuits.
Electrical safety guidelines are crucial to prevent potential hazards. When working with circuits, it is important to wear appropriate protective gear, such as insulated gloves and safety glasses, to protect yourself from electrical shocks and eye injuries.
Before starting any work, make sure to turn off the power source and disconnect the circuit. This will minimize the risk of electric shock.
Additionally, avoid working on circuits in wet or damp conditions as this can increase the chances of electrical accidents.
Regularly inspect your equipment and wiring for any signs of damage, and replace or repair them immediately to prevent electrical fires or electrical failures.
Wiring Troubleshooting Tips
One of the most effective ways to troubleshoot wiring issues is by using a voltage tester. This handy tool allows me to check if there is a proper electrical connection and if there are any problems with the wiring.
When troubleshooting electrical connection problems, there are a few techniques I find helpful:
- Inspecting the wiring for any visible damage or loose connections.
- Testing the voltage at different points along the circuit to identify any inconsistencies.
- Using a continuity tester to check for breaks in the wiring.
By following these troubleshooting techniques, I can quickly identify and resolve any electrical connection problems.
Once I have ensured a safe and secure wiring system, I can move on to installing the air filter, which is the next step in creating an efficient air ionizer purifier.
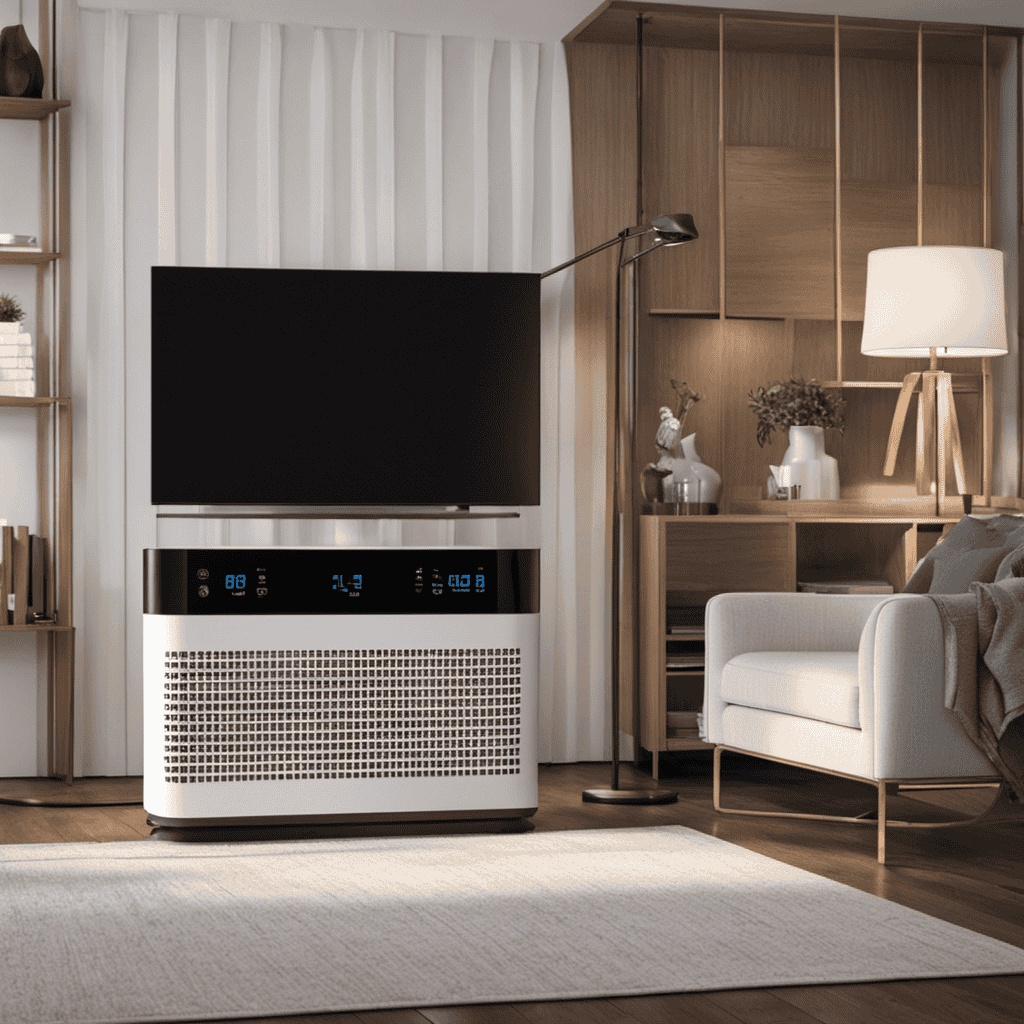
Installing the Air Filter
You can easily install the air filter by following these simple steps.
Proper installation of the air filter is crucial for the effective functioning of your air ionizer purifier.
To begin, locate the air filter compartment in your purifier and open it carefully.
Remove the old filter and dispose of it properly.
Next, take the new filter and insert it into the compartment, ensuring that it fits securely.
Close the compartment and make sure it is tightly sealed. This will prevent any air leakage and ensure that your purifier operates efficiently.
If you encounter any difficulties during the installation process, refer to the user manual or contact the manufacturer for troubleshooting methods.
Now that the air filter is installed, let’s move on to the next step of adding the ionization agent.
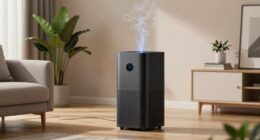
Adding the Ionization Agent
Once the ionization agent is purchased, it can be easily added to the designated compartment in your device. The ionization process is a crucial step in making an effective air ionizer purifier. The ionization agent works by releasing negative ions into the air, which attach to airborne particles and neutralize their charge. This helps to remove harmful pollutants and allergens from the air, improving the overall air quality.
To add the ionization agent to your device, follow these simple steps:
- Open the compartment designated for the ionization agent.
- Carefully pour the desired amount of ionization agent into the compartment.
- Close the compartment securely to ensure proper function of the device.
Testing the Air Ionizer Purifier
In my quest to create an effective air ionizer purifier, I have now reached the stage of testing. It is essential to evaluate the performance of the device and compare it to other air purifiers on the market. By doing so, we can determine the benefits of using an air ionizer purifier and understand how it stands against other options.
To conduct a thorough comparison, I have created a table with three columns and three rows. In the first column, I will list various air purifiers available in the market. The second column will highlight the specific features and technologies used by each purifier. Finally, in the third column, I will note the advantages and disadvantages of each purifier, including the air ionizer purifier I have developed.
This comparative analysis will allow us to make an informed decision and appreciate the benefits of an air ionizer purifier over other options.
Troubleshooting Common Issues
If you’re experiencing any common issues with your device, try resetting it by unplugging it and plugging it back in. This simple step can often resolve many problems and get your air ionizer purifier back up and running smoothly.
However, if the issue persists, here are some troubleshooting tips to help you identify and solve common problems:
- Check the power source: Ensure that the device is properly connected to a functioning power outlet.
- Clean the filters: Over time, dust and debris can accumulate on the filters, reducing their efficiency. Regularly cleaning or replacing the filters can improve the performance of your air ionizer purifier.
- Check for obstructions: Make sure that there are no obstructions blocking the airflow, such as curtains or furniture placed too close to the device.
Maintenance and Cleaning Tips
Now that we have discussed troubleshooting common issues with air ionizer purifiers, let’s move on to the important topic of maintenance and cleaning.
Proper maintenance techniques are crucial to ensure the optimal performance and longevity of your air ionizer purifier. Regular cleaning is essential to remove accumulated dust, allergens, and pollutants from the device, allowing it to effectively clean the air in your surroundings.
To clean your air ionizer purifier effectively, start by turning off the device and unplugging it from the power source. Remove the air filters and clean them according to the manufacturer’s instructions. Use a soft brush or vacuum cleaner to remove any dust or debris from the device’s exterior and internal components. Avoid using harsh chemicals or abrasive materials that may damage the unit.
Regular maintenance and cleaning of your air ionizer purifier will not only ensure its optimal performance but also contribute to healthier indoor air quality.
Frequently Asked Questions
What Are the Potential Health Benefits of Using an Air Ionizer Purifier?
Potential health benefits of air ionizer purifiers include reducing airborne particles, allergens, and odors. However, their effectiveness in removing viruses and bacteria is debated. Drawbacks may include ozone production. Compared to other types of purifiers, ionizers require less maintenance and have lower energy consumption.
Can an Air Ionizer Purifier Remove All Types of Indoor Air Pollutants?
Yes, an air ionizer purifier can remove a wide range of indoor air pollutants. However, the effectiveness of air ionizers in improving indoor air quality may vary depending on the specific pollutants and the size of the room.
How Long Does It Typically Take to Build an Air Ionizer Purifier?
Building an air ionizer purifier typically takes a few hours. I was amazed at how quickly I was able to assemble all the components and get it up and running. It’s a straightforward process that anyone can do with basic tools.
Are There Any Safety Precautions to Consider When Using an Air Ionizer Purifier?
When using an air ionizer purifier, it is important to consider safety precautions. Regular maintenance, such as cleaning the filters, is necessary to ensure optimal performance. Additionally, some air ionizer purifiers do produce ozone, so it’s crucial to choose one that meets safety standards.
Can an Air Ionizer Purifier Be Used in Large Spaces or Only Small Rooms?
An air ionizer purifier can effectively clean the air in both large spaces and small rooms. However, it’s important to consider the size and capacity of the purifier for optimal effectiveness. Regular maintenance is also crucial to ensure its proper functioning.
Conclusion
In conclusion, creating an air ionizer purifier is a simple and effective way to improve the air quality in your home. By understanding the principles of air ionization and gathering the necessary materials, you can easily build and install your own device.
With regular maintenance and cleaning, you can ensure that your air ionizer purifier continues to work efficiently. So, don’t hesitate to take control of the air you breathe and create a healthier environment for yourself and your loved ones.
Start building your air ionizer purifier today for cleaner and fresher air tomorrow.