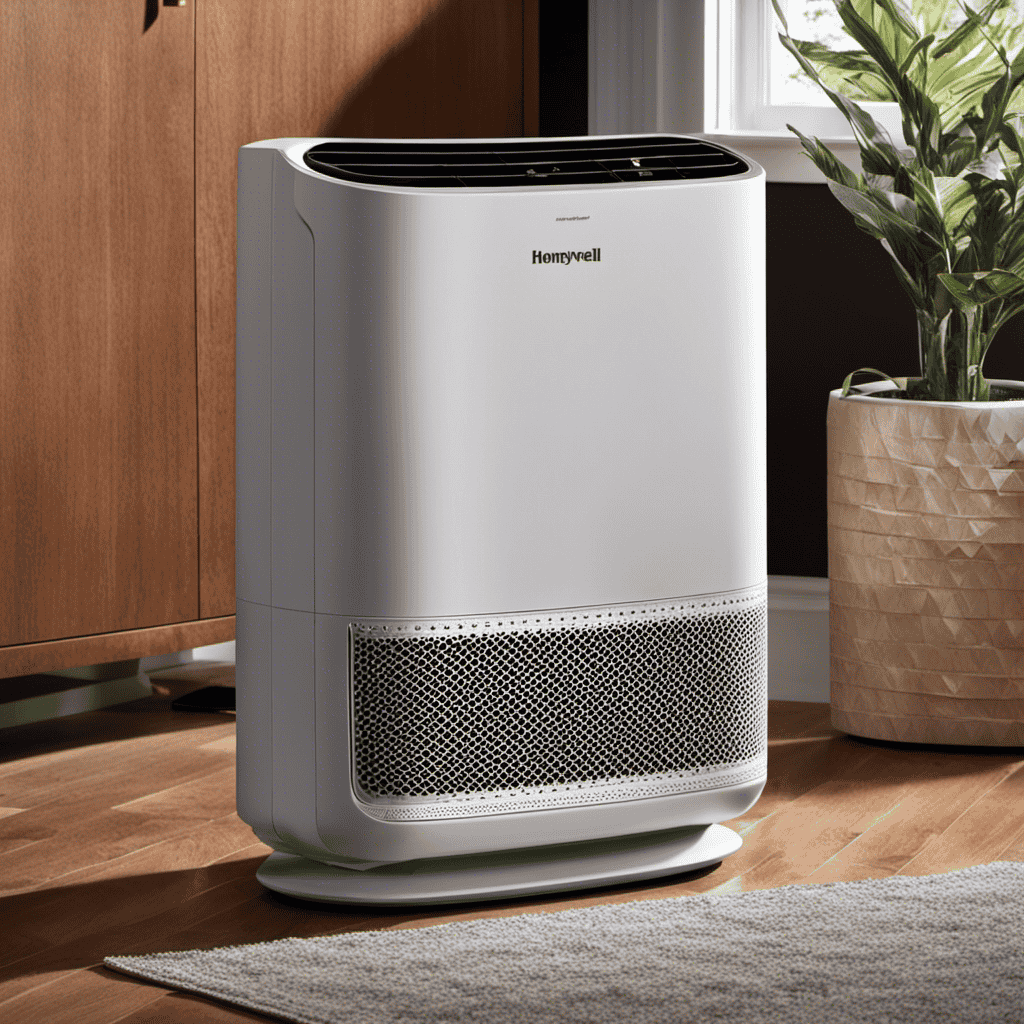

Sitting in my house, enveloped by the crisp, refreshing air, I find myself constantly amazed by the capabilities of my Honeywell air purifier. However, have you ever pondered the exact location of the pre-filter within this incredible gadget?
Fear not, for I am here to guide you through the intricate workings of your Honeywell air purifier. In this article, we will explore the location, identification, and maintenance of the pre filter, ensuring that you can enjoy the purest air possible.
So, let’s dive in and unlock the secrets of the pre filter on a Honeywell air purifier.
Key Takeaways
- The pre filter in a Honeywell air purifier is located on the back of the unit behind a removable cover.
- The pre filter should be checked every 3 months for dirt and debris and can be gently vacuumed or washed with mild soap and water.
- Regular maintenance of the pre filter improves air quality by reducing dust and allergens and enhances the overall performance of the air purifier.
- The pre filter should be replaced every three months or as needed based on air pollution levels, and it can be cleaned by rinsing it with water and allowing it to dry thoroughly.
Top picks for "filter honeywell purifier"
Open Amazon search results for this keyword.
As an affiliate, we earn on qualifying purchases.
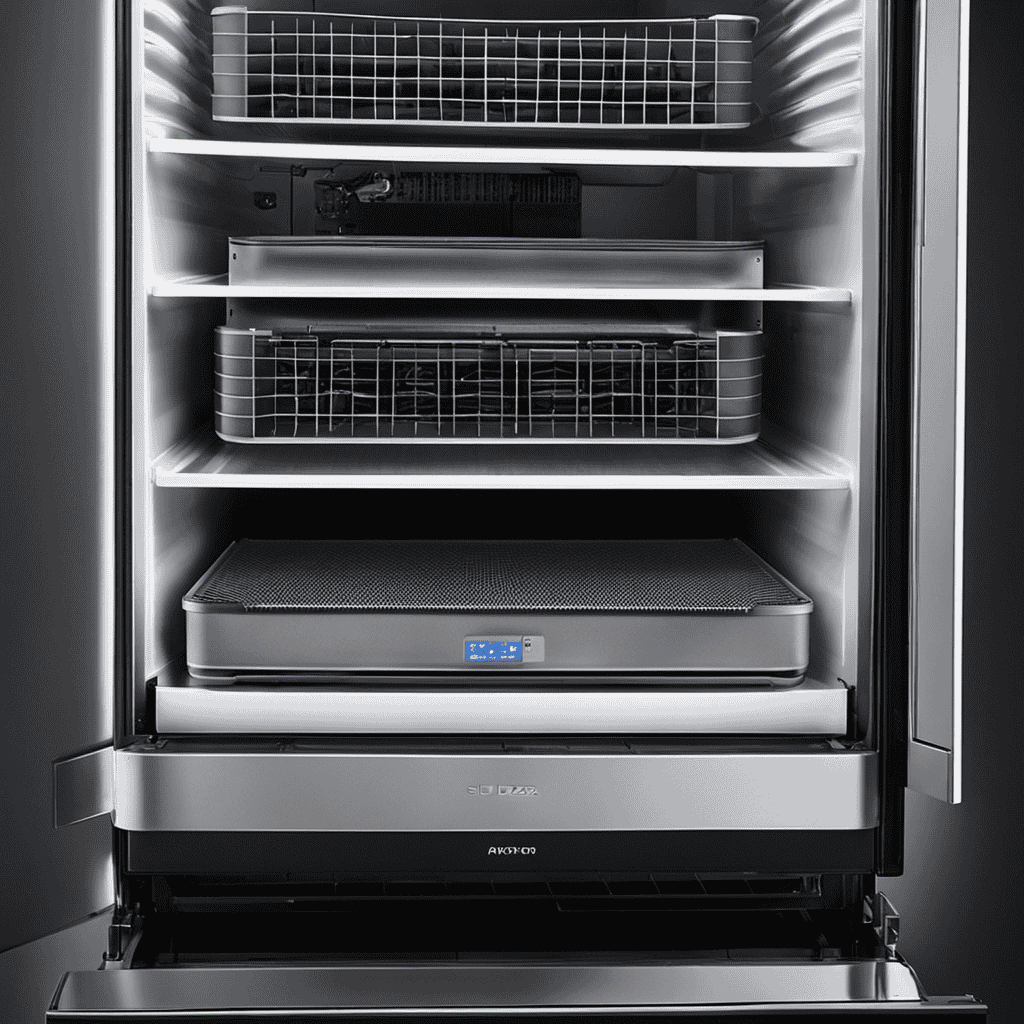
Location of the Pre Filter
The pre filter on your Honeywell air purifier is located on the back of the unit. It is an essential component that plays a crucial role in improving the air quality in your home.
The pre filter is designed to capture large particles such as dust, pet dander, and pollen before they reach the main filter. This not only helps to extend the life of the main filter but also enhances the overall efficiency of the air purifier.
Identifying the pre filter is easy as it is usually a washable foam or mesh material that is visibly located behind a removable cover.
Regularly cleaning or replacing the pre filter ensures that your air purifier continues to effectively remove airborne contaminants, providing you with cleaner and healthier indoor air.
Identifying the Pre Filter on a Honeywell Air Purifier
When it comes to the pre filter on a Honeywell air purifier, knowing its location is crucial. The pre filter is typically located at the front or side of the unit. It serves an important purpose in the air purification process. Regular maintenance of the pre filter is essential to ensure optimal performance and longevity of the air purifier.
Pre Filter Location
You can find the pre filter on a Honeywell air purifier by removing the front panel. Here is a step-by-step guide to help you locate the pre filter:
- Locate the front panel of your Honeywell air purifier.
- Gently remove the front panel by pulling it towards you.
- Once the front panel is removed, you will see the pre filter located at the bottom of the unit.
- The pre filter is usually a washable filter that traps larger particles such as dust, pet hair, and lint before they reach the main filter.
Having a pre filter in your air purifier offers several benefits, including:
- Extending the lifespan of the main filter by capturing larger particles.
- Improving the overall air quality by reducing the amount of dust and allergens in the air.
- Saving money on filter replacements since pre filters are reusable and washable.
While pre filters are commonly used, there are alternative options available such as activated carbon filters or electronic pre filters. These alternatives provide additional benefits depending on your specific needs.
Transition: Now that we know where to find the pre filter, let’s explore its purpose and how it contributes to the effectiveness of a Honeywell air purifier.
Purpose of Pre Filter
To understand why the pre filter is important, think about how it helps improve the air quality in your home. The purpose of the pre filter is to capture larger particles such as dust, pet dander, and pollen before they reach the main filter. This not only extends the life of the main filter but also enhances the efficiency of the air purifier.
By identifying and removing these larger particles, the pre filter acts as the first line of defense, ensuring that the air entering your home is cleaner and healthier. Using a pre filter has several benefits, including reducing allergens in the air, minimizing the buildup of dust and debris in the air purifier, and improving the overall performance of the unit.
Incorporating a pre filter into your air purifier system is an essential step in maintaining optimal air quality in your home.
Now that we understand the purpose and benefits of using a pre filter, let’s explore how to properly maintain it.
Maintenance of Pre Filter
To properly maintain the pre filter, it’s important to regularly check and clean it to ensure optimal performance of your air purifier. Here are some maintenance tips and troubleshooting issues to keep in mind:
-
Check the pre filter every 3 months: Inspect the filter for dirt, dust, and debris. If it appears dirty or clogged, it’s time to clean or replace it.
-
Cleaning the pre filter: Gently vacuum the pre filter to remove any loose particles. If it’s heavily soiled, consider washing it with mild soap and water. Be sure to let it dry completely before reinstalling.
-
Replacing the pre filter: If the pre filter is damaged or cannot be cleaned effectively, it’s time to replace it with a new one. Refer to your air purifier’s manual for the specific replacement part.
-
Troubleshooting issues: If you notice a decrease in air purifier performance or strange odors, it could be a sign of a clogged or worn-out pre filter. Cleaning or replacing it should resolve these problems.
Accessing the Pre Filter on Your Honeywell Air Purifier
Once you’ve removed the front cover of your Honeywell air purifier, locating the pre filter is a simple task. The pre filter is an essential component of the air purifier, as it provides numerous benefits.
Firstly, the pre filter helps to capture larger particles such as dust, pet hair, and lint, preventing them from reaching the main HEPA filter. This extends the lifespan of the HEPA filter and reduces the frequency of filter replacements.
Additionally, the pre filter also helps to improve the overall efficiency of the air purifier by enhancing the airflow and ensuring optimal performance.
As for the pre filter lifespan, it typically lasts for about 3 months, depending on the air quality and usage. Regularly checking and replacing the pre filter is crucial to maintain the air purifier’s effectiveness in providing clean and fresh air.
Removing and Cleaning the Pre Filter on a Honeywell Air Purifier
When cleaning the pre filter on your Honeywell air purifier, be sure to follow these simple steps:
- Turn off and unplug the air purifier to ensure safety.
- Locate the pre filter compartment, typically located at the front or side of the unit.
- Open the compartment by either sliding or unlatching the cover.
- Carefully remove the pre filter from its housing by pulling it out.
To clean the pre filter:
- Use a vacuum cleaner with a brush attachment to remove dust and debris from the filter.
- If the filter is heavily soiled, gently rinse it under running water to remove stubborn dirt.
- Allow the filter to air dry completely before reinstalling.
- Once dry, place the pre filter back into its compartment and securely close the cover.
Maintenance Tips for the Pre Filter on a Honeywell Air Purifier
Regularly cleaning the pre filter on your Honeywell air purifier is essential for maintaining its effectiveness in removing pollutants from your indoor air. The pre filter captures large particles such as dust, pet hair, and lint, preventing them from clogging the main HEPA filter. By keeping the pre filter clean, you ensure optimal airflow and prolong the lifespan of the HEPA filter. It is recommended to clean the pre filter every three months, or more frequently if you have pets or live in a dusty environment.
To clean the pre filter, simply remove it from the air purifier and gently tap it to remove loose debris. You can also vacuum the pre filter or rinse it under running water, making sure to let it dry completely before reinstalling.
A clean pre filter offers several benefits. It improves the overall efficiency of your air purifier, ensuring that it can effectively capture smaller particles. It also helps maintain the air purifier’s airflow, preventing it from working harder than necessary. Additionally, a clean pre filter reduces the risk of odors and keeps your indoor air fresh and clean.
| Filter Replacement Schedule | |
|---|---|
| Pre Filter | Every 3 months |
| HEPA Filter | Every 12 months |
| Carbon Filter | Every 3 months |
Troubleshooting Common Issues With the Pre Filter on a Honeywell Air Purifier
When it comes to maintaining the pre filter on a Honeywell air purifier, there are a few key points to keep in mind.
Firstly, regular maintenance is crucial to ensure optimal performance and prolong the lifespan of the filter.
Secondly, it is recommended to replace the pre filter every three months or as needed, depending on the level of air pollution in your environment.
Lastly, cleaning the pre filter is a simple process that involves rinsing it with water and allowing it to dry thoroughly before reinstallation.
Pre Filter Maintenance
To maintain the pre filter on your Honeywell air purifier, you’ll need to regularly clean or replace it. The pre filter is an essential component of the air purifier, as it helps to capture larger particles like dust and pet hair before they reach the main filter.
Here are some benefits of proper pre filter maintenance:
-
Improved air quality: By regularly cleaning or replacing the pre filter, you ensure that it continues to effectively capture larger particles, resulting in cleaner air for you and your family.
-
Extended lifespan of the main filter: The pre filter acts as a first line of defense, preventing larger particles from clogging the main filter. This helps to prolong the lifespan of the main filter, saving you money on replacements.
-
Energy efficiency: A clean pre filter allows the air purifier to operate more efficiently, consuming less energy and reducing your electricity bills.
-
Reduced maintenance frequency: By taking care of the pre filter, you can reduce the frequency of replacing the main filter, saving you time and effort.
Regular pre filter maintenance is crucial for optimal performance and longevity of your Honeywell air purifier.
Filter Replacement Frequency
The frequency of replacing the filter depends on how often you use your air purifier. It is important to follow a filter replacement schedule to ensure optimal performance of your air purifier and to maintain clean and healthy indoor air. Signs of a dirty pre filter include reduced airflow, increased noise, and decreased effectiveness in capturing larger particles. To help you determine when to replace your filter, refer to the table below:
| Filter Type | Recommended Replacement Frequency |
|---|---|
| Pre Filter | Every 3 months |
| HEPA Filter | Every 12-18 months |
| Carbon Filter | Every 3-6 months |
Regularly checking and replacing the filter will ensure that your air purifier continues to effectively remove pollutants from your environment. Now, let’s move on to the next section about cleaning the pre filter.
Cleaning the Pre Filter
Make sure you regularly clean the pre-filter to maintain the optimal performance of your air purifier. Cleaning the pre-filter is an important maintenance step that helps to remove larger particles from the air and prevent them from clogging the main filter.
Here are some cleaning techniques and recommended products to help you keep your pre-filter clean and functioning effectively:
-
Vacuuming: Use a handheld vacuum with a brush attachment to gently remove dust and debris from the pre-filter. This is a quick and easy way to keep it clean.
-
Washing: If your pre-filter is washable, you can rinse it under running water to remove dirt and dust. Make sure to let it dry completely before reinstalling it.
-
Replacement: If your pre-filter is not washable or becomes heavily soiled, it may be time to replace it. Check the manufacturer’s recommendations for the specific model of your air purifier.
-
Recommended products: Some air purifier manufacturers offer specific cleaning solutions or pre-filter cleaning kits. These products are designed to effectively clean and maintain the pre-filter without damaging it.
Conclusion
After locating and accessing the pre filter on your Honeywell air purifier, it is important to regularly remove and clean it to maintain optimal performance. By following the maintenance tips provided, you can ensure that your pre filter remains in good condition and effectively traps larger particles.
However, if you encounter any issues with the pre filter, refer to the troubleshooting guide for assistance. Remember, proper care and maintenance of the pre filter will contribute to cleaner and healthier air in your home.