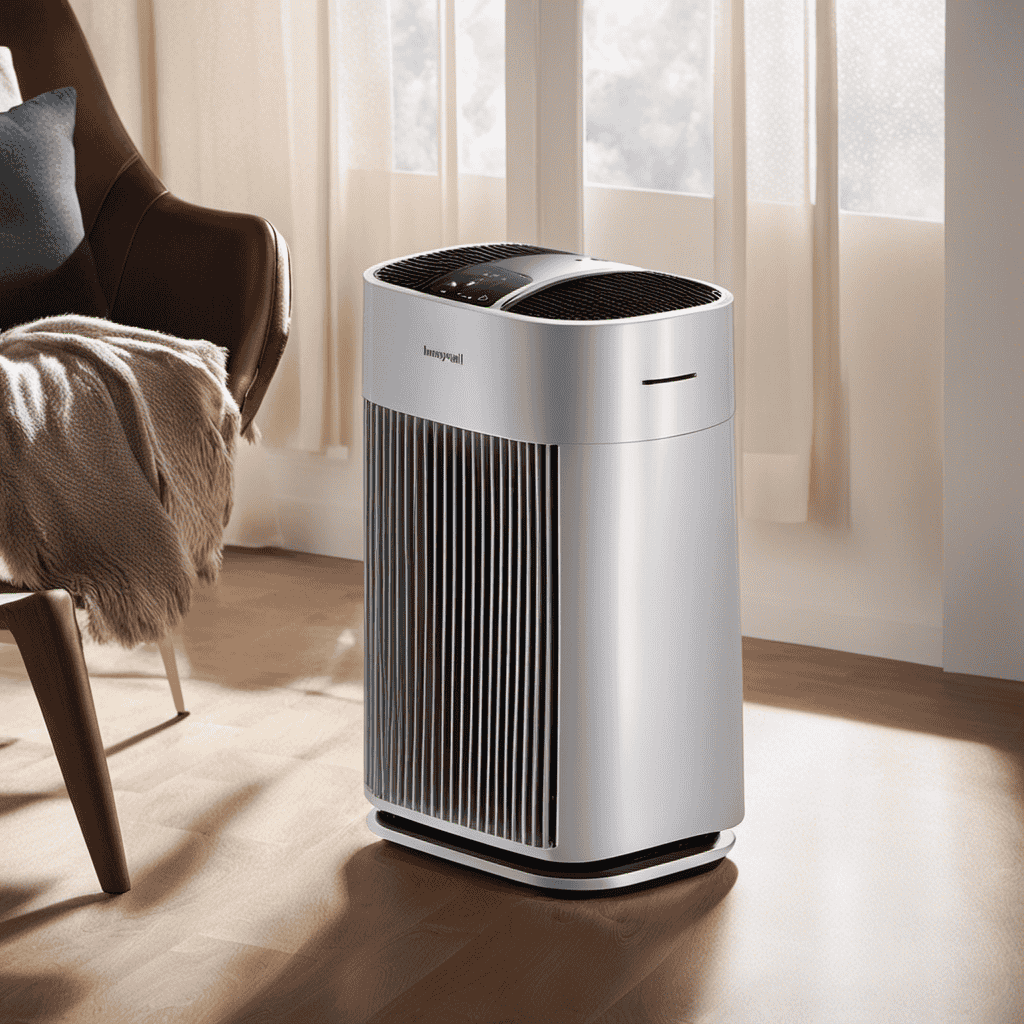
Seated comfortably in my house, the crispness of the air is unmistakable, all thanks to my reliable Honeywell air purifier.
However, when that light indicator comes on, it’s a sign that it’s time to give my filter some TLC.
Cleaning the Honeywell air purifier filter may seem like a daunting task, but fear not! In this article, I will guide you through the step-by-step process of restoring your filter to its pristine state.
So, let’s dive in and uncover the secrets to a cleaner, healthier home.
Key Takeaways
- The light indicator on a Honeywell Air Purifier alerts when it’s time to clean or replace the filter.
- Gathering the necessary supplies such as a soft brush or vacuum cleaner, mild dish soap, and clean towels is important for effective filter cleaning.
- Powering off the air purifier by pressing the power button and unplugging it is essential before performing maintenance tasks.
- Properly removing, cleaning, drying, and reinstalling the filter, as well as checking for dirt buildup and replacing it regularly, are crucial for maintaining the air purifier’s performance.

DEWALT Drill Bit Set, 3-Flats Shank,14-Piece, 135 Degree Split Point, for Plastic, Wood and Metal (DWA1184)
- Tip Design: 135° Split Point to Prevent Walking
- Material: High-Speed Steel for Versatility
- Durability: Tapered Web for Breakage Resistance
As an affiliate, we earn on qualifying purchases.
Understanding the Light Indicator
When the light comes on, it’s important to understand what it means and how to address it.
In the case of an air purifier, the light indicator is a valuable tool for troubleshooting light issues and maintaining the device’s performance.
The light indicator typically alerts you when it’s time to clean or replace the air purifier filter. This is an essential step in ensuring that the unit continues to function effectively and provide you with clean air.
To troubleshoot light issues, start by referring to the user manual for specific instructions on interpreting the light indicator.
Additionally, regular air purifier maintenance, such as cleaning the filter, can help prevent the light from coming on too frequently.
Gathering the Necessary Supplies
Before starting, make sure you have all the supplies you need to gather. Cleaning your Honeywell air purifier filter requires proper cleaning techniques and the use of recommended cleaning products.
To effectively clean the filter, you will need a soft brush or vacuum cleaner with a brush attachment, mild dish soap, warm water, and a clean towel or paper towels.
The soft brush or vacuum cleaner will help remove any loose dust or debris from the filter.
Then, create a cleaning solution by mixing a small amount of mild dish soap with warm water.
Gently wash the filter using this solution, making sure to scrub it gently to avoid damaging the filter material.
Rinse the filter thoroughly with clean water and allow it to air dry completely before reinstalling it into the air purifier.
Powering Off the Air Purifier
To turn off the air purifier, simply press the power button and wait for the indicator lights to turn off. This will ensure that the device is completely powered down and not consuming any electricity.
Powering off the air purifier is an essential step in troubleshooting issues and performing maintenance tasks.
Here are a few tips to keep in mind when powering off your air purifier:
-
Make sure to unplug the device from the power source after turning it off. This will prevent any potential electrical hazards and ensure the safety of the unit.
-
Allow the air purifier to cool down for a few minutes before handling or storing it. This will prevent any accidental burns or damage to the internal components.
Removing the Filter From the Air Purifier
After powering off the air purifier, you can easily remove the filter by following these steps.
First, locate the filter compartment on the air purifier. This is usually located at the back or on the side of the device.
Once you have located the compartment, you will need to open it. This can usually be done by pressing a button or sliding a latch.
Once the compartment is open, you will be able to see the filter inside. Carefully remove the filter from the compartment, making sure not to damage it.
If the filter is dirty, you can clean it by gently vacuuming or rinsing it with water. Remember to let the filter dry completely before reinstalling it.
Regular filter maintenance is important for optimal performance of your air purifier.
If you are experiencing any issues with your air purifier, such as the light coming on, it is recommended to consult the troubleshooting tips provided by the manufacturer.
Cleaning the Filter
If the filter is dirty, you can easily clean it by gently vacuuming or rinsing it with water. Cleaning the filter is an important part of maintaining the efficiency of your Honeywell air purifier. Here are some cleaning tips to help you get the best results:
-
Vacuuming:
-
Use a soft brush attachment on your vacuum cleaner to remove dust and debris from the filter.
-
Gently run the brush over both sides of the filter, being careful not to damage the delicate filter material.
-
Rinsing:
-
Remove the filter from the air purifier.
-
Rinse the filter with water, using a gentle stream.
-
Be sure to rinse both sides of the filter to remove all dirt and particles.
-
Allow the filter to air dry completely before reinserting it into the air purifier.
Drying the Filter Properly
After cleaning the filter of my Honeywell air purifier, the next step is to ensure that it is properly dried before reinstalling it. Drying the filter is crucial to prevent the growth of mold and maintain the efficiency of the air purifier.
There are a few techniques that can be used to dry the filter effectively. One method is to air-dry it by placing it in a well-ventilated area away from direct sunlight. Another option is to use a hairdryer on a low heat setting to gently dry the filter.
Whichever method you choose, make sure the filter is completely dry before reinstalling it. This will help maintain the air purifier’s performance and keep the air in your home clean and fresh.
Now, let’s move on to the next step: reinstalling the filter in the air purifier.
Reinstalling the Filter in the Air Purifier
When it comes to proper filter placement in your air purifier, there are a few key points to keep in mind.
First, make sure you’re following the manufacturer’s instructions and guidelines for filter installation. This will ensure that the filter is properly aligned and securely in place, maximizing its effectiveness.
Additionally, it’s important to regularly replace the filter according to the recommended frequency to maintain optimal air quality and the overall performance of your air purifier.
Proper Filter Placement
Properly placing the filter is essential for the effective operation of your Honeywell air purifier. When it comes to filter maintenance and cleaning techniques, there are a few key considerations to keep in mind.
Here are some tips to ensure the proper placement of your filter:
- First, make sure to remove the old filter carefully, following the manufacturer’s instructions.
- Clean the filter housing thoroughly to remove any dust or debris that may have accumulated.
- When installing the new filter, ensure that it is placed securely and aligned correctly with the filter housing.
- Make sure to close the filter access door tightly to prevent air leakage.
- Regularly check the filter for dirt and dust buildup, and clean or replace it as needed.
Filter Replacement Frequency
To maintain optimal performance, you’ll want to regularly check and replace the filter in your Honeywell air purifier. The lifespan of a filter can vary depending on usage and environmental factors, but it is generally recommended to replace it every 3 to 6 months.
However, there are signs that indicate when a filter is dirty and needs replacement. These signs include reduced airflow, a decrease in air quality, and a noticeable buildup of dust and debris on the filter itself. It’s important to pay attention to these signs and replace the filter promptly to ensure that your air purifier continues to function effectively.
In the next section, I will explain how to reset the light indicator on your Honeywell air purifier after replacing the filter.
Resetting the Light Indicator
You can easily reset the light indicator on your Honeywell air purifier by pressing and holding the reset button for five seconds. This is a simple and straightforward process that can be done whenever the filter indicator light comes on, indicating that it is time to clean or replace the filter.
When resetting the light indicator, it is important to troubleshoot any common filter issues that may be causing the light to come on prematurely. Here are a couple of things to consider:
- Check the filter for any clogs or blockages that may be restricting airflow. Clean or replace the filter if necessary.
- Make sure the filter is properly installed and securely in place. A loose or incorrectly installed filter can trigger the indicator light.
Regular Maintenance Tips for a Cleaner Air Purifier
When it comes to maintaining a cleaner air purifier, there are three key points to consider:
-
Filter replacement frequency: Knowing when to replace your air purifier’s filter is crucial for optimal performance and air quality.
-
Cleaning techniques: Employing effective cleaning techniques can help prolong the lifespan of your air purifier and ensure it continues to function efficiently.
-
The right products to use: Using the appropriate products can also contribute to maintaining a cleaner air purifier.
Filter Replacement Frequency
Replace the filter in your Honeywell air purifier based on the recommended frequency. The lifespan of an air purifier filter varies depending on factors such as usage, air quality, and the specific model of your purifier.
It is important to keep an eye out for signs of a dirty filter, as this can impact the effectiveness of your air purifier. Some signs to look out for include:
- Decreased air flow: If you notice that your air purifier is not circulating air as efficiently as before, it may be a sign that the filter is clogged with dust and other particles.
- Increased allergies or respiratory issues: A dirty filter can fail to capture allergens and pollutants effectively, leading to an increase in allergy symptoms or respiratory problems.
Regularly checking and replacing your air purifier filter ensures that your purifier is working at its optimal level, providing you with clean and fresh air.
Cleaning Techniques and Products
If you’re looking for effective cleaning techniques and products for your air purifier, there are several options available.
When it comes to maintaining your air purifier, it’s important to use the right cleaning products and techniques to ensure optimal performance.
One of the most common maintenance techniques is cleaning the filter. To clean the filter, start by turning off the unit and unplugging it. Gently remove the filter from the air purifier and use a vacuum cleaner with a brush attachment to remove any dust or debris.
If the filter is washable, you can also rinse it with water and mild soap. Make sure to thoroughly dry the filter before reinserting it into the air purifier.
Frequently Asked Questions
How Often Do I Need to Clean the Honeywell Air Purifier Filter?
I usually clean my Honeywell air purifier filter every 3 months. It’s important to maintain clean air in your home, even if the light doesn’t come on. Regular cleaning ensures optimal performance and removes pollutants.
Can I Use Soap or Detergent to Clean the Filter?
Using soap or detergent to clean the filter is not recommended. It can damage the filter and reduce its effectiveness. Instead, follow the manufacturer’s instructions for proper cleaning methods to ensure optimal performance.
Can I Wash the Filter in a Washing Machine?
No, it is not recommended to wash the filter in a washing machine. This can damage the filter and affect its performance. Proper filter maintenance involves using a vacuum cleaner or gently rinsing it with water.
Can I Use a Vacuum Cleaner to Clean the Filter?
Yes, using a vacuum cleaner can be an effective way to clean the filter of a Honeywell Air Purifier. However, it is important to note that there are also alternative cleaning methods available.
How Long Does It Take for the Filter to Dry Completely Before Reinstalling It in the Air Purifier?
To properly dry the air purifier filter, it is important to allow it to air dry completely. Using a hairdryer may speed up the process, but it is recommended to follow the manufacturer’s instructions for the best results.
Conclusion
In conclusion, taking care of your Honeywell air purifier filter is essential for maintaining clean and fresh air in your home.
By understanding the light indicator and following the necessary steps to clean and dry the filter properly, you can ensure optimal performance and longevity of your air purifier.
Don’t forget to regularly maintain your air purifier by cleaning the filter and resetting the light indicator.
With these simple steps, you can enjoy a cleaner and healthier living environment.
Keep your air purifier in top shape for a breath of fresh air.