As a tech enthusiast, I’ve always believed that every device has a beating heart that powers its functionality. The same goes for the Coway Air Purifier, with its intricate motherboard serving as the vital organ.
In this article, I’ll guide you through the process of replacing the motherboard on your Coway Air Purifier, ensuring its continued performance and longevity.
Get ready to gather your tools, dive into the intricate world of circuitry, and breathe new life into your beloved purifier.
Key Takeaways
- The motherboard is the main circuit board that controls and coordinates all the operations of the Coway Air Purifier.
- Common motherboard issues include power failures, overheating, and faulty connectors, which can affect the overall performance of the air purifier.
- Troubleshooting motherboard problems may require a motherboard replacement.
- When replacing the motherboard, it is important to gather the necessary tools and equipment, safely remove the old motherboard, install the new one properly, and test and troubleshoot the replacement to ensure its functionality.
Understanding the Coway Air Purifier’s Motherboard
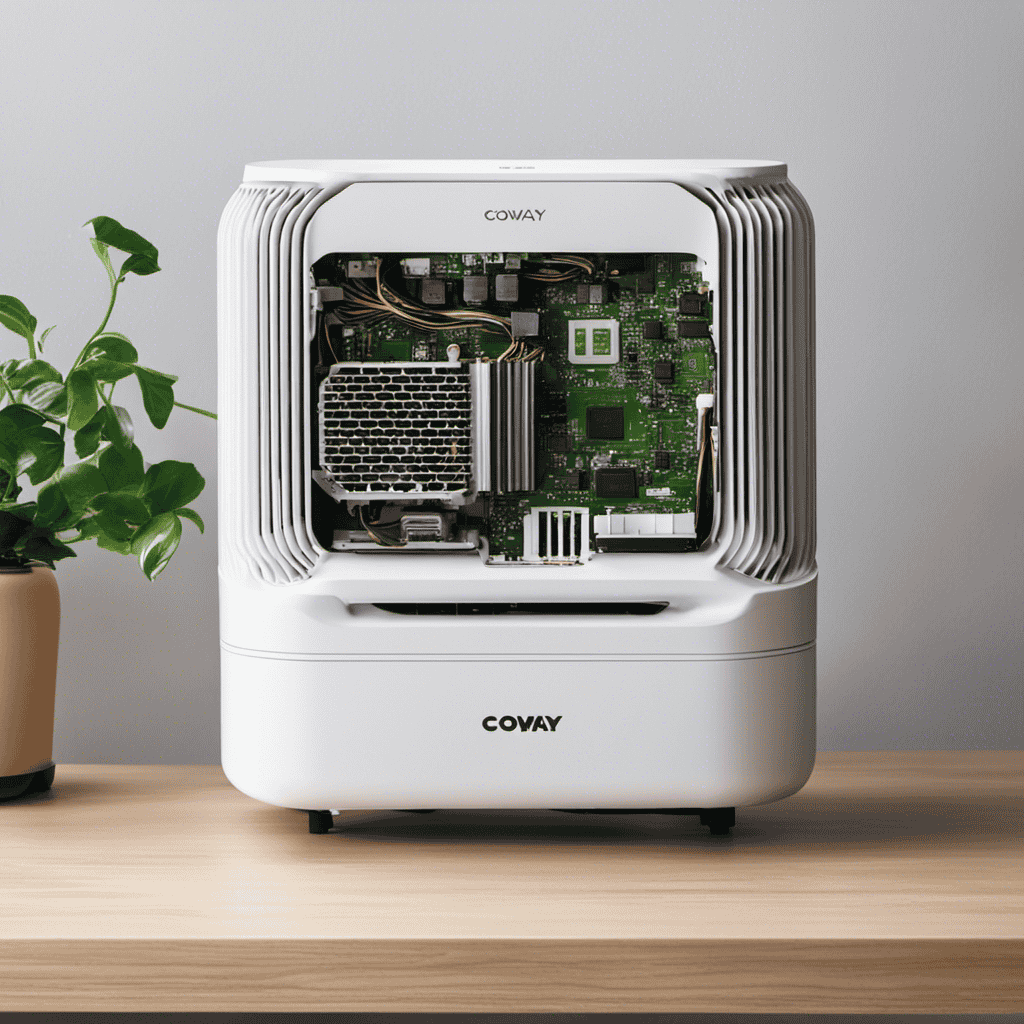
To understand how to replace a motherboard on a Coway Air Purifier, it’s important to familiarize yourself with the functions and components of the current motherboard.
The motherboard is the main circuit board that controls and coordinates all the operations of the air purifier. It houses various electronic components such as the microprocessor, memory modules, power connectors, and input/output ports.
When troubleshooting motherboard issues, common problems include power failures, overheating, and faulty connectors. These issues can affect the overall performance of the air purifier and may require a motherboard replacement.
Now that we understand the importance of the motherboard and its potential problems, let’s move on to the next step: gathering the necessary tools and equipment.
Gathering the Necessary Tools and Equipment
First, make sure you have all the necessary tools and equipment for the task at hand. When troubleshooting common issues with Coway air purifier motherboards or upgrading the motherboard for enhanced performance, having the right tools is crucial. Here is a list of essential tools and equipment you will need:
| Tools | Equipment |
|---|---|
| Screwdriver set | Anti-static wrist strap |
| Needle-nose pliers | Thermal paste |
| Tweezers | Phillips head screwdriver |
| Wire cutters | Cleaning solution and cloth |
The screwdriver set is necessary for removing screws that secure the motherboard. An anti-static wrist strap helps prevent static electricity damage to delicate components. Needle-nose pliers are useful for gripping and manipulating small connectors. Thermal paste is essential for applying a thin layer between the processor and heatsink to ensure optimal heat transfer. Tweezers help handle small components and connectors. A Phillips head screwdriver is commonly used to secure the motherboard. Wire cutters are handy for trimming excess wire lengths. Lastly, having a cleaning solution and cloth is essential for removing any dust or debris from the motherboard and surrounding components.
Removing the Old Motherboard Safely
When troubleshooting common issues with a motherboard or upgrading it for enhanced performance, it is important to remove the old motherboard safely.
To begin, power off the computer and unplug it from the wall. Open the computer case and locate the motherboard. Disconnect all cables and peripherals connected to the motherboard, such as power cables, data cables, and expansion cards.
Next, remove any screws or mounting brackets securing the motherboard to the case. Carefully lift the motherboard out of the case, ensuring not to damage any components.
Now, when it comes to disposing of the old motherboard, it is important to follow recycling guidelines. Many electronics recycling centers accept motherboards for proper disposal. Additionally, some computer manufacturers offer disposal options for old motherboards.
With the old motherboard safely removed, we can proceed to installing the new motherboard.
Installing the New Motherboard
To successfully install the new motherboard on your Coway air purifier, you’ll need a few essential tools and equipment.
Firstly, you’ll need a screwdriver set with various sizes of Phillips and flathead screwdrivers. Additionally, you’ll require a pair of needle-nose pliers and an anti-static wrist strap to prevent any damage to the components.
The step-by-step installation process involves carefully removing the old motherboard and replacing it with the new one. Make sure to ensure proper alignment and connection of all cables and components.
Required Tools and Equipment
You’ll need a screwdriver and a pair of pliers to replace the motherboard on your Coway air purifier. Before diving into the replacement process, it’s crucial to ensure motherboard compatibility and troubleshoot common issues.
Here are a few things to consider:
-
Motherboard Compatibility
-
Check the model number and specifications of your Coway air purifier to ensure compatibility with the new motherboard.
-
Look for motherboard replacements that are specifically designed for your air purifier model.
-
Consider consulting the manufacturer’s website or customer support for compatibility information.
-
Troubleshooting Common Issues
-
If your air purifier is experiencing frequent power failures or not turning on at all, it could be a sign of a faulty motherboard.
-
Take note of any error codes or warning lights displayed on the air purifier’s control panel.
-
If your air purifier is not functioning as expected, try resetting it or performing a factory reset before replacing the motherboard.
Following these steps will ensure a smooth replacement process and help you resolve any issues you may encounter.
Step-By-Step Installation Process
Before diving into the installation process, it’s important to gather all the necessary tools and familiarize yourself with the steps.
To optimize motherboard performance, troubleshooting common issues is crucial. First, ensure that all power sources are disconnected and that you are working in a static-free environment.
Begin by removing the old motherboard carefully, disconnecting all cables and components. Inspect the new motherboard for any damage or defects before proceeding.
Install the CPU, RAM, and other necessary components onto the motherboard, following the manufacturer’s instructions. Connect all cables securely, double-checking for proper alignment.
Once everything is in place, power up the system and check for any error messages or issues. If troubleshooting is needed, consult the manufacturer’s documentation or online resources for assistance.
Testing and Troubleshooting the Replacement
First, make sure all the connections are secure and properly plugged in before testing the replacement motherboard on your Coway air purifier. This ensures that the motherboard receives power and can function properly. Once the connections are secure, follow these troubleshooting steps to test the replacement motherboard:
- Check for any error messages or beeping sounds during startup.
- Verify that all components are detected and recognized by the motherboard.
- Test the functionality of USB ports, audio jacks, and other peripherals.
- Monitor the temperature and voltage levels to ensure they are within normal ranges.
- Run stress tests to check the stability and performance of the motherboard.
- Verify the compatibility of the replacement motherboard with your Coway air purifier model.
Maintenance Tips for a Long-lasting Motherboard
To ensure a long-lasting motherboard, it’s important to regularly clean the dust and debris from the components. Dust and debris can accumulate on the motherboard over time, leading to overheating and potential damage.
To prevent this, I recommend using compressed air to blow away any dust or debris from the motherboard and its components. Be sure to power off the computer and disconnect it from the power source before cleaning.
Additionally, it’s essential to check for any loose connections or cables that may be affecting the motherboard’s performance. Inspect the motherboard for any signs of physical damage, such as burnt or swollen capacitors, and replace them if necessary.
Frequently Asked Questions
Can I Replace the Motherboard on My Coway Air Purifier Myself, or Do I Need to Hire a Professional?
I can replace the motherboard on my Coway air purifier without voiding the warranty. However, hiring a professional is recommended to avoid potential risks or dangers associated with replacing the motherboard without professional help.
How Long Does It Typically Take to Replace the Motherboard on a Coway Air Purifier?
Replacing the motherboard on a Coway Air Purifier can take anywhere from 30 minutes to an hour, depending on your technical skills and familiarity with the process. It’s important to follow the manufacturer’s guidelines and ensure proper maintenance to prolong the motherboard’s lifespan.
What Should I Do if I Encounter Any Difficulties or Complications While Removing the Old Motherboard?
If I encounter any difficulties or complications while removing the old motherboard, I would carefully follow the manufacturer’s instructions, double-check all connections, and seek professional assistance if needed.
Are There Any Specific Precautions I Should Take to Prevent Damaging the New Motherboard During Installation?
To prevent damaging the new motherboard during installation, it’s important to follow some precautions. Make sure to handle it carefully, avoid static electricity, and properly align and secure all connectors.
How Often Should I Expect to Replace the Motherboard on My Coway Air Purifier?
Replacing the motherboard on my Coway Air Purifier is an infrequent task due to its durability. However, to extend its lifespan, regular maintenance, proper cleaning, and troubleshooting common issues are essential.
Conclusion
In conclusion, replacing the motherboard on a Coway Air Purifier was no easy feat, but the rewards were worth it.
As I delicately removed the old motherboard, I could almost hear the whispers of the purifier thanking me for the upgrade.
With steady hands, I installed the new motherboard, feeling a surge of excitement as I powered it on.
The air purifier came back to life, its gentle hum filling the room like a symphony of clean air.
With proper maintenance, this new motherboard will ensure a long-lasting and efficient performance.